
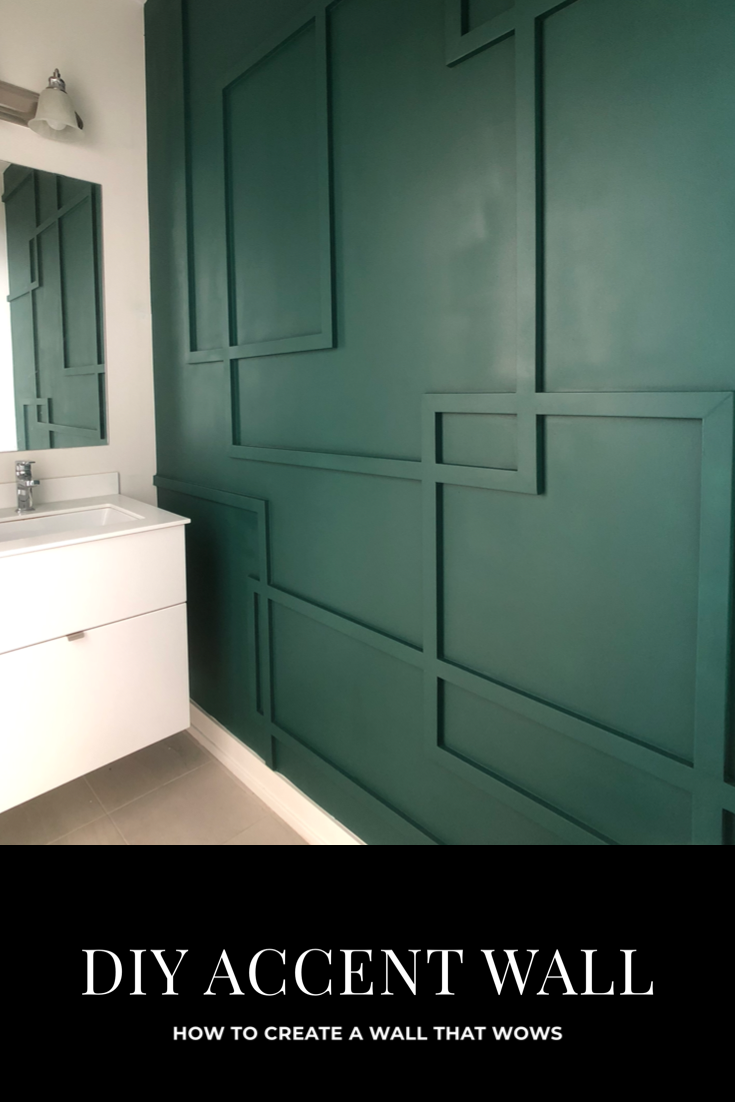
Let’s tackle how to create an accent wall in a small bathroom. These have become so popular over the last few years. I wanted a show stopper in my powder room since every single person that visits my home uses that bathroom. There’s so many amazing patterns out there! This was inspired by @sodapopdesigninc
What you need to create a bathroom accent wall
- wood trim of your choice (I used 1×2 primed MDF)
- Saw
- Measuring tape
- Level
- Painters tape
- ScotchBLUE Pre-taped Painter’s Plastic and cutter
- nail gun and 2 inch nails
- sprayer and paint
- Caulk and caulk gun
- Wood filler
- Primer, small roller and foam brush
If you love watching YouTube tutorials, check out my video below. I would love for you to subscribe to my channel!!
<iframe width="560" height="315" src="https://www.youtube.com/embed/u7PmaPORwFo" title="YouTube video player" frameborder="0" allow="accelerometer; autoplay; clipboard-write; encrypted-media; gyroscope; picture-in-picture; web-share" allowfullscreen></iframe>How to create an accent wall – Let’s get building
- Map out your design on the wall using painters tape. Yes, this is a tedious task, but it will set the basis for the entire project. No need to use the premium tape. I use painter’s tape found at the dollar store

- Measure the length of each edge of the square. I measure from the long edge always.
- Using the miter function, cut each piece of wood. Only cut a few pieces of wood and nail them because some measurements may be off. Be sure to label each piece of wood A, B, C, to correspond with your diagram. Otherwise, you can get mixed up with which piece fits in which space.

- When you begin nailing the wood trim, nail to adjacent pieces already on the wall. Do not nail any floating pieces that do not touch another piece of trim. This will ensure that every box is closed perfectly before moving on to another box.
Step 2 – The finishing touches to your accent wall
- Once the design is complete, fill all the miter edges with wood filler. I recommend using your fingers as you can control the filler better

- After the wood filler is dry, sand down the edges. I used an electric sanding machine with p220 grit. Clean all the dust from sanding using a tack cloth or old rag
- Caulk all edges where the wood trim meets the wall. Use a small bead of caulk, and be sure to wipe off excess with a wet finger
- Re-prime the MDF. This isn’t a must do, but the paint will go on much more evenly if you do 2 coats of primer. Honestly, I worked so hard on the wood trim design that I didn’t want to take any shortcuts on the finishing touches.
- Tape your wall. If you opt to use a sprayer, spend the extra $5 and purchase the ScotchBlue Painters tape with the plastic attached. It’s 4 feet of plastic attached the painters tape and it sticks to your furniture and tiles to protect them. It’s amazing! It does take a long time to tape everything. Be sure to close off any gaps as any overspray on places not taped up will stick to the ceiling or adjacent walls.
- Paint your wall. I used a sprayer, but I had to use a roller and brush beside the toilet and vanity. A sprayer is better for open walls with no obstructions in front of them. Next time, I would probably paint the wall first with a roller and give it a final coat with the sprayer for an even finish.

- Proudly show off your new wall and be sure to tag me so I can admire it!

The Reveal of my NEW Powder Room!
I LOVE this wall. This was my first accent wall. Although I picked a high traffic area (the powder room), it was a small wall. I’m glad I started with a small space as I learned a lot for my feature wall.
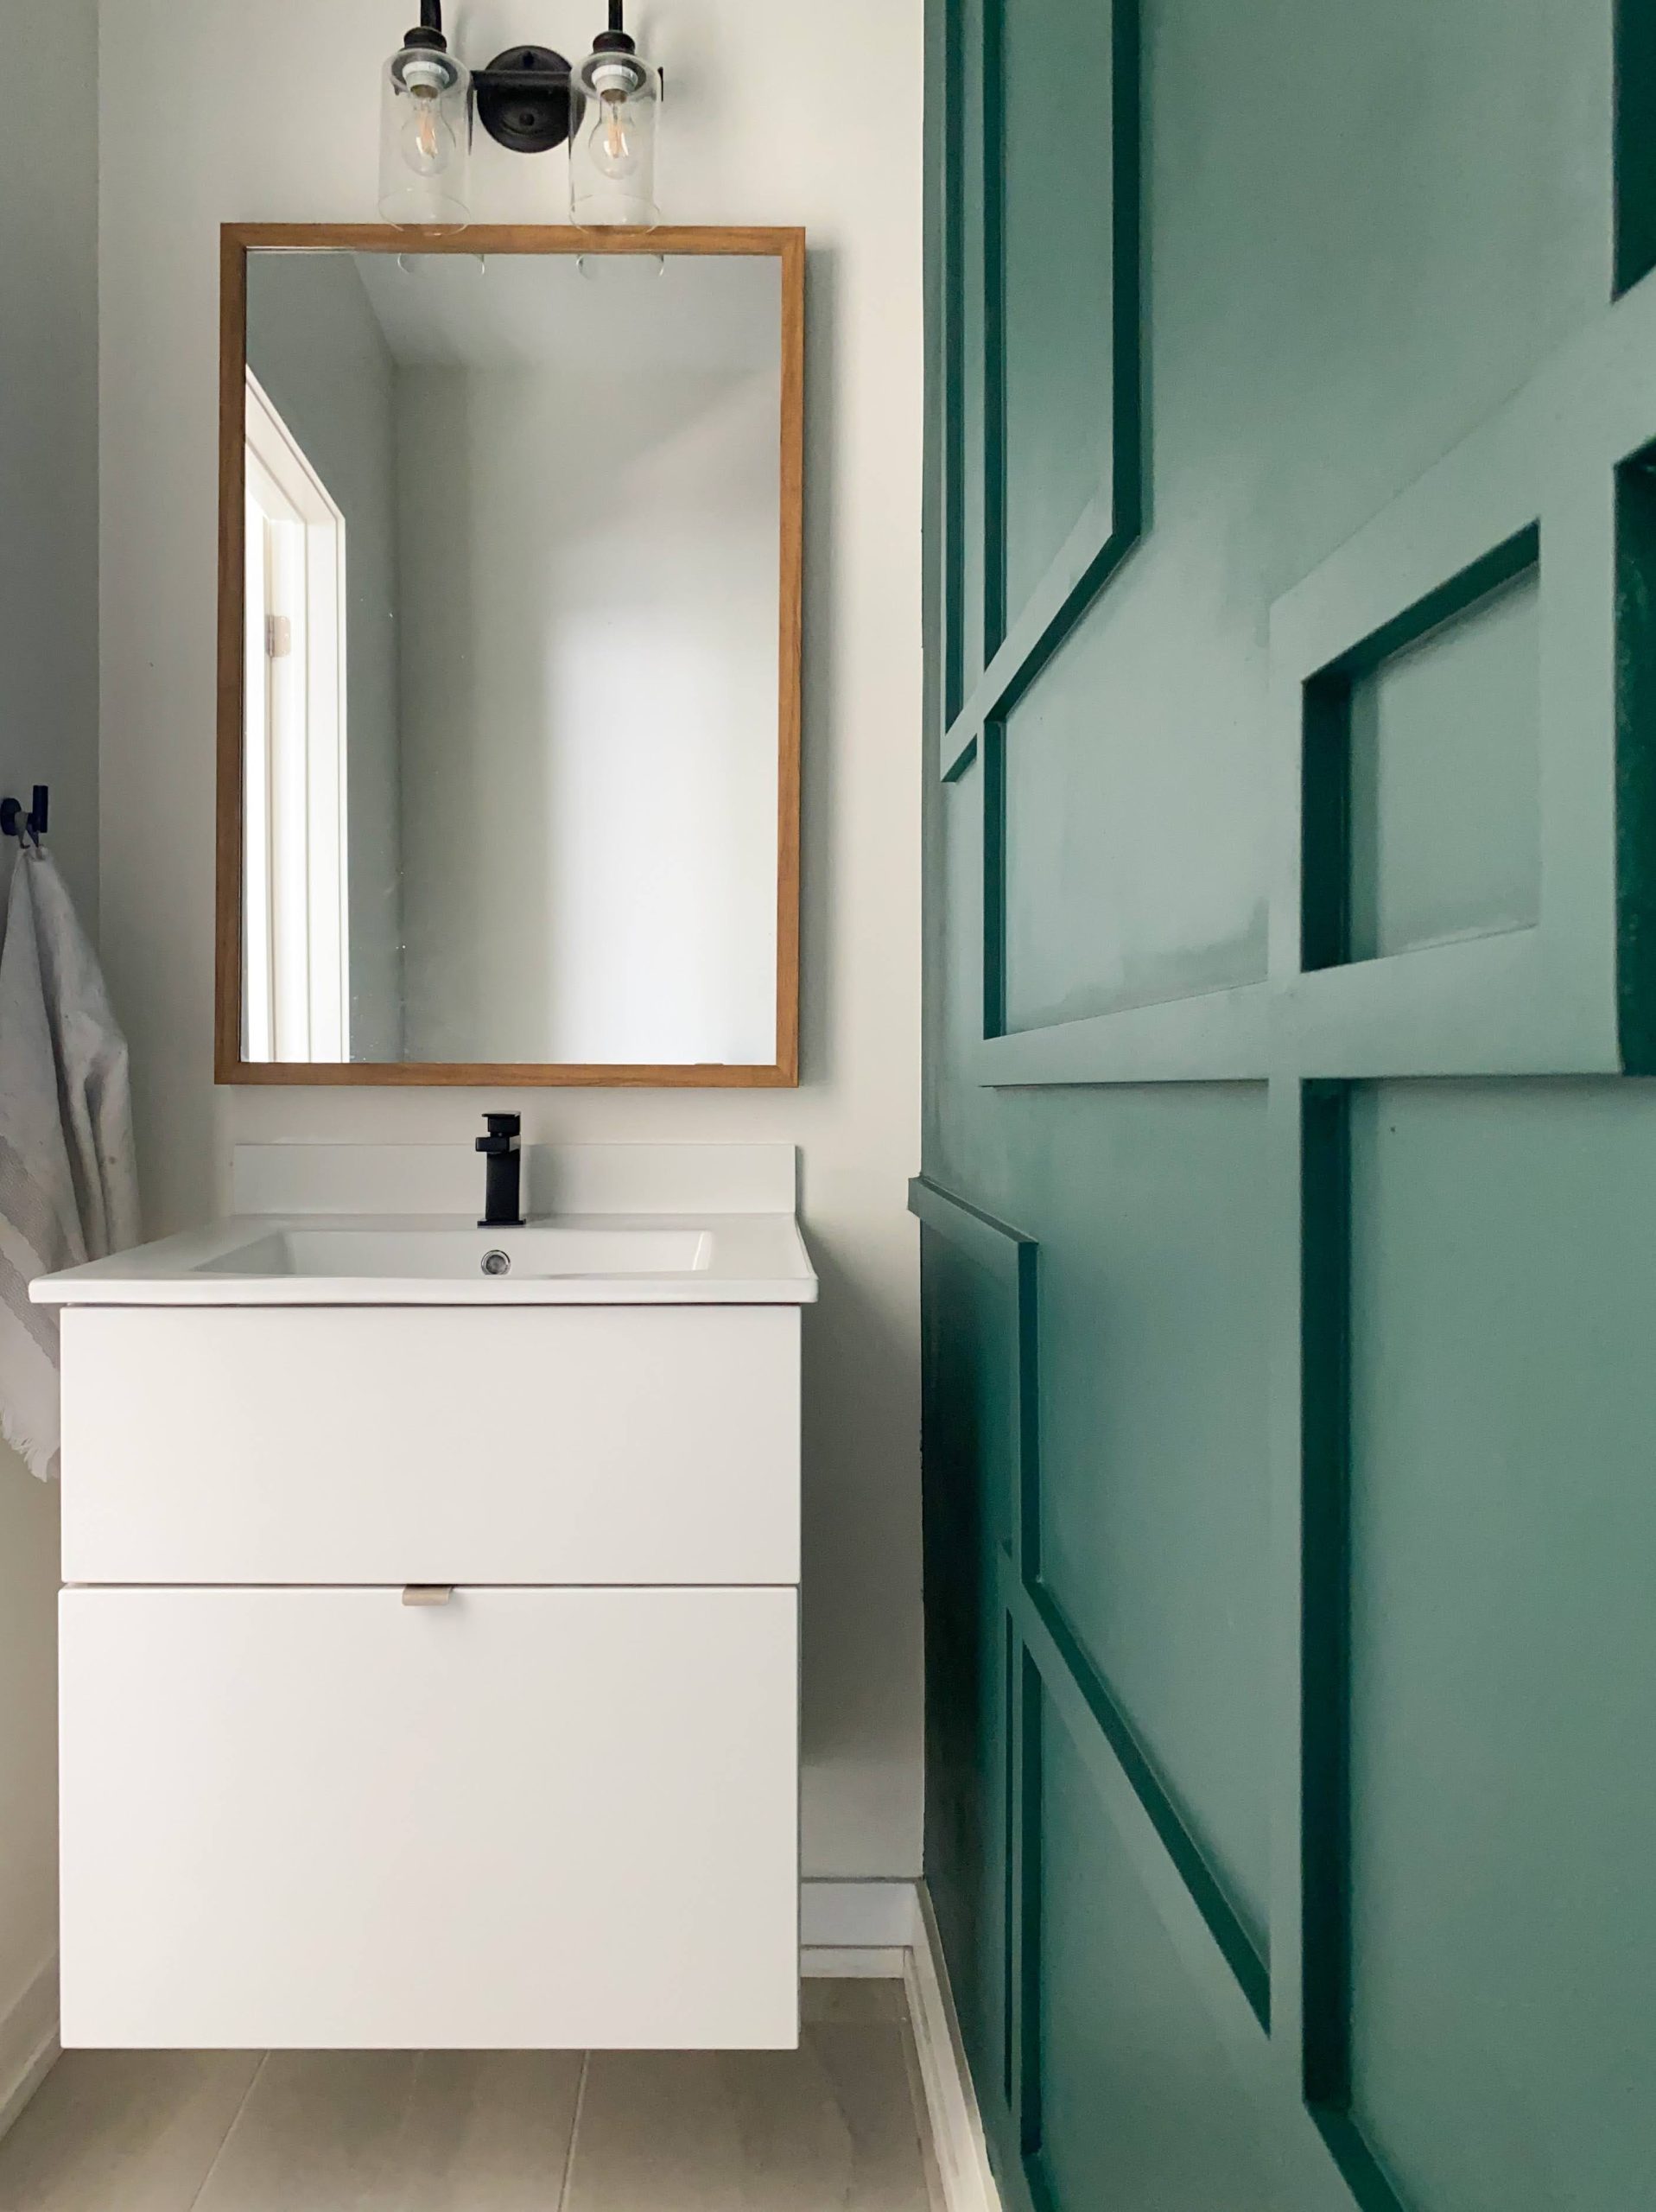
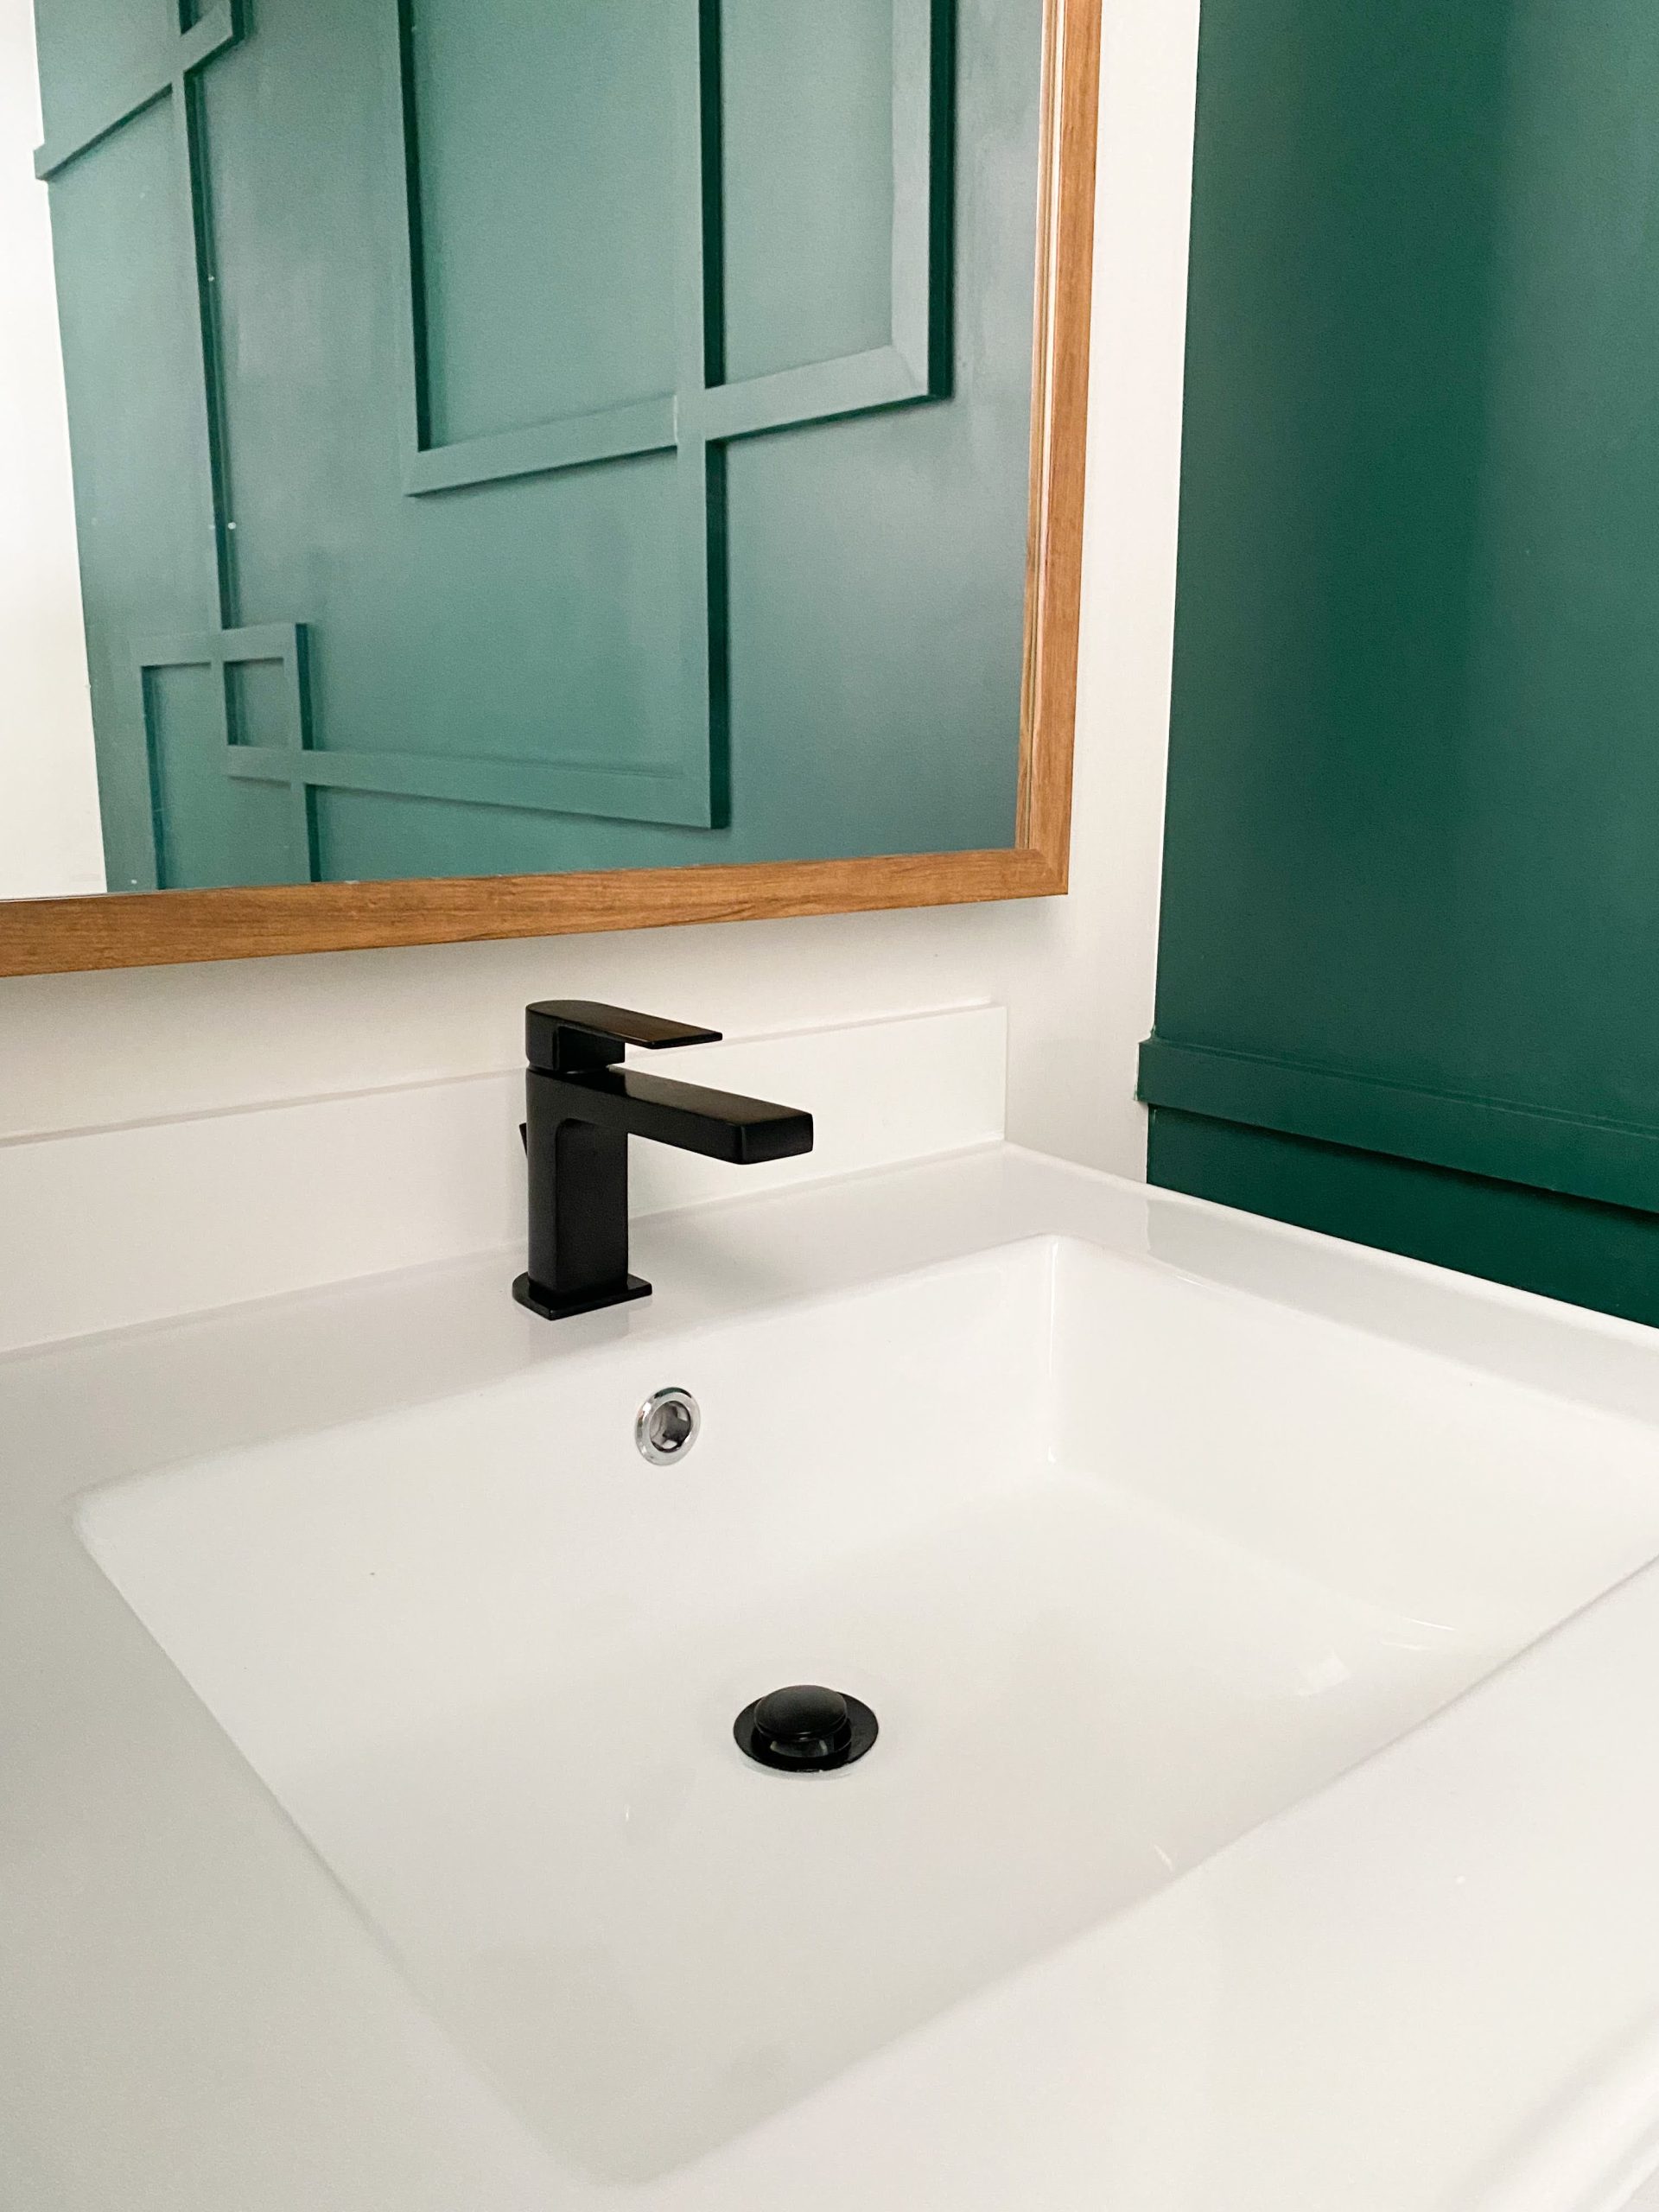
I also changed out the faucet to a matte black faucet, changed the mirror, and updated the lighting. These are must-dos in a builder grade home.

If you love accent walls, check out these other ones I have tackled since then:
– a board and batten wall in a long hallway,
– a feature wall in my bedroom that is a blend of classic and modern style
– a traditional accent wall in my long living room

Pingback: Elevated Hallway Board and Batten Makeover - Hana's Happy Home
Pingback: 5 tips on how to stencil a wall - Hana's Happy Home
Pingback: DIY picture frame wainscoting accent wall - Hana's Happy Home
Pingback: Choosing Paint Colors for a Budget Bathroom Makeover - Hana's Happy Home
Pingback: Entryway DIY Board and Batten Wall - Hana's Happy Home