
Wallpaper installation can be intimidating. But I have 5 tips to make it easier for you. I’ve used peel and stick wallpaper many times. I’ve also used a beautiful pink and peach floral wallpaper in my nieces’ bathroom and a dramatic green wallpaper in my parents laundry room.
I decided to take a bold step to add an accent wall with wallpaper. I searched for a wallpaper that included the colour scheme and was a large print. The large print makes the room look larger. Now that this office is complete, It’s hard to stop the creative juices from flowing in this room. The colour blocking wall unleashed the artist within me!
I turned to Spoonflower to find a unique wallpaper. I love this site because they are wallpaper created by artists! There’s different kinds of wallpaper. I choose peel and stick because I can remove it if I need a change. (note: this product is gifted by Spoonflower, but all opinions are my own)
When I received the wallpaper I was IN LOVE (okay, that was an understatement!) It feels like a woven linen. It’s thick and wouldn’t rip while I peeled it off. The best is that all their wallpaper are unique and support artists. This one is by Julia Dreams

Let’s get started on our Wallpaper Installation
- Gather your materials
– ladder
– sharp exacto knife
– level
– long ruler
– pencil
– PATIENCE
– squeegee or old gift card to smooth out the wallpaper and make sure it adheres. - Have a friend help you – you can do this on your own, but I haven’t had much luck growing my own octopus,(yet!). I asked my husband Avais to help.
- Plan out your wall – make sure you buy enough wallpaper and envision how you will apply the wall paper. Applying from the left side of the wall and moving rightwards is easiest if you are right handed.
- Ensure the first panel is level and straight – I cannot stress this enough. Draw a vertical level line where the first panel will line up. If you don’t, you risk all your panels being wonky. Once you draw your line, then lin eup the first panel along the edge.

- Go slow and try to be loose with matching the pattern– Peel back only 5-8 inches of wall paper at a time. Smooth it out first, before peeling more. If you peel the entire roll, it’s going to stick to you, the wall, your hair. It won’t be fun! When matching the pattern on adjacent rolls, don’t stretch the paper. Line it up at the top and let it go naturally.
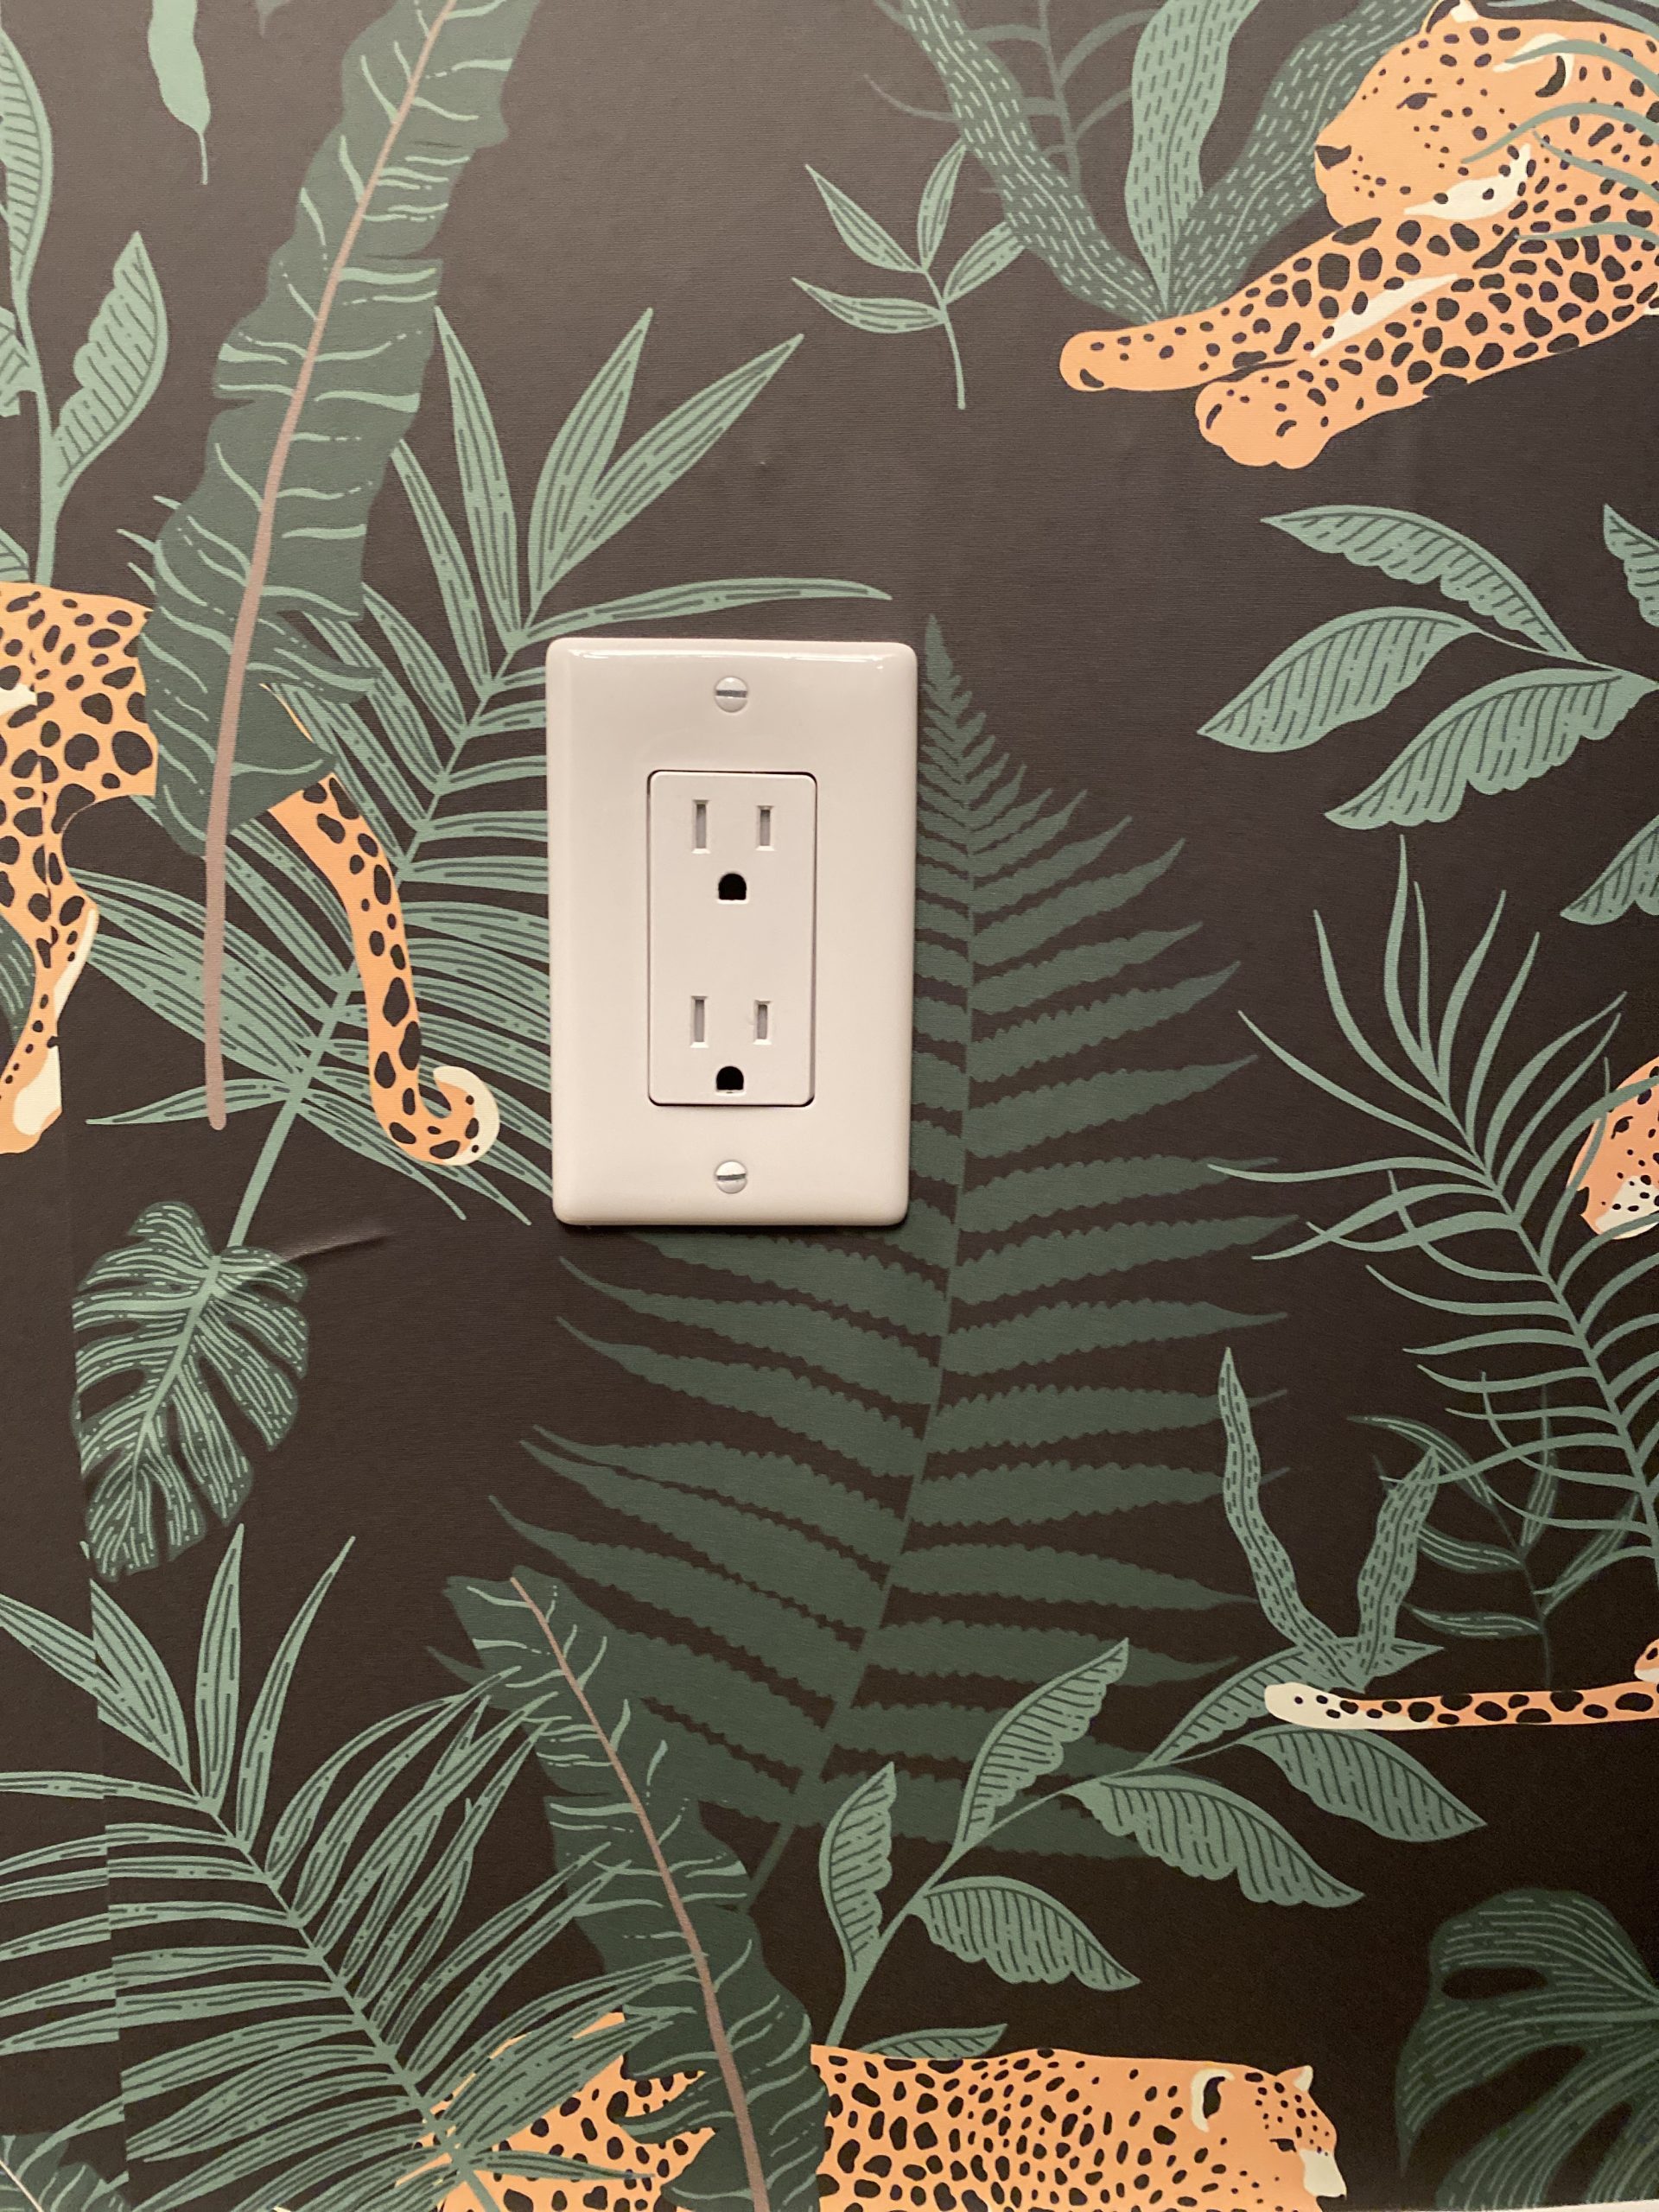
- Pick your battles – You will need to cut around things like outlets and trim. Leave the trim until after the large panels are pasted. When you come back to cut out the details, use a ruler or a square. Line them up and slide your exacto knife along the edge. But do the outlet covers as you go. Otherwise the paper won’t stick flat. To get an even better finish, take off the outlet cover and stick the paper underneath, then put the cover back on.
Stand back and admire your work! Enjoy your space!


Looks great..been wanting to try.
Thanks so much Susan!!!
Great tips thanks!
Thanks!! Let me know how it goes!
What a dream room! I love how all the elements come together so seamlessly. You’ve left me feeling inspired 🙂
This so dynamic and creative!
Pingback: DIY Shaker Peg Rail and Bead board Accent wall - Hana's Happy Home
Can you please link the wallpaper? I love it!!
It was actually contact paper I got from dollar tree!
Very refreshing wallpaper designs, Glad to be able to read and find some wallpaper ideas.