
Kids Grocery Stores are perfect for age 2-6! Mikaeel loves doing groceries. I’m not sure why, since he doesn’t love to eat! haha But since COVID, he hasn’t been able to participate in this favourite activity. Back when I was making the dollhouse for my nieces, I told him I would make him something. Then I made him a play structure, but he still wanted a kids super market. You can also use these plans for a lemonade stand, or any type of puppet theatre, ice cream stand, pet store. See the detailed plans for a step by step tutorial
| Time | Level | Cost |
| 4-5 hours | Beginner | $50-$70 materials |

What you need
- 1/2” plywood
- 1×2” pine
- Circular saw or table saw (or try to get the hardware store to cut the pieces for you)
- nail gun and 1 1/4′ nails (I have a ryobi brad nailer)
- Trim (I used leftover 3” trim)
- 2 inch screws
- drill
- clamps
- impact driver
- Paint
- Wood conditioner
- Stain (I used Special Walnut)
- Polyurethane
Cut List
For cut list, see the detailed plans for the kids grocery store.
Let’s start building the kids grocery store
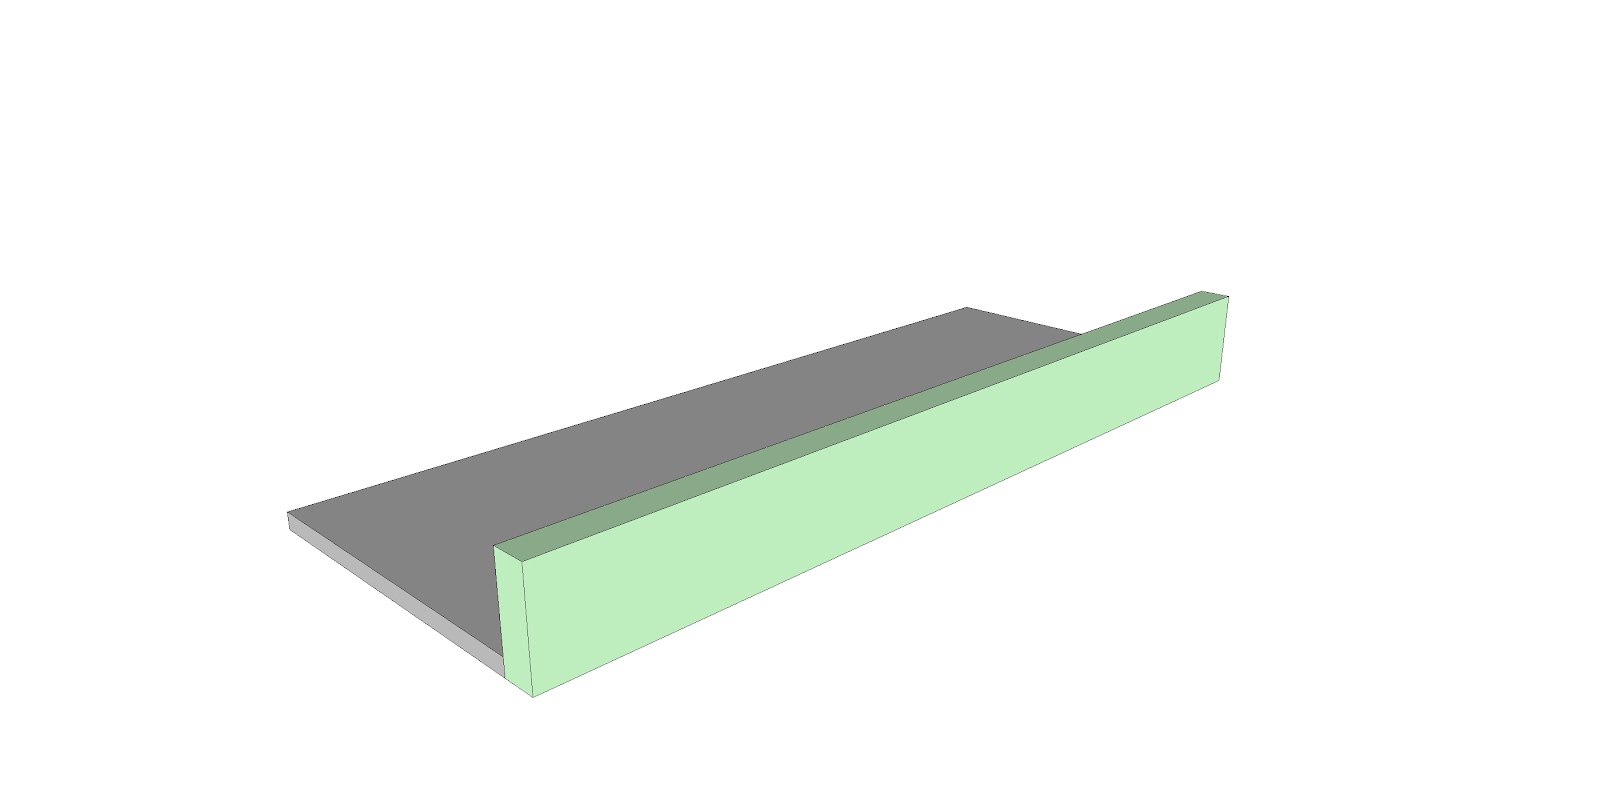
- Use a clamp to hold the front trim in place for the grocery shelves. Nail it in using the brad nailer.
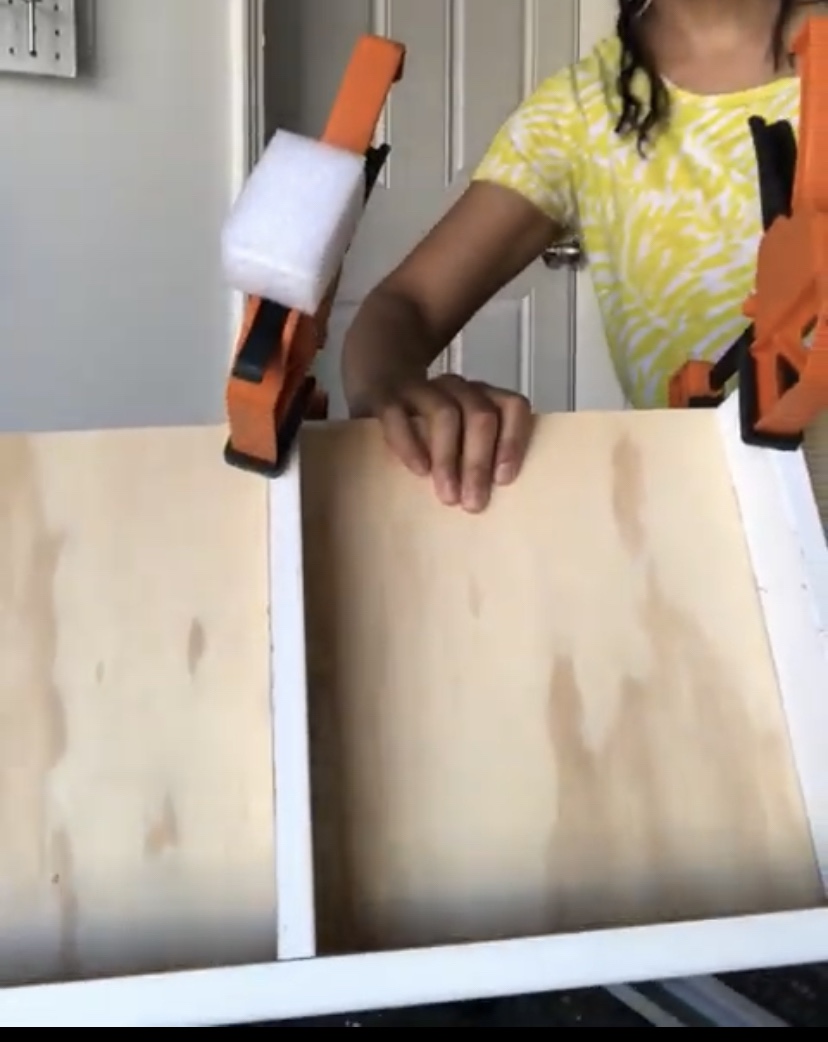
- Clamp the shelf dividers to the shelf. Then measure 9’’ from each end and draw a line on the top and UNDER side of the shelf. You will nail the dividers from the underside of the shelf, upwards. DO NOT SKIP marking the underside of the shelf. Nail it in using care to nail on the line, otherwise the nails will poke through.
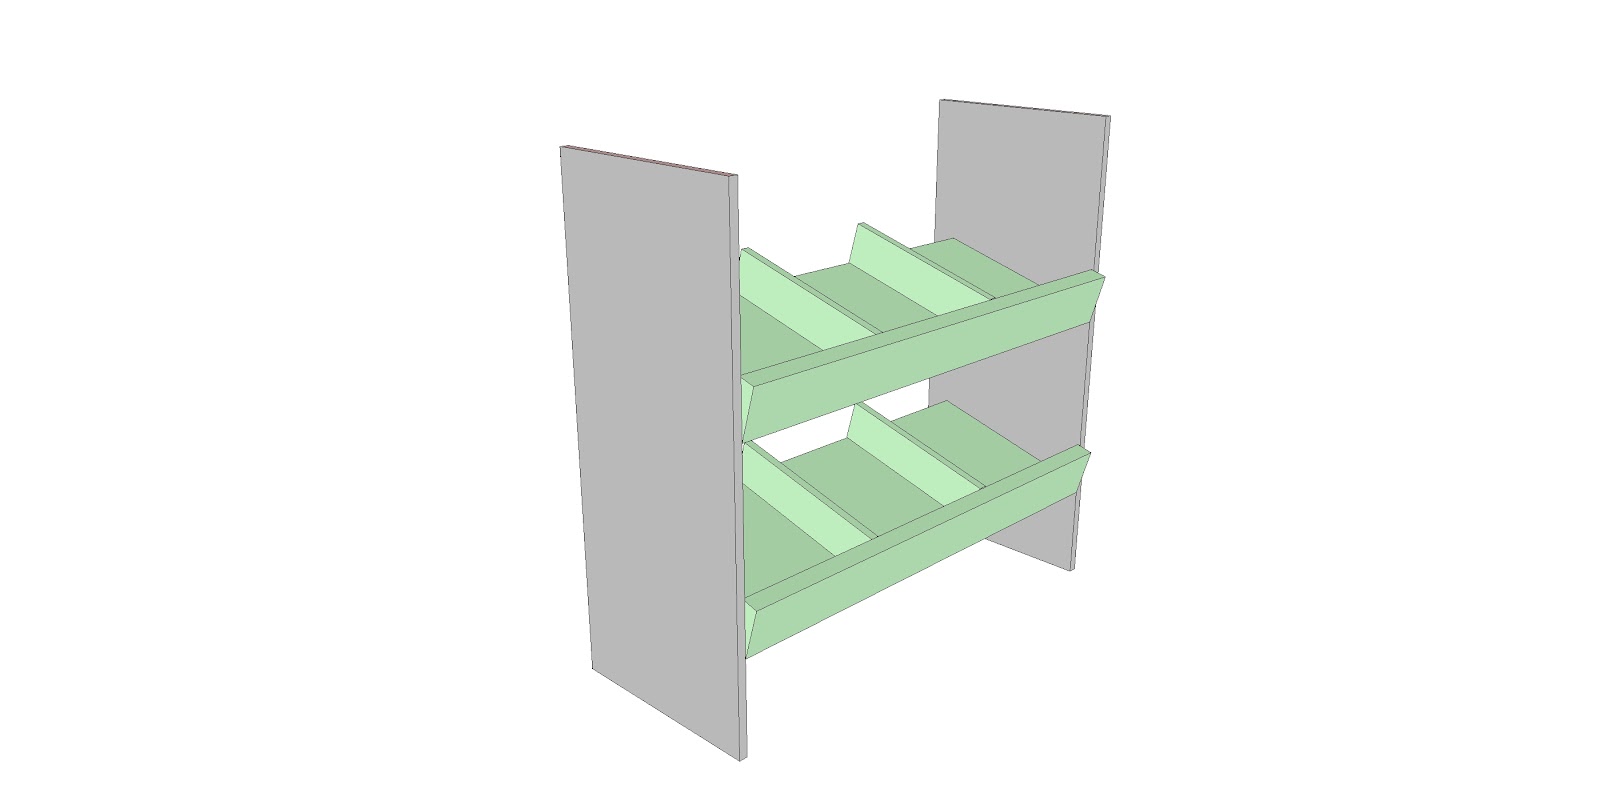
- Once your two shelves are ready, measure and mark where the shelves will be placed on the side supports. See the detailed plans for how to measure and mark the shelves. Nail the shelves into the side supports.
- On the top of the counter, mark where you want the sign supports to go.
- Drill the pilot holes from the top of the counter. If you have a kreg jig and are familiar, you can use that for this step
- Screw in the side supports from the bottom of the counter. Go slow as you may split the pine since it’s so soft
- Decorate the sign, give your market a name! Have fun and let your kids decide the name. I really wanted to name it “Strawberry & Sons” (where I am Strawberry, but the kids didn’t let me! haha). Attached the sign to the posts.
- Add the counter! Look at that! Ain’t it a cute kids grocery store! For the full plans, measurements and step by step guide, purchase the build plans

- Sand all the edges because share edges are no good for kiddies. Using p220 you can round the edges so it’s safe for kids.
- The fun part – Painting the kids grocery store! I chose to do black shelves and wood for the frame. You can paint it any color you like! If you choose to stain, make sure to use wood conditioner, stain and poly! Write/ paint the name of your store. I used a paint marker that I got from Michaels!

Now let your kids have fun!!!!
For more budget friendly DIYs check out my instagram page