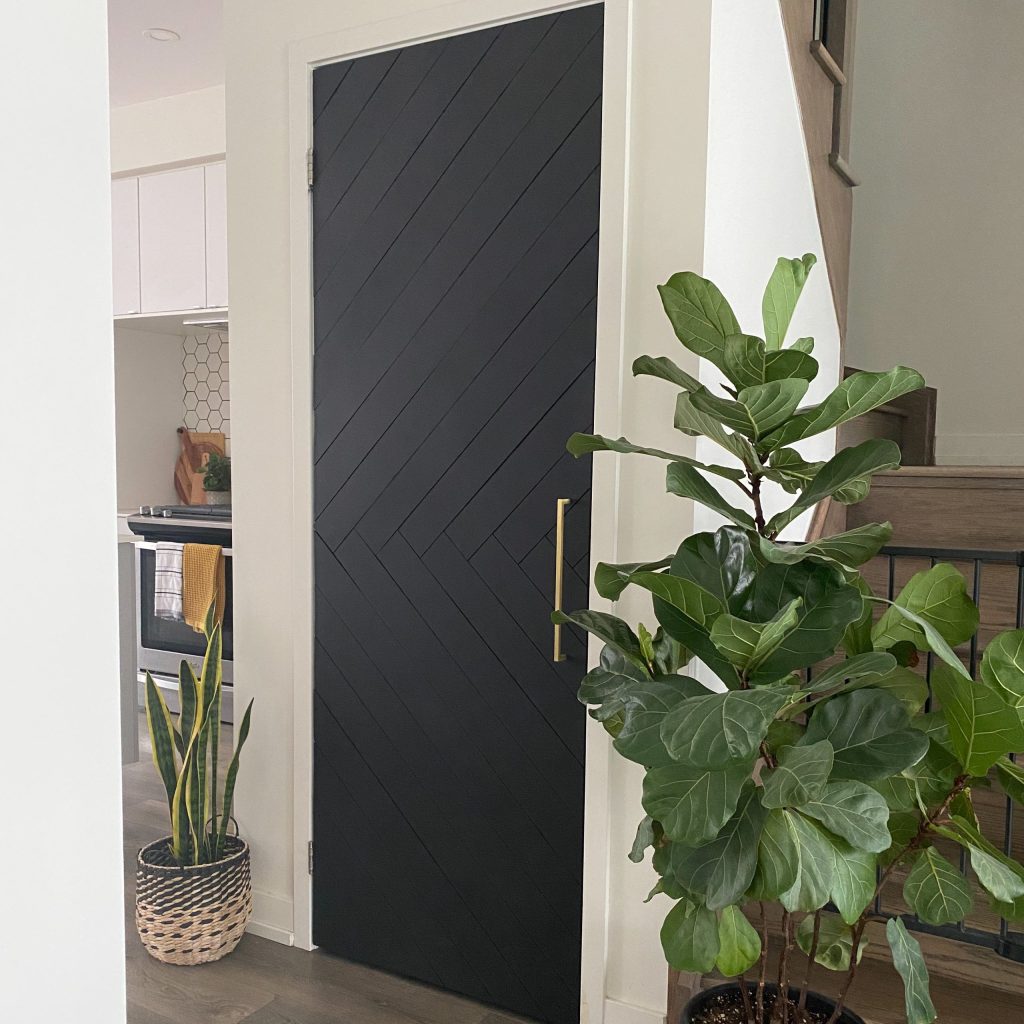
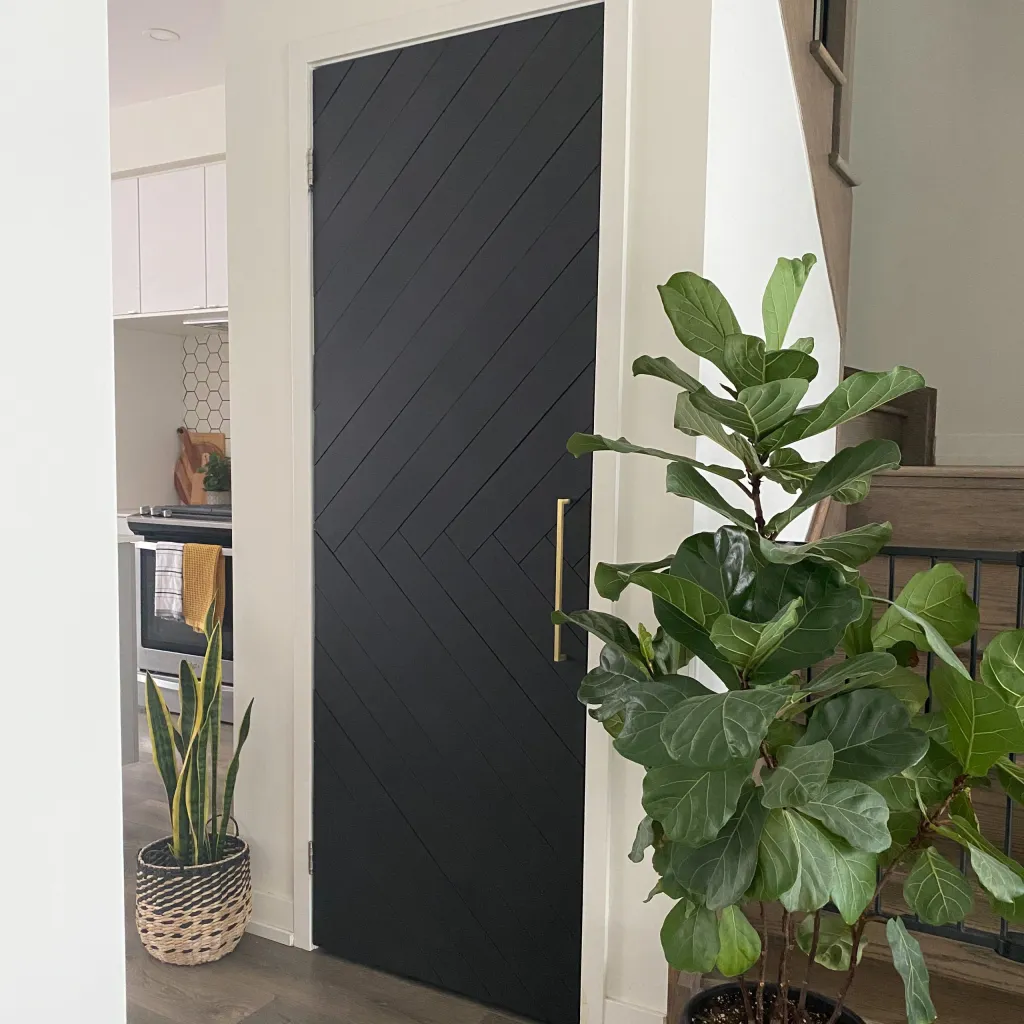
Learn how to DIY Interior Door on a budget. I created this for $40! I have so many boring doors in my home. This post is how to DIY interior doors on a budget. Previously, I completed a DIY Door Makeover on our basement door. I added a really cool geometric door design that went viral over the internet. I love that custom door and it’s a show stopper. Now it’s time to update our pantry door. All the doors in my home are hollow core doors. This door needs a simpler design as it’s in the middle of an open concept kitchen/ living/ dining space. I used a similar method and materials to achieve this $40 door design.
Materials for our DIY interior door update
– ¼” thick piece of 8×4’ MDF
– ¾” 18 gauge nails
– Handle
– 220 grit sandpaper
– Painters tape
– 2x 2” long 8/32 screws
– Paint. I used leftover interior paint to save money: Sherwin Williams Tricorn Black in matte
– Spacer. I used a L ruler
Tools
– Orbital sander
– Table saw (or get the hardware store to cut the pieces)
– 18 gauge Brad nailer
If you like watching video tutorials, check out my YouTube video! And be sure to subscribe and comment!
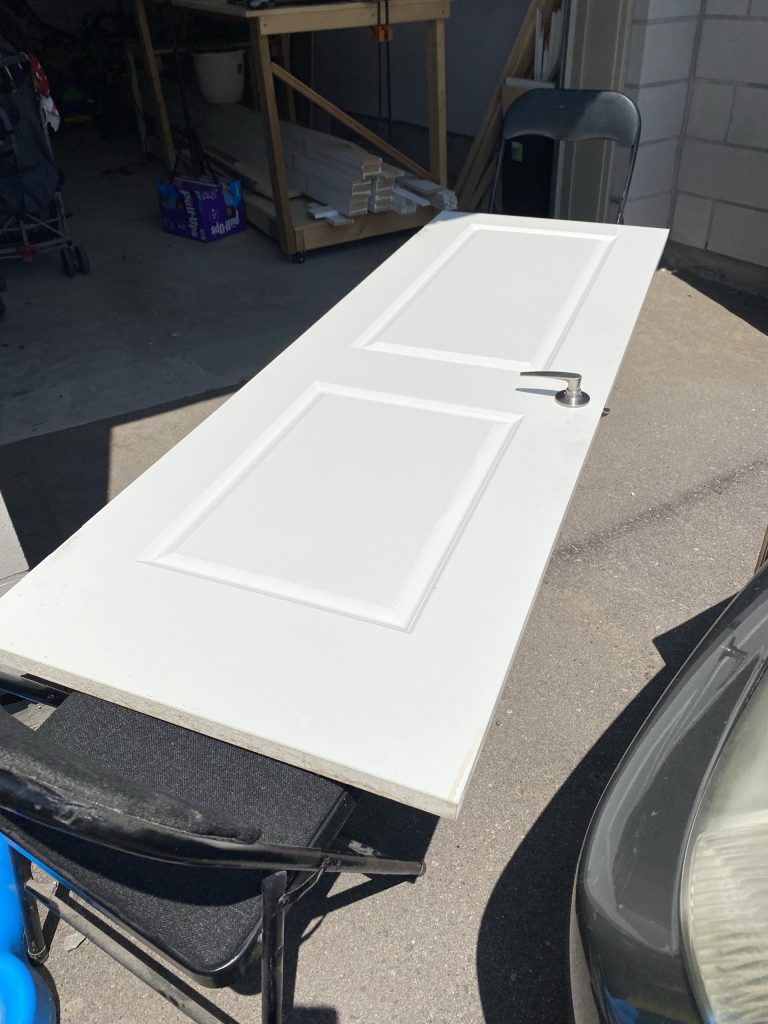
Step 1 – Prepare your Door
1. The first thing you do is take your old door off the hinges using the drill
2. Paint your existing door the base colour. This is a crucial step to make your life easier. I didn’t do this and really regretted it later and had to pull out my paint sprayer to save the day. I didn’t realize that after you put the panels on, the gaps are really tiny and a paint brush can’t fit in between the gaps. TRUST ME!
3. I used a ¼” thick piece of 8×4’ MDF. I purchased this from a hardware store for $10.
4. Cut the panels down to 3.5” wide use a table saw. If you don’t have a table saw, ask the hardware store to cut it down. Most will do it for $1 a cut.
5. I didn’t need to, but if any edges are really unfinished, give them a quick sanding with p200 grit.
6. Remove the door handle. This will replaced with a ball catch and new handle
Step 2 – Paint your Door
I highly regret my decision to start DIYing the door before painting it. It caused me so many headaches with painting it after I added the panels. Learn from my mistakes!! Paint the door first!
Step 3 – Building our DIY Interior Door
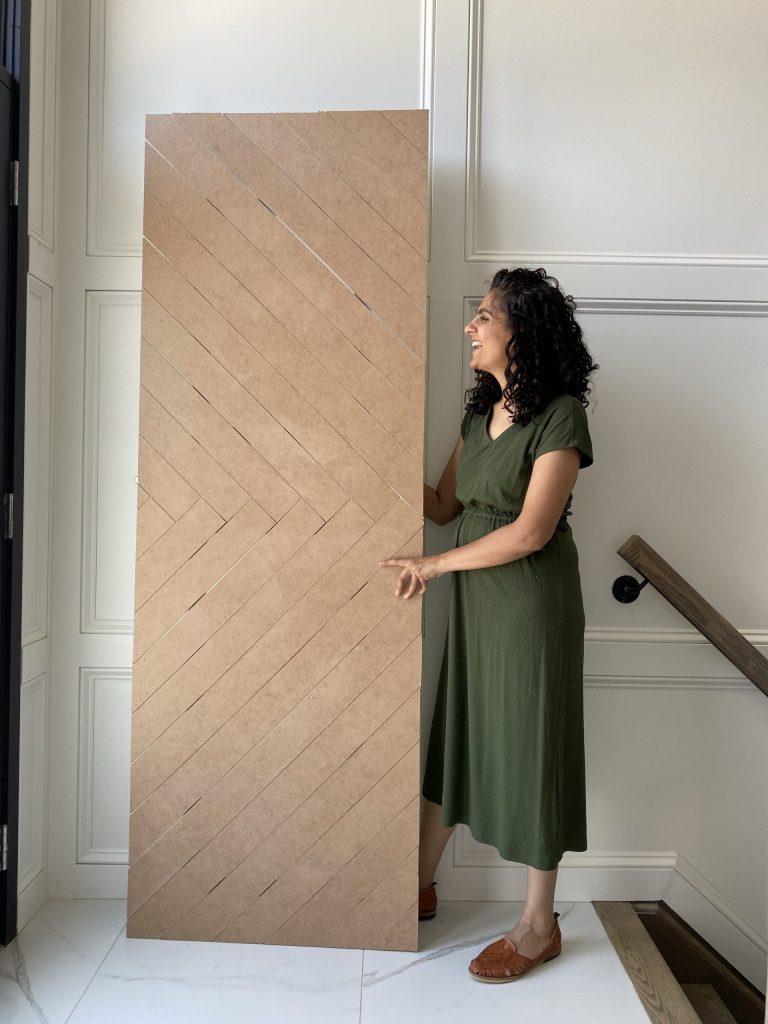
1. Find the centre of the door in length. My door was 80” long. I made a line at 40” across the door. This is going to the be starting point, so ensure it’s in the middle.
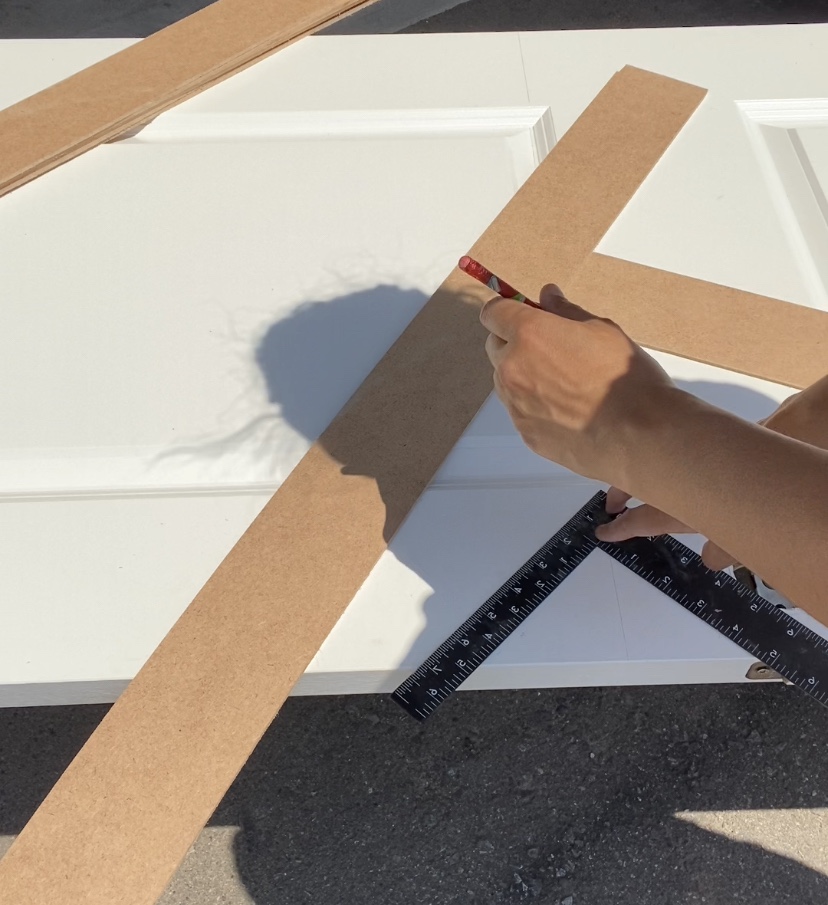
2. Start laying your boards down on the original doors to see how the pattern will look. Try to align them to follow the centre line as closely as possible. You will have pieces that hang out over the edge. I cut the ones down that were very long just so it would be easier to work with and I could use them elsewhere on the door.
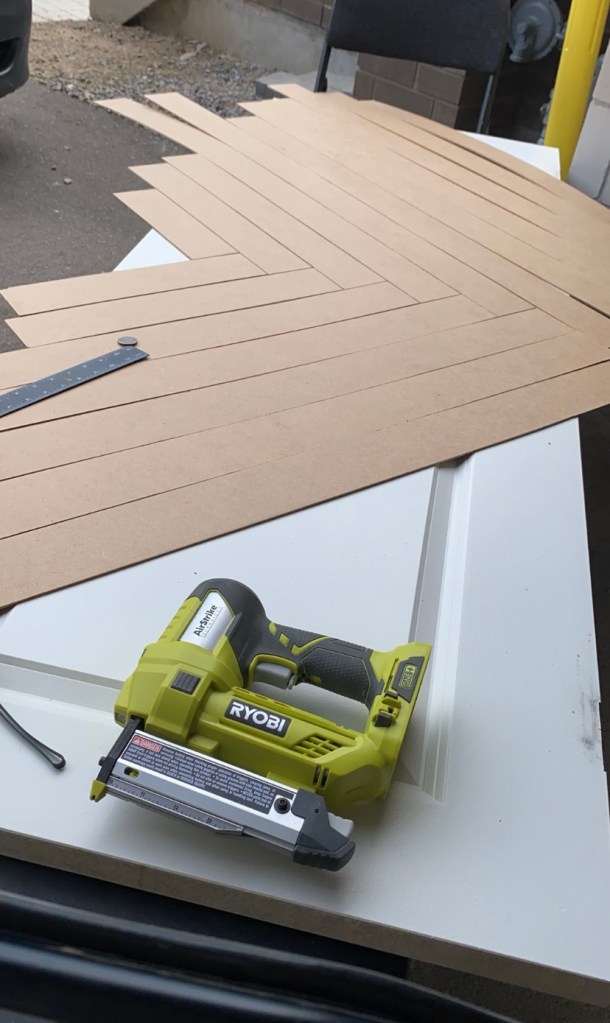
3. Grab a spacer. I used a L ruler, but you can use anything. Now start nailing the pieces, with the spacer in between each piece. It’s looking great! I can see it come together
Step 4 – Cut the excess length off the panels
1. This next step I struggled with, but I think a good idea is to grab a friend and get them to help you flip the door over. Now grab your circular saw and adjust the blade depth so you can cut off the edges from the BACKSIDE of the door. Some pieces may come loose and need to be refitted.
2. Flip your board over and admire your hard work!
Step 5- Prepare to Paint Your Door
1. Let’s fill all the nail holes using drywall spackle. I find drywall spackle a lot easier to sand vs wood filler.
2. Now, lightly sand using p220 grit sandpaper until smooth
3. Prime the door using either BIN primer or Sherwin Williams Wood and Wall primer. I used the latter.

Step 6 – Paint your door
Paint the door 2-3 coats with regular interior door paint. I did not paint the edge of the door because I was worried that an extra layer of paint would cause the door opening to jam or stick when it was on the hinges and closed.
If you have a sprayer, it would be easier to paint. I used Urbane Bronze SW 7048 for this door. It’s the perfect warm black. It’s the same color as my geometric door
Step 7 – Finishing touches:
1. Hang the door with your drill. You may choose to change the colour of the hinges to match your door handle. I painted mine with rub n buff in antique gold afterwards.
2. Follow the instructions in the packaging to add the ball catch. This is essential for you to be able to open/close your new door.
3. Now add the handle. My best tip is to apply a piece of painters tape across the back of the handle. Then poke a hole with the screws.
4. Next, transfer the tape to the door. Use a level to ensure it’s level and straight. Drill a pilot hole directly on top of the holes of the tape.
5. Screw in the handle from the back. I had to get a 2” screw to accommodate for the thickness of the door (as this handle is meant for kitchen cupboards that are less thick)
DIY Door Frequently Asked Questions
Update: I completed this door almost 2 years ago. I’ve compiled a list of my FAQs
1. What does the side of the door look like?
There is 1/4″ added thickness to the door, but I don’t think it looks bad. It’s just the design of the door!
2. Why didn’t you paint the door frame?
Earlier this year, I felt like the door wasn’t substantial enough, so I painted the door frame. I used painter’s tape to tape off the door frame. It’s a great way to add visual weight to the door.

3. Did the panels fall off if you only used nails?
Nope! I haven’t had any issues. However, if you’re concerned, you can also use wood glue to secure the panels first, then nails
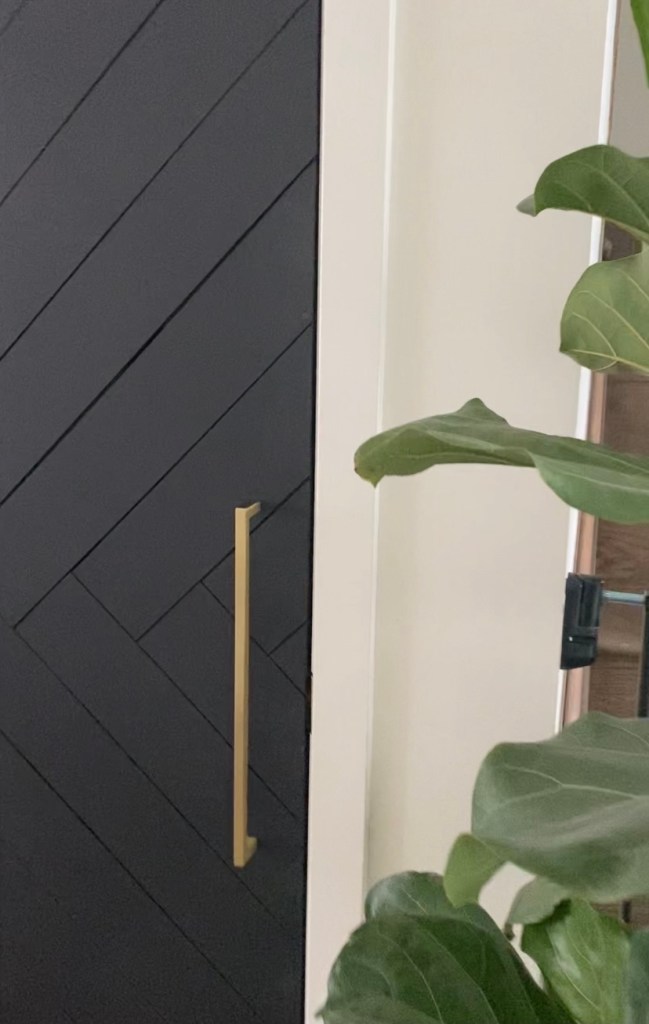
4. I don’t understand how the door stays shut without a door knob. That looks like a door handle for a cabinet.
It is a cabinet door handle!? I love it. I used the door push lock mechanism. So the door doesn’t latch, but it stays closed. If you want to open the door, simple pull it open.
5. Can I replicate this on my exterior doors?
It depends. You would have to use different material as MDF is not waterproof. You could use wood that is sanding, primed and painted. However, it also depends on the material of your door. My front door is a steel material and I don’t think it would hold nails. I think a wooden door with wood panels would word.
6. Did you paint the inside of the door
I didn’t. It is a pantry closet, so I didn’t think it was necessary to paint it.
7. If you had to do it again, would you add a piece of MDF before the design so it was resembled flat panel doors?Yes! That is one thing that I wish I had spent the extra time and money. I can still see some small areas on my paneled door where the design is recessed. It’s SMALL but it’s definitely there.
8. I love this, but is this a beginner project? Could I do this on my own?
You need quite a few tools, all of which I had. If you’re willing to put the money to purchase these tools, and the time in to learn them – it’s doable! I also think it’s great to have a helping hand throughout the project, which I didn’t have (like when I needed to flip the door!) Remember the power of paint – if this isn’t your level, a fresh coat of paint is an easy interior door makeover with no tools and little skill.
9. What is the black paint color?
This is Urbane Bronze SW 7049. It’s a beautiful moody black with a bit of brown undertones.
This door is such a beautiful show stopper. I can’t even believe how good it looks compared to the plain doors! It’s amazing what a huge difference a budget project can make to an entire room. Don’t overlook your interior doors. They deserve to be loved, just like any wall. I love how the black can go so well with so many spaces. If you complete this door update, I’d love to see it. You could DIY this on closet doors, a front door, or sliding barn doors. Share with me on instagram, and follow along for more DIY projects!