
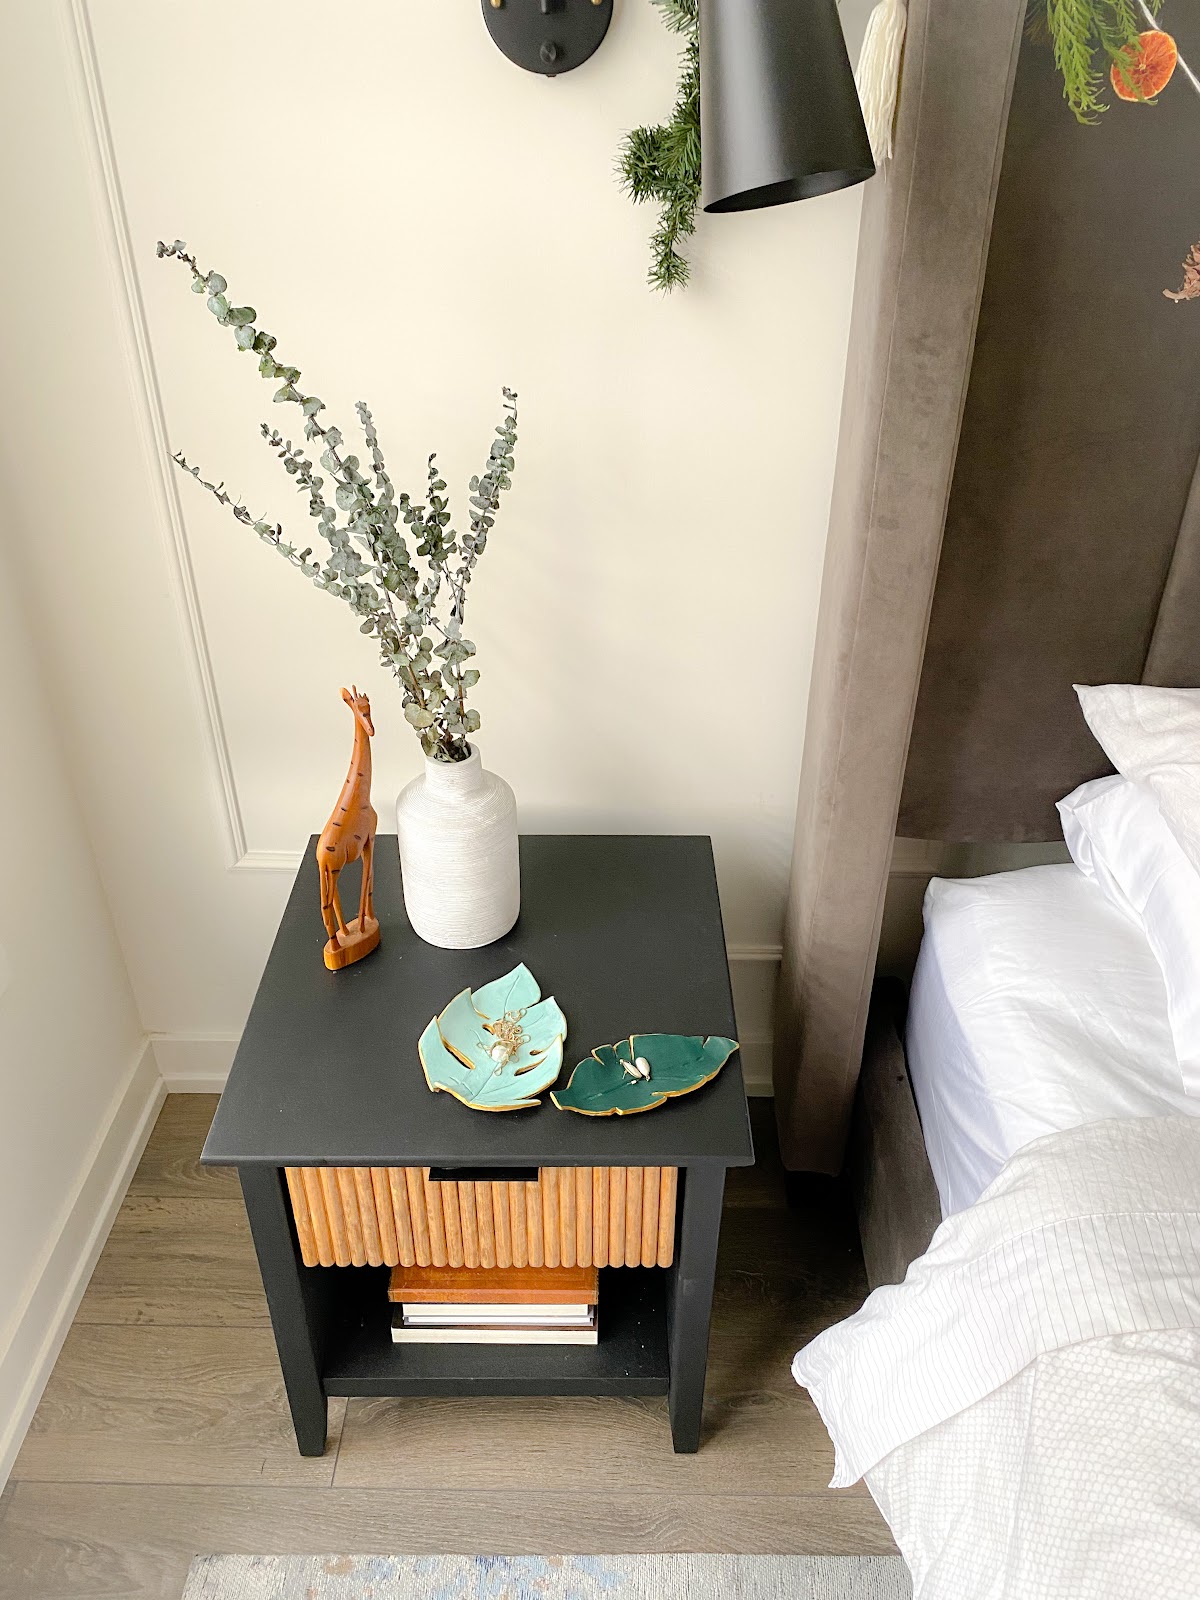
I saw this beautiful DIY air dry clay jewellery drop dish on Lia’s website. I had pinned it to my board and I’ve been waiting for the opportunity to make this.

With the holidays right around the corner I decided to make this for my son’s teachers. So I picked up a bar of air dry clay from the dollar store and got to work.
For the full tutorial check out Lia. Here are some tips below:
When rolling out the air dry clay it will most definitely stick to your counter. Put something like parchment paper or a tea towel underneath
Before letting your object dry, wet your finger and go over any of the rough ideas and smooth them out. That will make sure that your dish will not have any sharp edges when it dries
- When you’re leaving them to dry, make sure you place them out of reach of your kids or anything that might fall on them
I totally forgot this, but you could add an inscription to the back of it with your name and the year.
One of my dishes broke and I can’t understand why. It was not dropped!! So make sure you handle them with care
- Have fun with it! It really took me back to my art school days. One of my Instagram followers even said she was going to do a date night with her husband were they both build some thing out of air dry clay!

Make sure to follow me on Instagram for more ideas and share with me your creation. Instagram.com/Hanashappyhome
Those are really cute! 💙