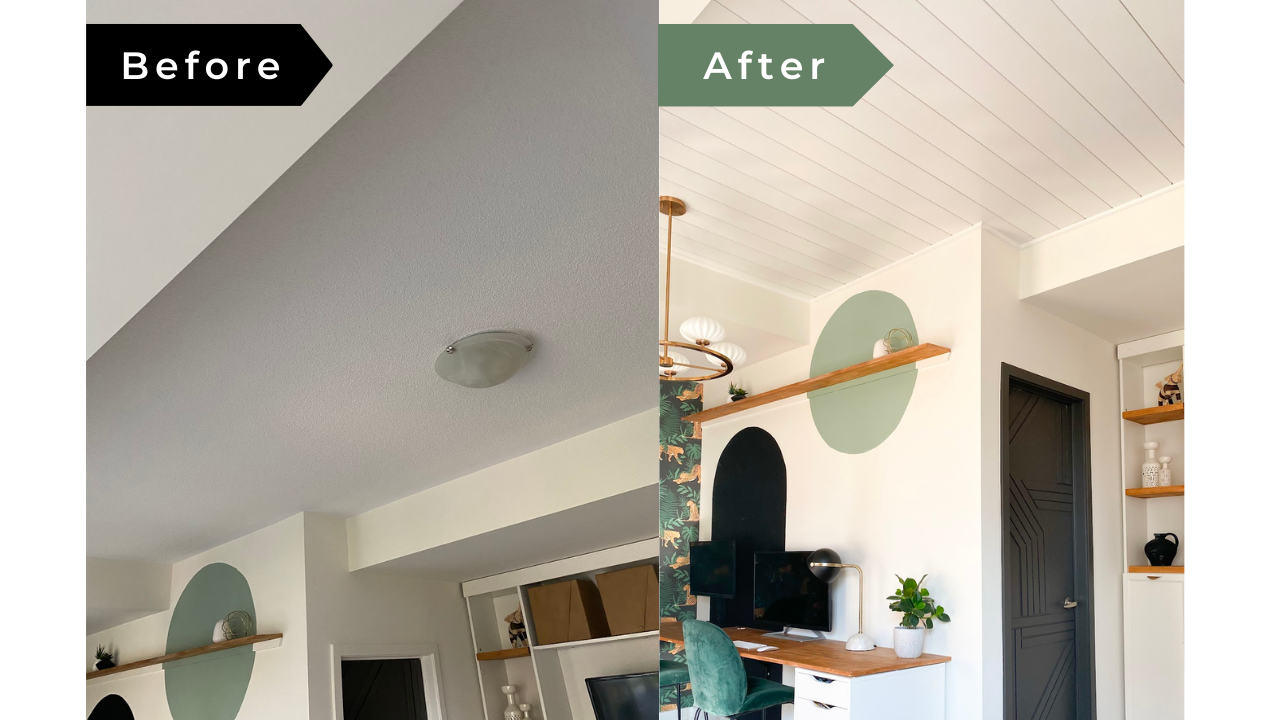
Did you know you can transform your popcorn ceiling to a shiplap ceiling? I hate popcorn ceilings. You don’t even have to remove the popcorn!
When we were purchasing our home, our builder gave up the option to upgrade our ceilings for $3000 each level. I thought there were SO MANY other upgrades I would rather do, so we opted not to. But ceiling design has become increasingly popular over the last few years.
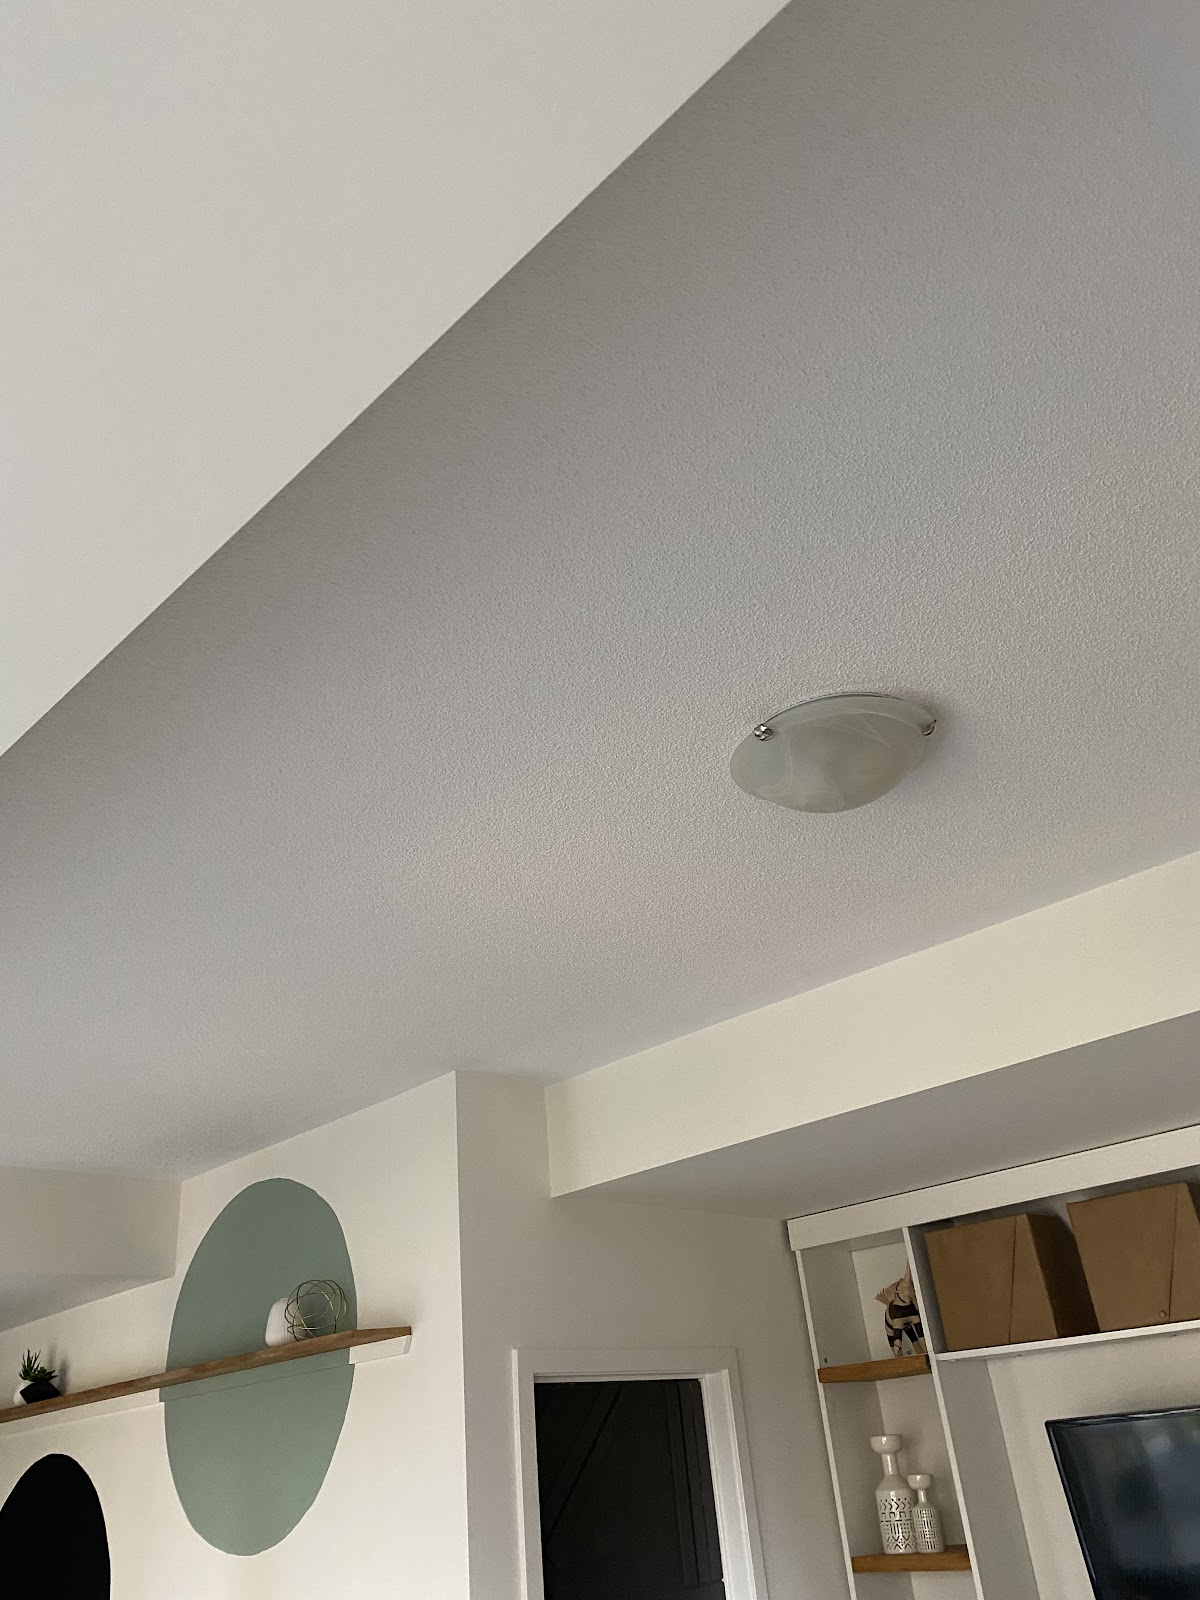
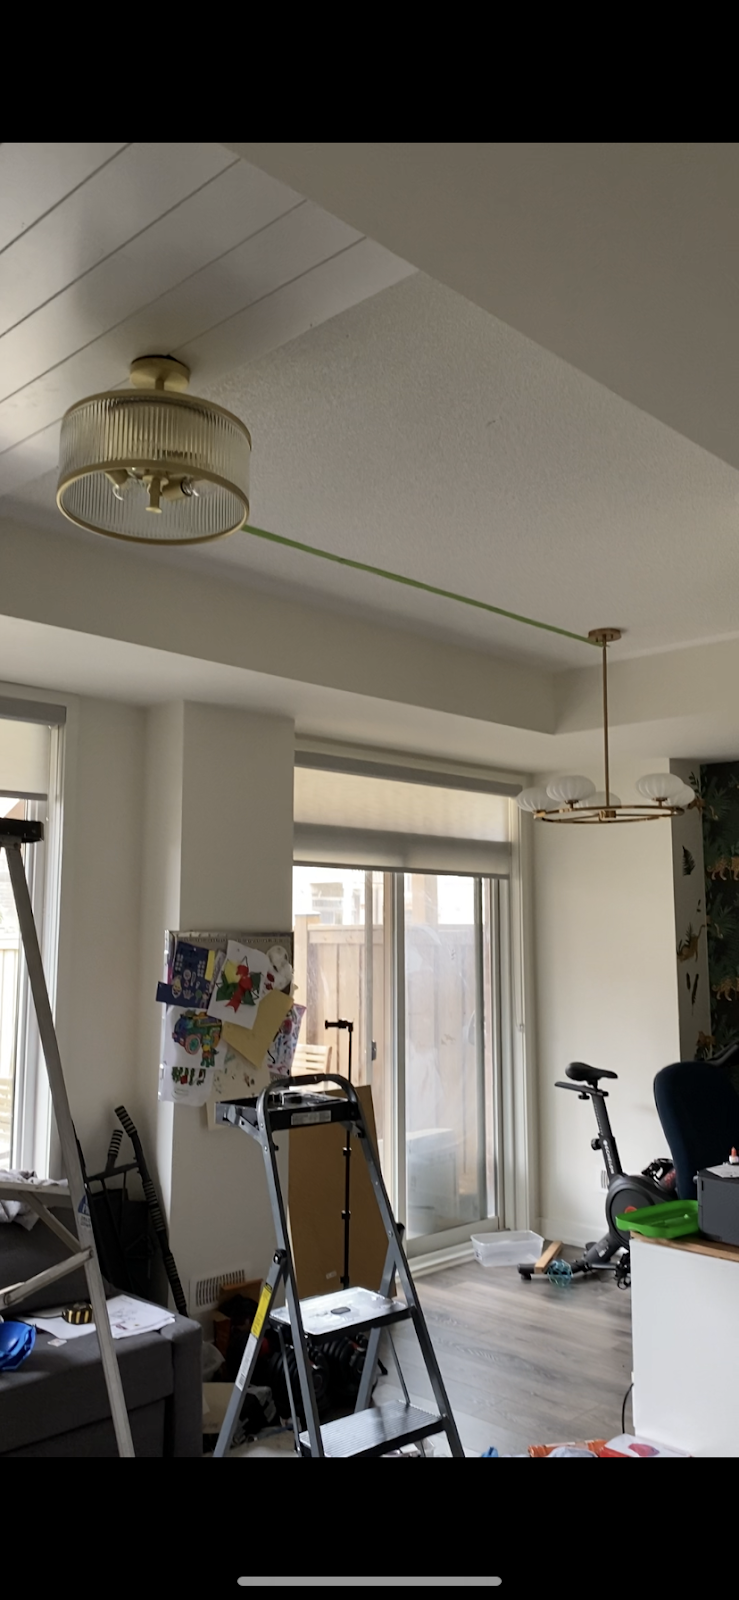
Our basement space is a long multi-functional room. It’s our office, home gym, kids play area, and TV space! We use it A LOT! A few years ago, I started to design this space. I’ve really been wanting to add character to the ceiling. The venting runs around the space, so it’s almost like a coffered ceiling.
I wanted to shiplap the ceiling, but I’ve never used shiplap before. I want to make this project easy because it’s going to be a shoulder and neck workout! I decided to use Metrie Complete pre-painted Shiplap + Finishing Kit. This shiplap is pre-painted in polar white. Standard shiplap is only primed and requires the additional step of paint. I used my nail gun and construction adhesive to attach the shiplap to the ceiling (after some trial and error!) Then, I used the finishing kit to fill in the nail holes. I’ve done several accent walls, and the pre-painted board definitely speed up the project.
Asides from shiplap, Metrie has other trim and moldings in this line to make the project a lot easier. It’s a great option for beginners or anyone who wants to finish the project a lot quicker!
Materials to Install a Shiplap Ceiling
Power tools
- Mitre saw
- Jigsaw
- Brad nailer
- 1.25” brad nails
- Pin nailer
- 1.5” pin nails
Materials
- 5 1/2″ Metrie Complete Polar White Shiplap. For this ceiling that is 145” length 63” wide, I used 28 boards.
- Metrie Complete Quarter round trim
- Metrie Complete Finishing Kit
- Metrie Complete Caulk
- Construction Adhesive
- Caulk gun
- Stud finder
- Speed square
- Drywall knife and prybar (Not essential, but if you’re like me and make mistakes, you’ll need to remove some… haha)
- Painters tape
- Clamps
- Utility knife
- Laser measuring tape
Step 1: Find the studs/ joists in your ceiling
Before you install the shiplap, it’s important that you know where your joists and studs are in order to ensure an even installation. If you don’t have access to a stud finder, or if those corners of your room don’t have any easily visible nails (like mine did), grab a drill and make some holes. That way, when the paneling goes up, you’ll be able to easily see exactly where everything needs to be placed. I marked mine with painters tape.

Step 2: Measure the space to get dimensions for your shiplap
To begin, measure the length and width of the space in which you’re installing your shiplap. You will also need to take into account any doorways or windows that are present in this area—the last thing you want is for your walls to look crooked when they’re not! Use a speed square and level to check if the walls are level. My fear was that my last board would be VERY un-level and look like a slice of cake. Thankfully, that didn’t happen although there was a ¼” variation
Step 3: Cut your shiplap boards
To cut the board, use a miter saw. I measure a tiny bit long. I’d rather trim down the board then have it wasted.
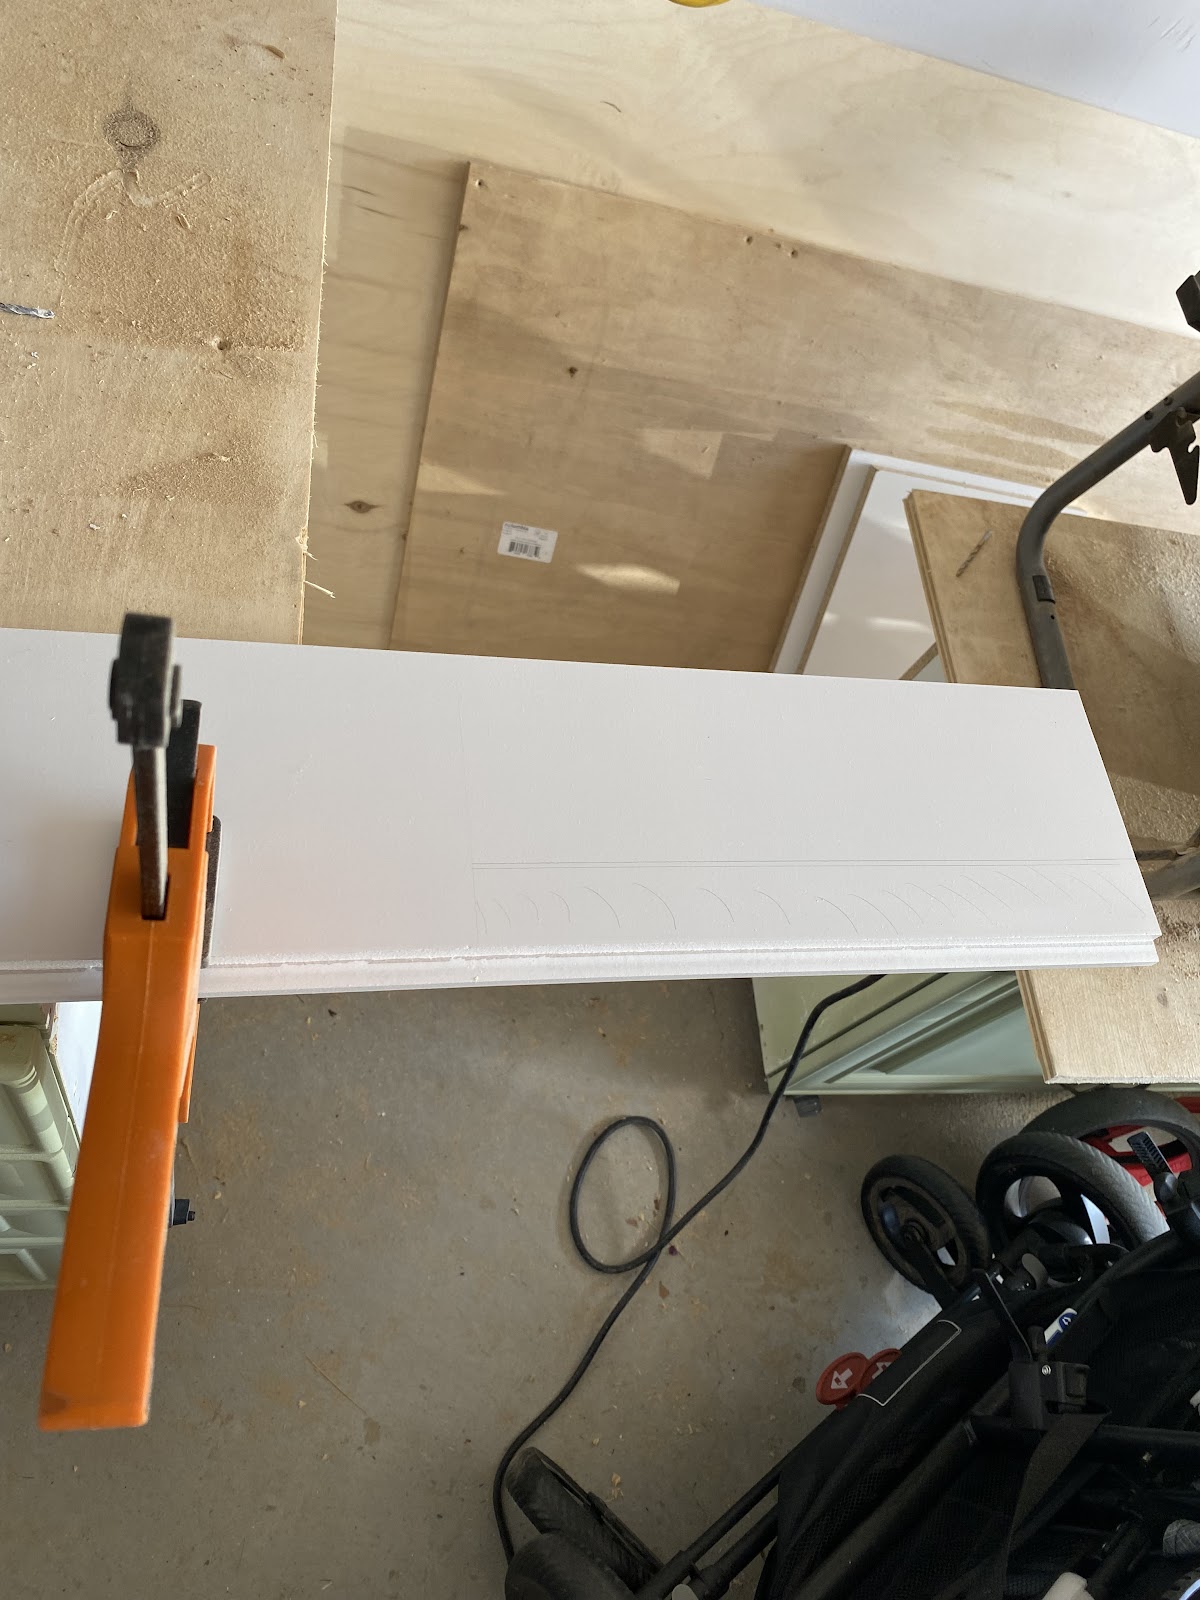
Step 4: Dry fit your shiplap board and create a template
Before you add construction adhesive, it’s a good idea to dry fit your board into position. This will help you determine if it’s the right length. Since my walls were all level, after I got my first board perfect, I used it as a template. To make the cutting as fast as possible, I used that first board as my template. I marked on the other boards and cut them down with my mitre saw
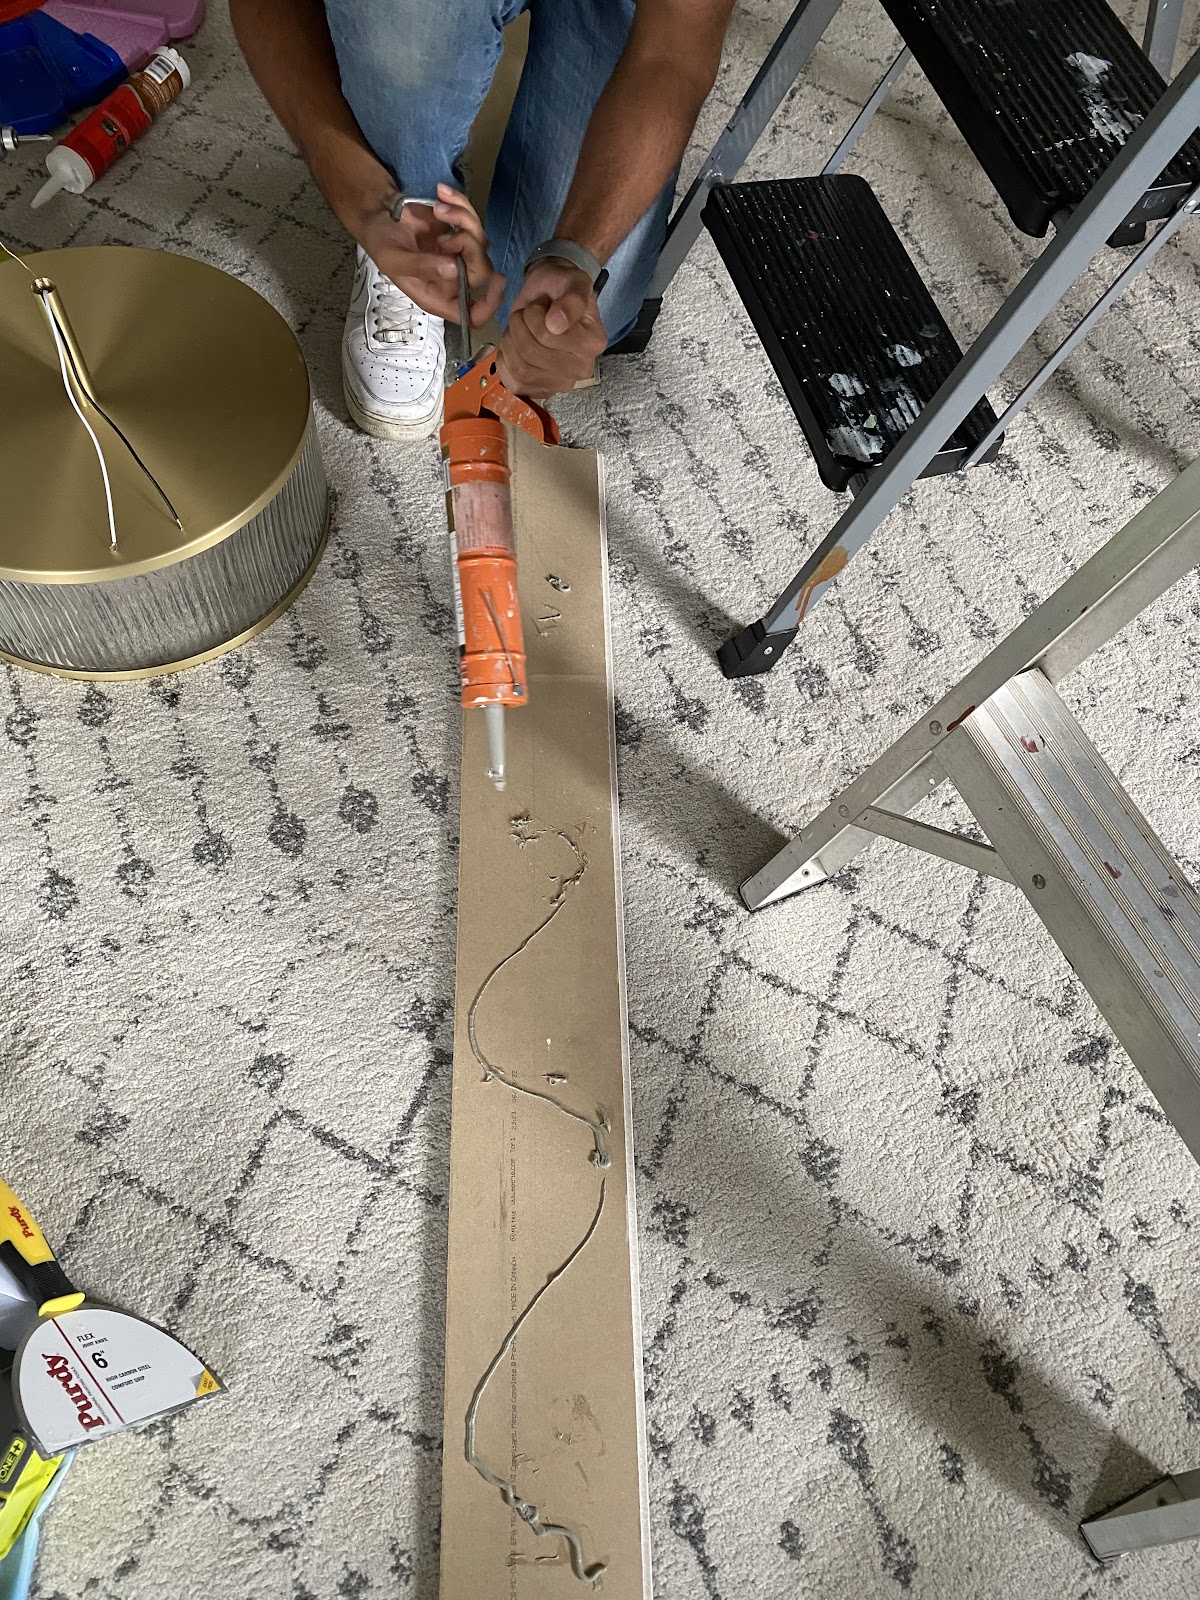
Step 5: Apply adhesive to the back of the shiplap board
Next, load your construction adhesive into the caulking gun. Cut the tip of the tube. I made a generous cut so we used quite a bit of construction adhesive. Make sure not to get any onto surrounding areas (like your walls, carpet or trim).
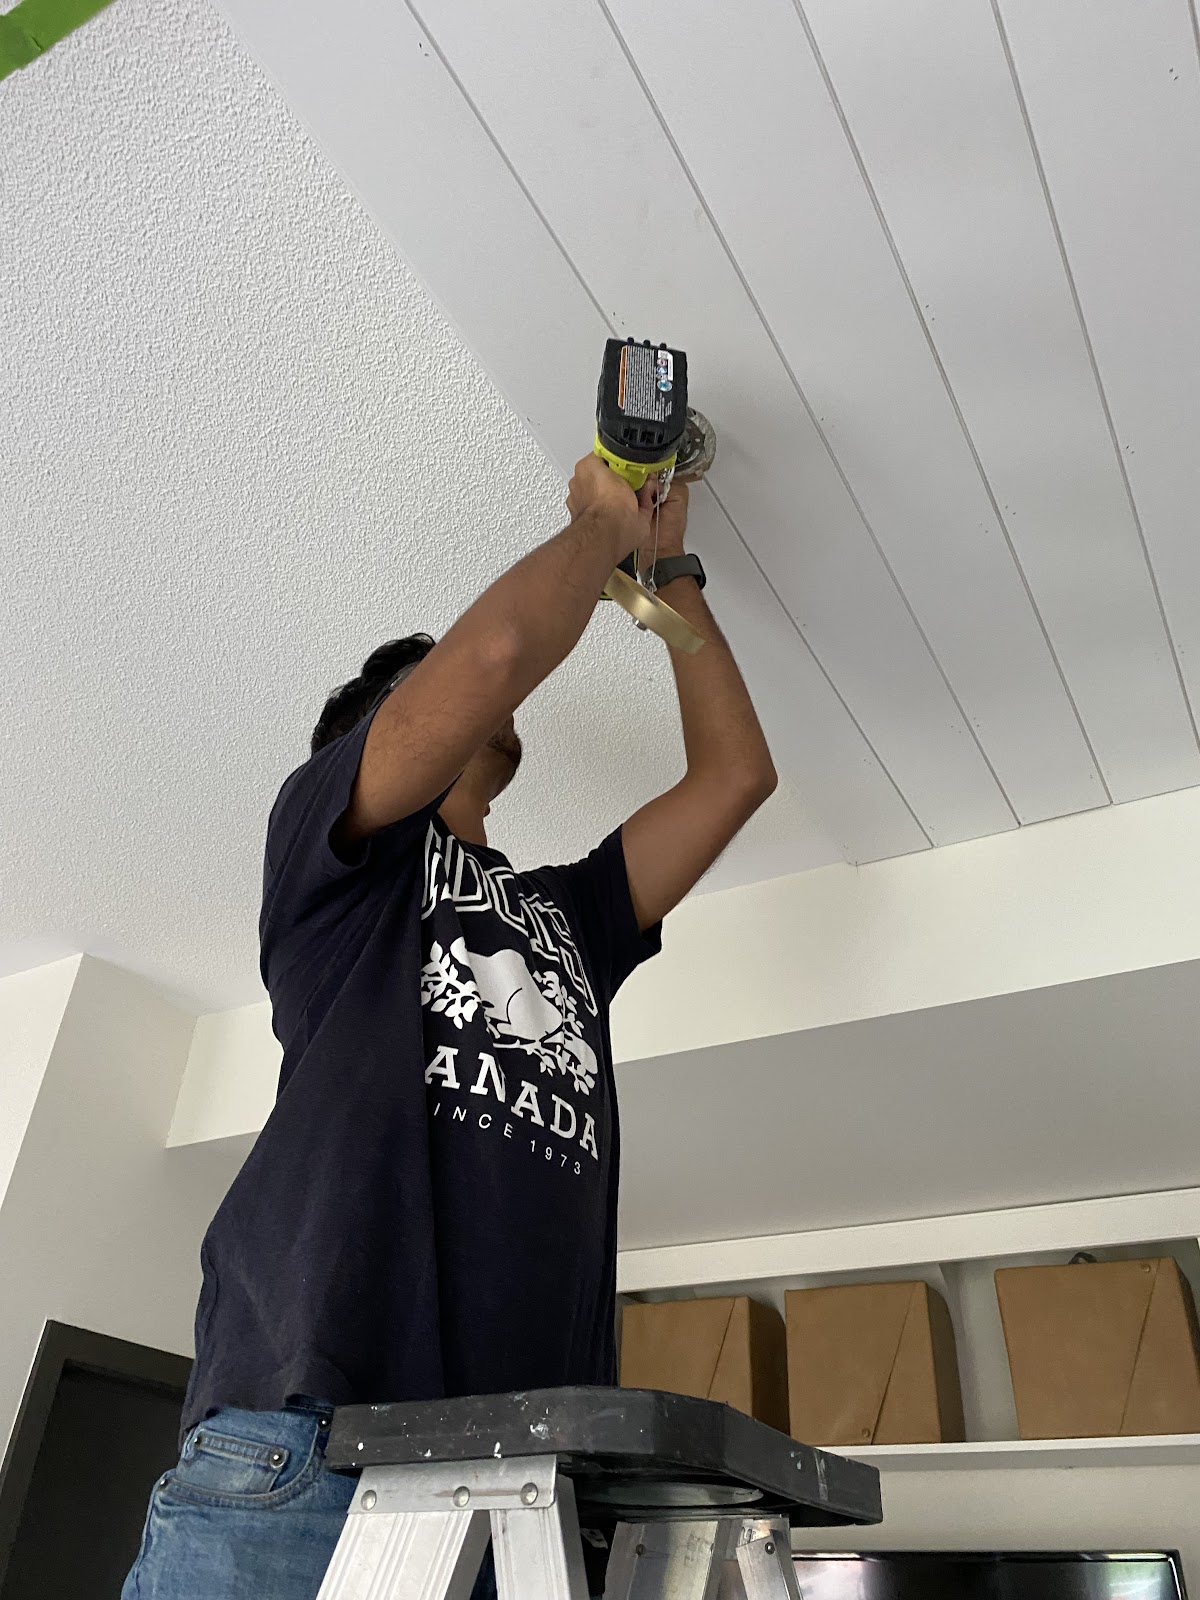
Step 6: Nail in the shiplap to the ceiling
Nail in the shiplap in place, using a nail gun with 1-1/4″ brad nails. This is the most important step of the project and you’ll want to take your time to make sure everything is straight and level, so that it looks good. For this reason, I recommend buying a nail gun with a depth control feature—it will make life easier when you’re nailing all those shiplap boards into place.
Make sure you grab a friend to help you because, trust me, there is no way to do this project on your own. I tried.

Oddly, when I nailed into the studs we had marked, the nails would not go all the way flush with the board. This leads me to believe that the joists are made of steel. If this is the case, you can criss / cross your nails so they form an X in the ceiling. This, along with the construction adhesive will ensure they are secured to the ceiling.
I think the best option is to nail into the studs, if you can.
Step 6: Repeat until all boards are installed
Now the fun part begins! You can shiplap any ceiling to conceal a popcorn ceiling.
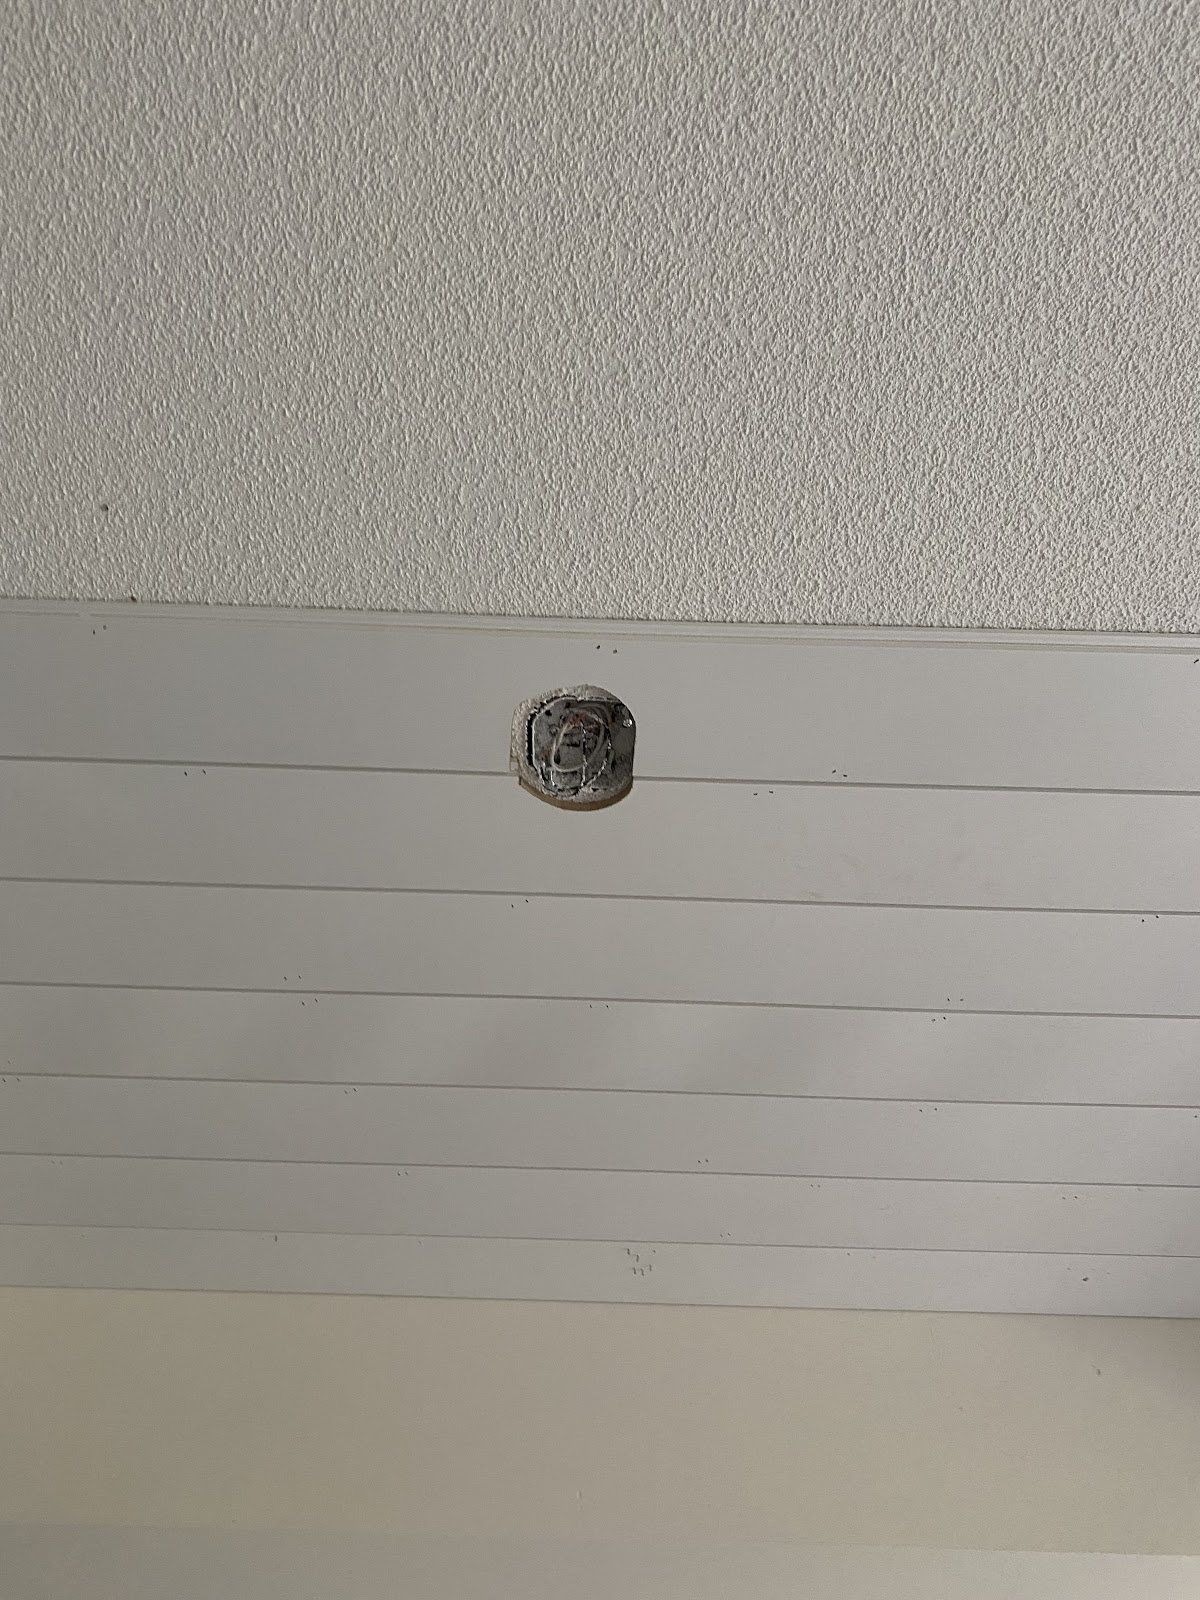
Step 7: Mark out the opening of the light fixture and cut around them
The next step is to cut out the opening for the light fixture. A jigsaw will work great for this. You’ll want to be conservative when you mark out the opening, because you can always trim more later if needed, but it’s much harder (and more time consuming) to put wood back on that has been removed. Once your hole is cut out, install the board and your fixture.
The first hole I made was too big. We had to pry the board off the ceiling (using the pry bar). Actually, taking the board off the ceiling gave me confidence that we didn’t need to into the studs since it was SO hard to remove the board.
Step 8: Mark odd niches on the ceiling and cut around them
There may be odd shape corners on your ceiling. Mark them on your shiplap and cut them using a jigsaw. There’s a few ways to do this: a template, or measuring. I went for a template on a scrap piece of wood to prevent waste. I then cut the shiplpa to the lengt, then transferred the template to my board and cut it.

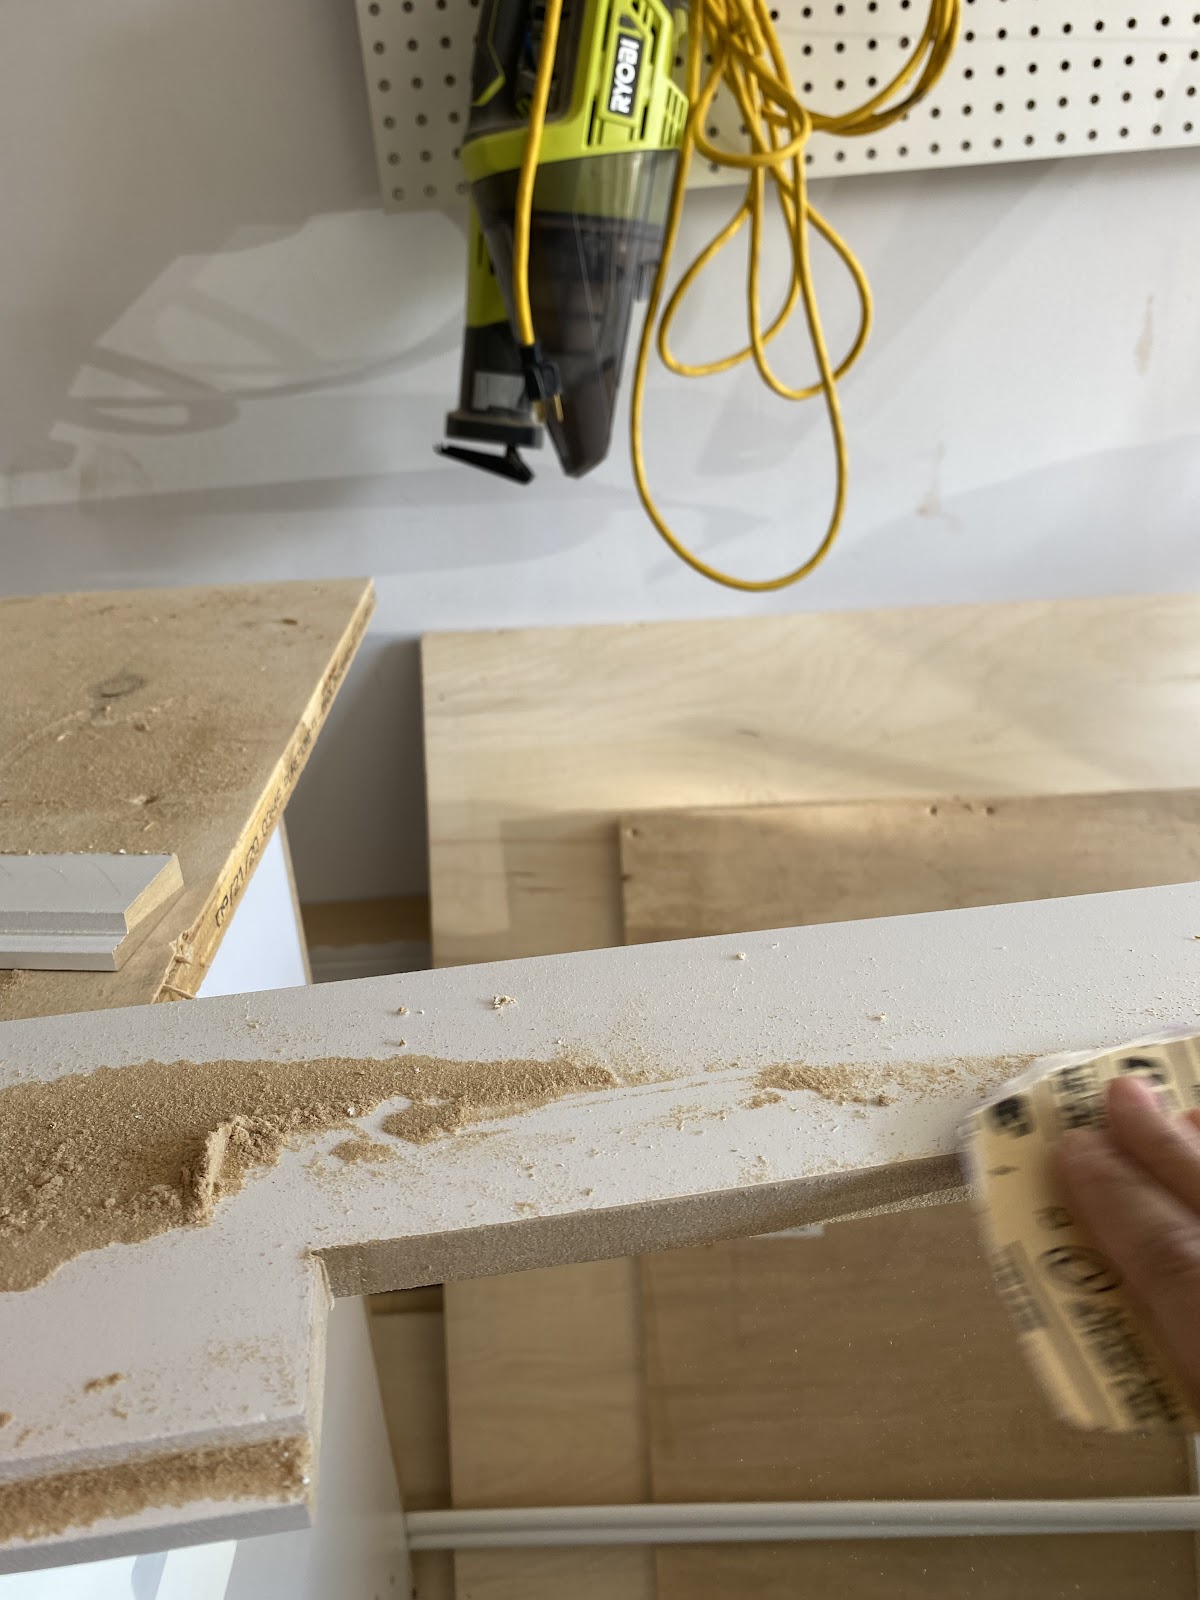
Step 9: Go for the Perfect Finish
Fill the holes using the Metrie Complete Finishing Kit. This allows a fresh finish that doesn’t need to be painted or stained. I filled the nail holes with the wax crayon. I had to fill 220 nail holes! Then I scraped off excess with the leveling tool. Lastly, I smoothed out imperfections with the buffing pad.
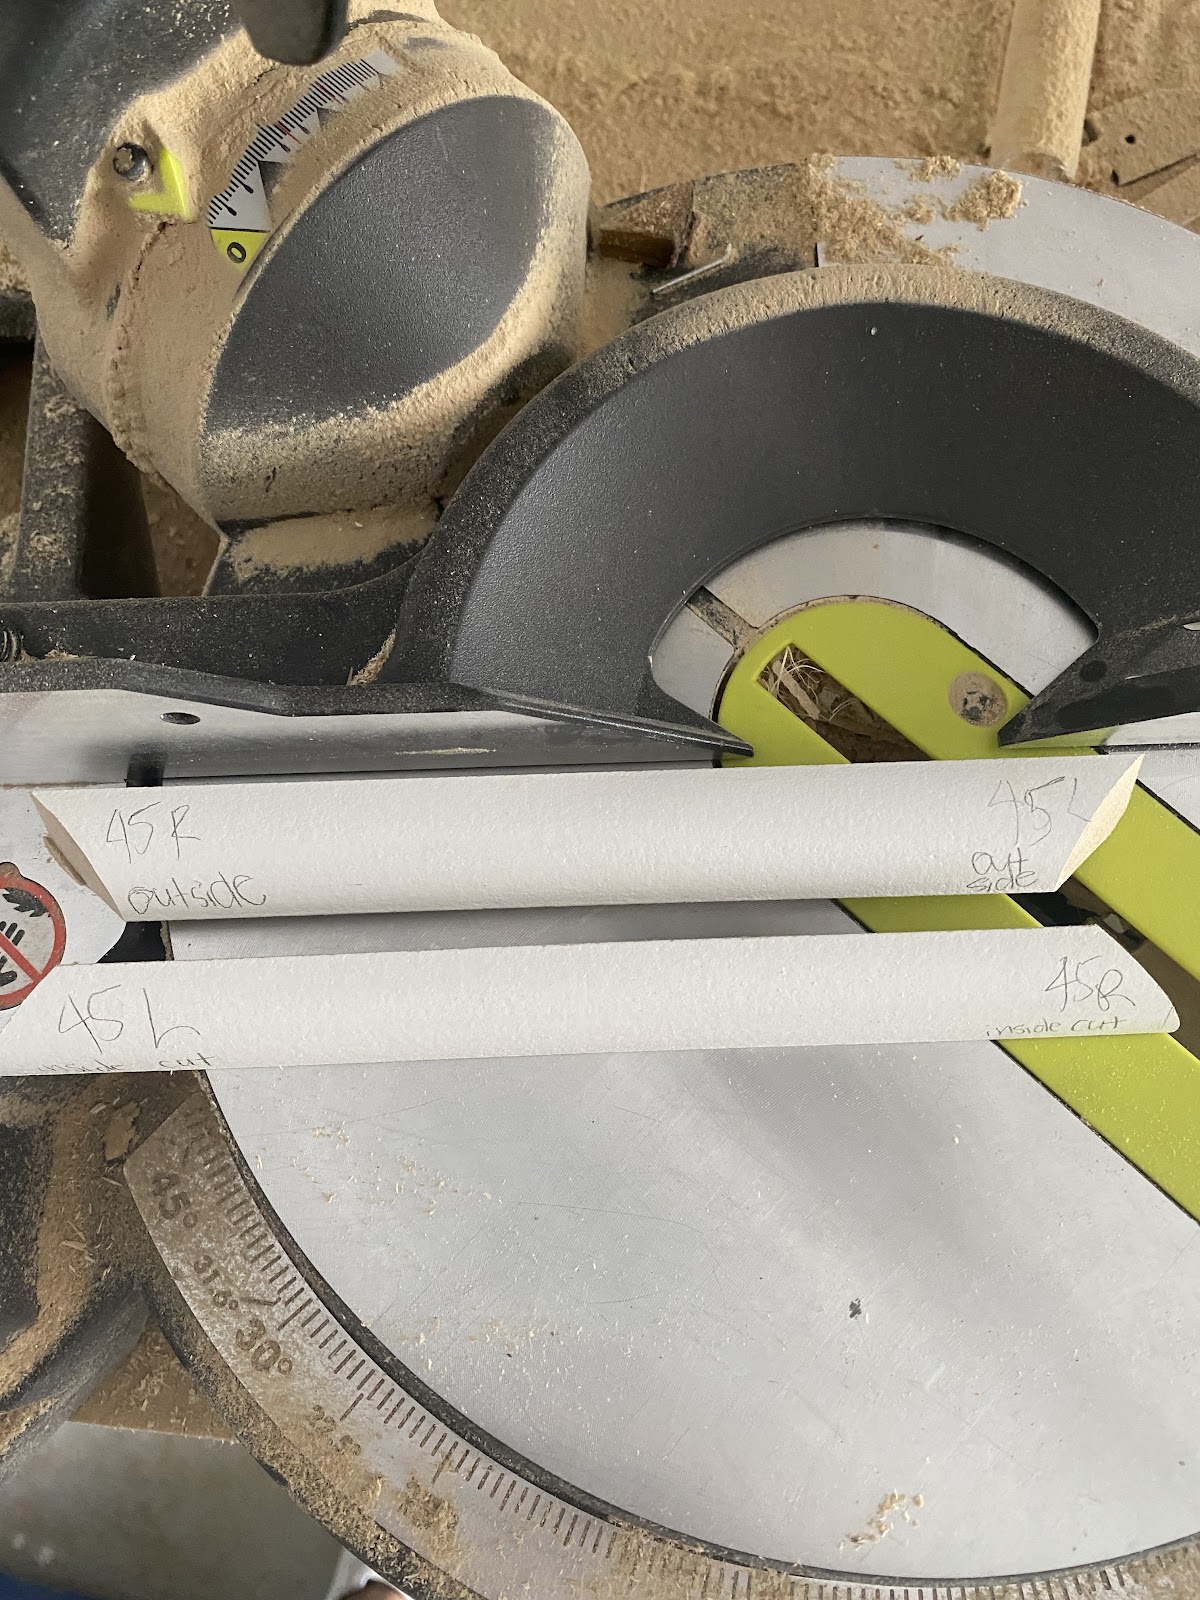
I added Metrie Complete Quarter round trim. I could have caulked the edges, but I knew that this would give a much cleaner finish. I have installed crown molding in the past, and my biggest regret was that I didn’t create any templates. The quarter round is tricky so I cut a few template pieces.
Once I had the template pieces, I used them to dry fit each corner. Then I would take the templates along with the measurements and cut the corner pieces. This was so much easier then guessing which way the saw should be positioned.


Lastly, I used the Metrie Complete caulk to close all the seams where the Shiplap and Quarter Round trim meet. See the image below. The left piece of trim has been caulked whereas the right pieces hasn’t. THe caulk eliminates any gaps

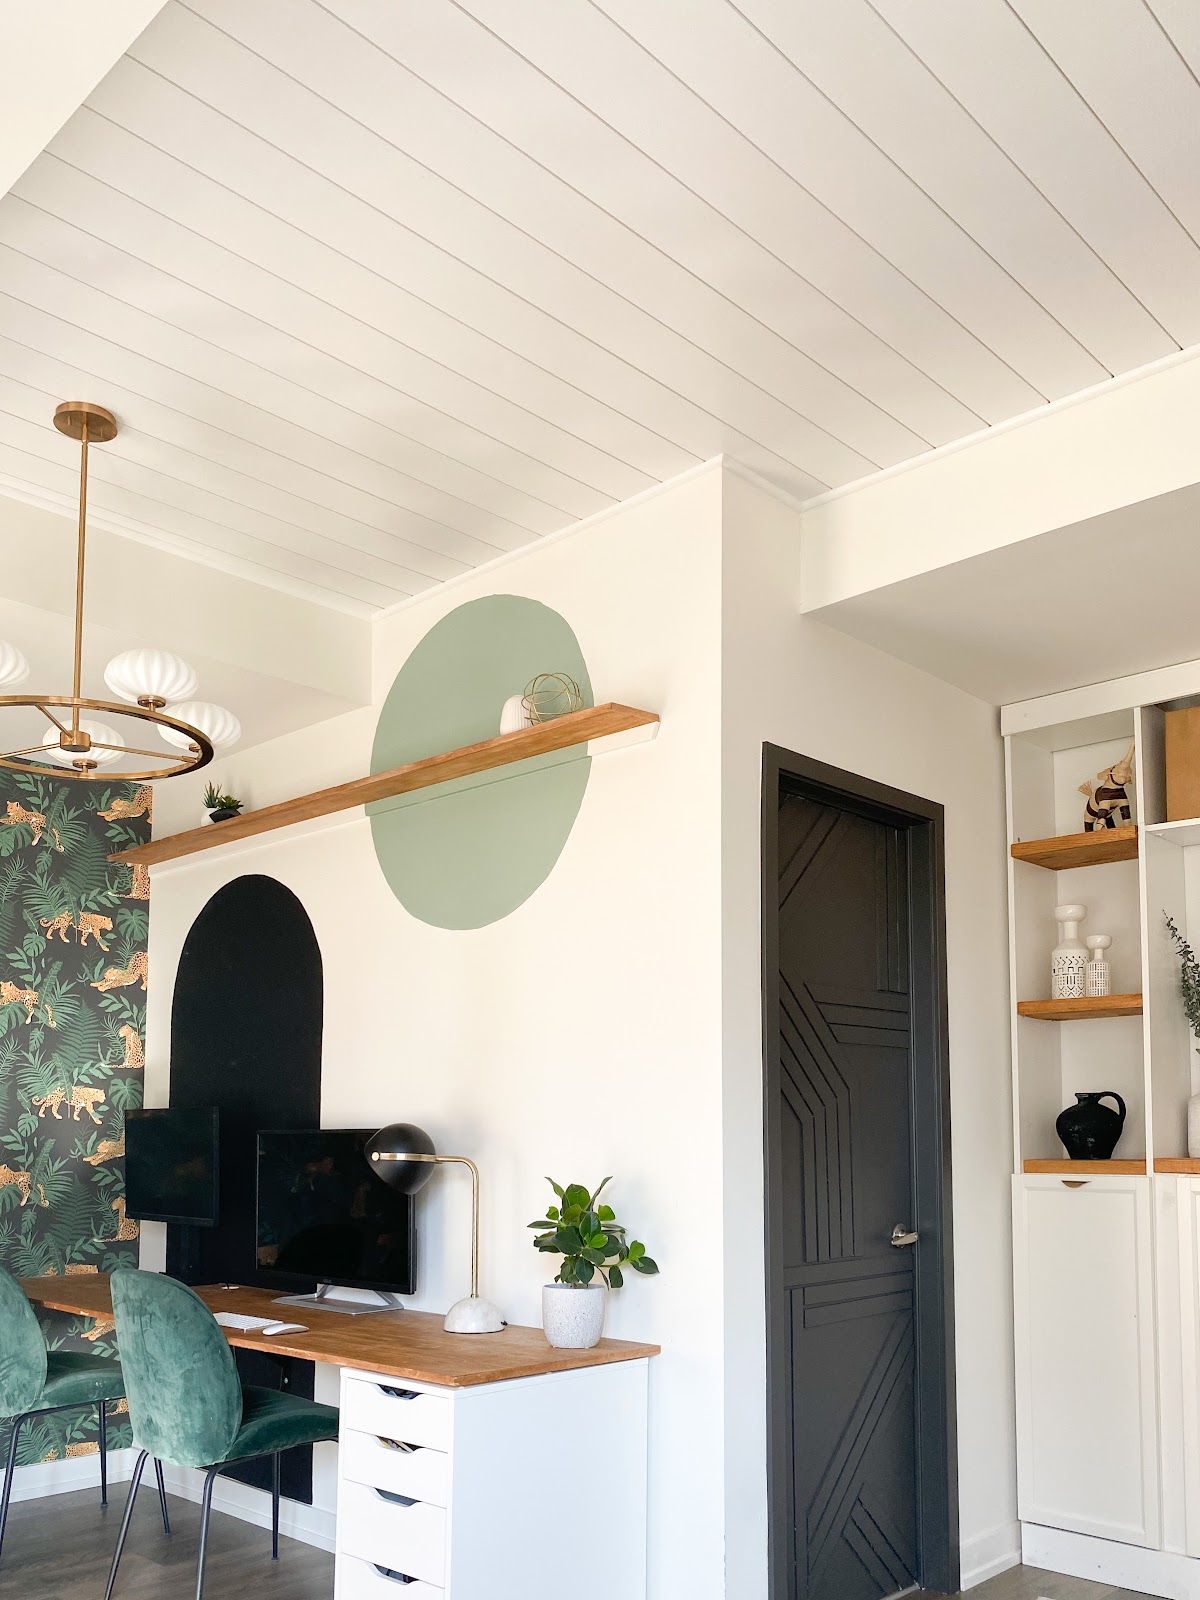
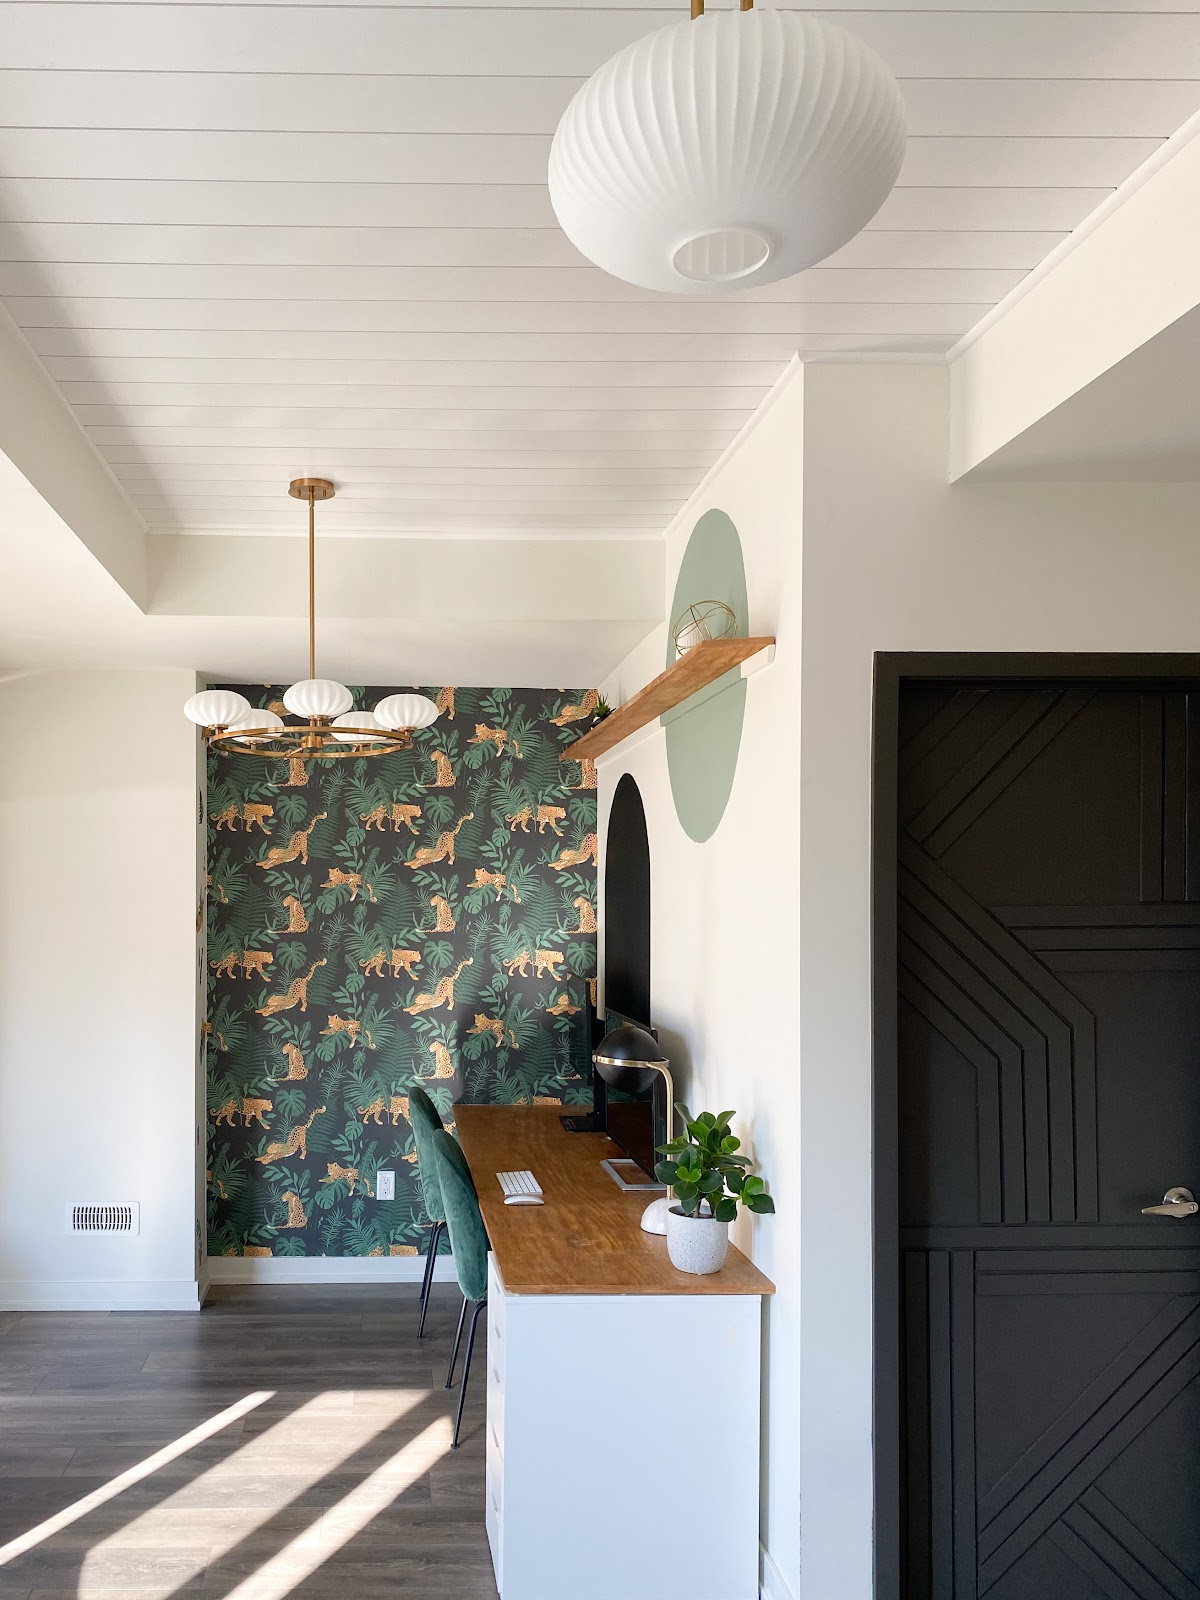
DIY Shiplap Ceiling Reveal!
I am SO in love with this ceiling! Ceilings have become the 5th wall in a room. Don’t overlook your ceiling! Especially if you don’t want to deal with the mess of a popcorn ceiling, covering with Shiplap is a great option. Plus, this wasn’t a pain in the neck because I didn’t have to paint the Shiplap or Quarter Round trim with the Metrie Complete Pre-Painted molding line!
I would love to see you build it. If you do, be sure to share with me. Follow me on instagram for more budget projects.


I would love to see you build it. If you do, be sure to share with me. Follow me on instagram for more budget projects.
Interior Design Trends in 2023 - Hana's Happy Home
[…] If you hate your popcorn ceilings, you can add shiplap like I did! Source […]