The first step in creating any DIY project, especially for room makeovers, is to put together a mood board. This is the map that will guide you to your finished product. This spring, I am participating in an online interior design event called the One Room Challenge. This event encourages participants to inspire and cheer each other on in redesigning or renovating one room.
I will be making-over my mom’s living room, and Since she loves the Studio McGee style so much, I will be drawing inspiration from this account. The looks Syd and Shea put together are bright and open, as well as classic and timeless, so that’s what I am aiming for with this mood board.

In the coming weeks, I will be sharing this home renovation project with you as I go. My plan, based on my mood board, is to tackle the room as follows:
- Choosing paint colours
- Removing the fireplace mantle
- Building new fireplace surround
- Adding panel moulding
- Bringing in furniture, artwork, lights
- The reveal!
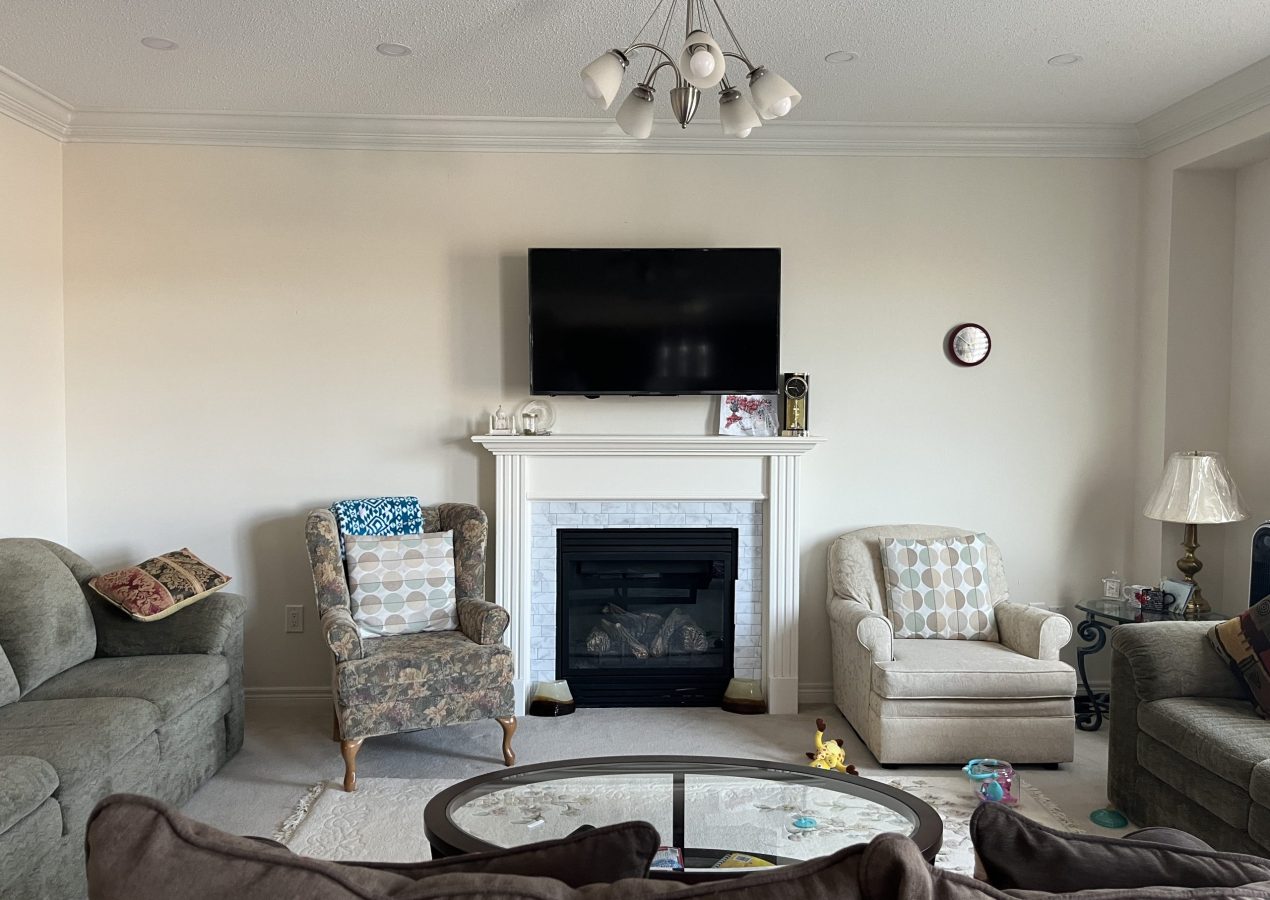
My mom’s living room is not huge, but that’s ok because the type of design that Studio McGee create works to open up a space by using a clean, bright colour palette and a few little tricks to make a room look bigger.
The space already has a light wall colour, but I will be upgrading it with a few fresh coats of paint to create a calm and airy space. Luckily, the carpet is light as well, so it should work well with the overall look. To help pull the room towards the seating area, and for some added plushness, I will also add a rug in a faded colour palette which should go nicely.

Studio McGee living room designs encourage the focus to be drawn towards the fireplace. My mom’s living room does in fact have a fireplace, which is awesome; all it needs is an update! I’ll simply need to rip out its current mantle to get the look I want. We’re going to keep the actual gas insert, so I will just need to build a new fireplace surround in a more modern style.

For the walls, I’m going to make some panel moulding (LINK) once they’re painted. Adding this type of detailing to the space will contribute to that timeless, traditional vibe.

Once those steps are done, I’ll start bringing in some light-toned furniture in a variety of fabrics to soften everything up. I’m not sure yet how I want to place the furniture, but I’ll try a few layouts that align with how Syd and Shea style their living rooms and see what looks best.
I will also look into ways to incorporate wood in the space, like oak or something similar. I can do this with a modern rustic coffee table or choosing furniture with wooden legs or detailing.
And finally, the window is already a good size, which is great because it brings in some light. We’ll be able to play with different curtain styles to create the atmosphere we want.

I’m so excited for you to be following along during this project. It’s definitely going to be a challenge but we’re going to have so much fun!
I hope I’ll be able to inspire you to take on a DIY project like this, too. If you’re working on your own DYI home reno, let me know! I would love to see you do something like this. And don’t forget to follow me on Instagram for more budget projects!

Leave a Reply