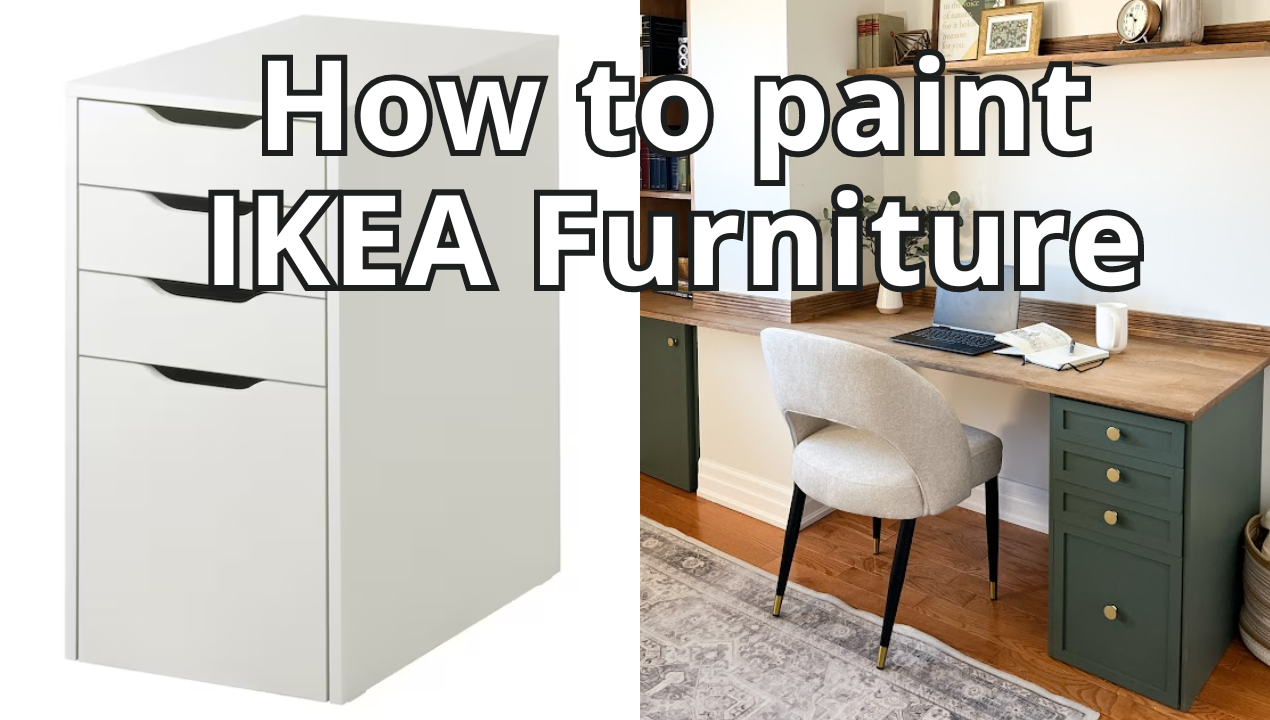
Painting IKEA furniture is an easy way to give simple furniture a custom upgrade. I have painted over 5 pieces of IKEA furniture in my home. I love a great IKEA HACK! In this blog post, I will tell you all my tips to ensure you have a smooth finish on IKEA furniture, and how to prevent the paint from chipping over the years.
This is a really in-depth post that dives into all the questions I had when I first started painting IKEA furniture. I’m also sharing my mistakes and problems so you can avoid them!
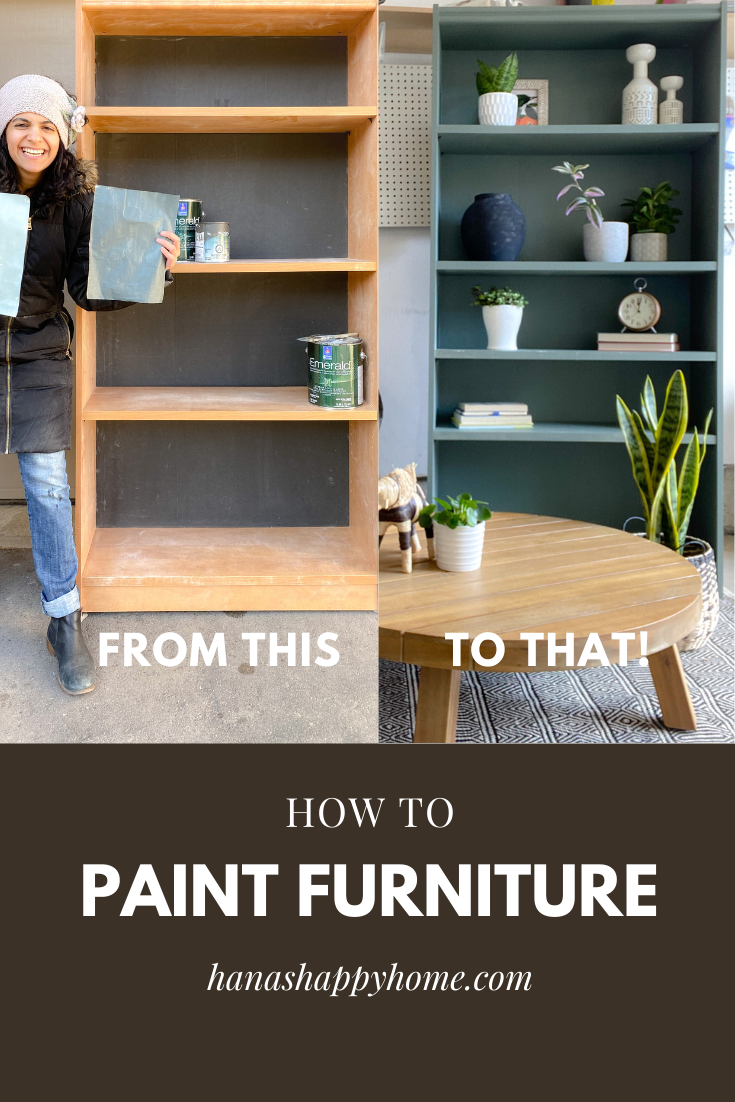
Painting IKEA furniture is 3 simple steps: sand, prime and paint. But there’s some tricks I’ve learned through trial and error that make your pieces look more professional. So let’s dive into it!

Materials
- Deglosser
- Water, sponge and old rags
- Primer – My Favorite is BIN Zinsser Primer
- Power sander
- Sandpaper in p80 and p220 grit
- Paint Sprayer or Foam roller
- Paint brush
- Tact cloth or baby wipes
- Ear protection
- Mask
- Paint trays

What type of furniture can you paint?
IKEA furniture comes in 2 main materials: laminate (also called melamine or particle board) and pine. Over the years, less furniture is made from pine. You can easily tell what material the furniture is made from by looking on the website. This guide is for laminate furniture.
The most popular pieces of IKEA laminate furniture are made from laminate, including:
- IKEA KALLAX units
- IKEA BILLY Bookcases
- IKEA ALEX drawers
- IKEA PAX closets
- IKEA HEMNES series
- IKEA SEKTION kitchen cabinets
Do I need to disassemble my furniture to paint it?
No. You can paint the furniture assembled. However, you should remove any shelves, doors and drawers from the frame. If you haven’t assembled the furniture, leave it unassembled. It is easier to paint furniture when it’s not assembled.
Step 1: Prepare your Furniture

This is the most important step to ensure long lasting paint coverage. Most people rush or skip this step entirely, and then have issues that the paint didn’t stick or starts to chip. I admit, it’s time consuming, but worth your time.
- Remove the doors, handles, drawers and shelves. Keep them labeled and put the screws in a ziploc bag for safe keeping.
- Give your furniture a good clean up. Use cleaning products, sponge cloth whatever just make sure it’s clean, and free of dust
- Use a deglosser to remove the shiny surface. This is an easy step that takes hardly any extra time or elbow grease. This deglosser is safe to use indoors and doesn’t have a strong odor. Wear gloves to protect your skin.
Step 2: Scuff Sand Your Furniture

Can I paint iKEA Furniture without sanding?
No. You need to sand IKEA laminate furntiure before painting. If you don’t, I gurantee you, the paint will chip. If you’re painting wood furniture like IKEA IVAR, then you do not need to sand as wood will easily absord the primer.
Do I need a power sander? Can I sand by hand?
I highly recommend a power sander. You can buy an inexpensive sander for about $35. If you want to sand by hand, be prepared to be very patient.
You can use either an orbital sander or mouse sander. I prefer a mouse sander which gets into the corners of assembled furniture. An orbital sander can cover more surface more quickly, but a mouse sander performs a more detailed sand by getting into the nooks.
- Grab your power sander. Start by sanding the entire surface with a p80. You’re not trying to take off all of the wood veneer but you need to get it scratched up so the primer has a surface to grab on to.
- Run your hand along the surface to ensure it’s roughed up.
- If your surface is high gloss, take a bit more time to sand the surface. High gloss can be harder for paint to stick to.
- Wipe all the surfaces clean with a tact cloth or baby wipe to remove all the saw dust. Leaving any sawdust behind will cause clumps when you paint.
Step 3: Prime your IKEA Furniture

What type of primer do you use on IKEA Furniture?
The best primer for IKEA furniture is BIN Zinsser Shellac based primer. This is a strong binding primer. Although the instructions on the primer say you can get away without priming, I encourage you to follow the steps above. My previous experience says sanding IS mandatory!
The hardest part of priming is to wait for the primer to sure and bind to the surface. It’s so exciting to do a project that you want to get to the end result! BUT you have to wait so that the primer really binds to the IKEA pieces.
- Give the primer a good mix. When you open the can, you might see 2 separated layers. On the top is a thin water like layer, and underneath a thick layer like molasses. Make sure you give the can a really good stir
- Using a foam roller, roll on any large surfaces. Always make sure to use light layers. Then, after it’s dry to touch, go into the corners with a brush and apply primer. Back roll the primer with your foam roller.

I wouldn’t recommend using a paint sprayer as the BIN primer is extremely hard to wash out (given that it’s a strong binding primer) and you might ruin your spray gun. I actually ruined my first paint sprayer because I didn’t read the instructions of my paint sprayer which recommended against using primer in the paint sprayer.
- Since you’re going to do 2 light coats of primer, wrap your foam roller with a bag (I used a brea bag turned inside out) and store it in the fridge
- Allow the first layer to bind for 24 hours. Inspect the surfaces and lightly sand any bubbles or drip with p220 grit sandpaper by hand.
- Apply a second coat of primer. Make sure it’s thin. Now wait at least 48 hours for the primer to cure. Read the label to make sure you’re following the curing time.
Step 4: Time to paint your furniture!

What kind of paint should you use on IKEA Furniture?
Interior latex paint or cabinet paint has is a durable material to paint IKEA furniture. I have used both of these to paint several pieces of furniture. My favorite furniture paint is Sherwin-Williams Urethane Trim Enable paint. Cabinet paint has a property with enhanced bonding that prevents chipping and improves durability. But, if you have a leftover can of wall paint, you can use that to paint furniture. Most furniture has a slight sheen to it, so be sure to use an eggshell or satin finish, otherwise the furniture will feel chalky to the touch.

On the other hand, I would not recommend chalk paint. I used chalk paint on a mirror frame as one of my first DIY projects. Chalk paint was very popular several years ago. It chipped almost immediately. I have never used chalk paint since.
Can I get a smooth finish without a paint sprayer?
You don’t need a paint sprayer to paint furniture. You can use a foam roller and an angled brush to get a beautiful finish. Foam rollers do not leave streaks or brush strokes. Always use light coats to paint furniture. A paint sprayer is a good investment if you’re painting a whole kitchen cabinet, but I don’t think it’s necessary for small pieces of furniture. If you’re not going to be painting furniture often, a sprayer is a big investment.
Just because you’re using a sprayer doesn’t mean you won’t get drips. You have to practice on cardboard to ensure the paint is thinned correctly, and that the nozzle is set correctly.
I have used both tools for painting. A paint sprayer makes painting assembled furniture a lot easier as you can get into the nooks easily. However, it takes a significant amount of time to set up the sprayer, get the right spray technique, and clean up. This is my cordless paint sprayer.

- Lightly sand your primer smooth with p220 grit sandpaper if there’s any bubbles or drips
- If you’re painting by hand, use an angled brush to paint into all the corners and edges.
- Sand lightly by hand using p220 grit sandpaper. Surely by now you’ve realized that sanding in between coats is a must!
- Using a roller, apply 2-3 light coats of paint. Make sure to sand between coats. Add any hardware and you’re done!
Do I need a top coat?
I don’t think you need a top coat. I haven’t applied one and haven’t found any major chipping. The disadvantage of a top coat is that they alter the tone of the paint. Many of them have yellow undertones, so make sure to test them in an inconspicuous spot if you use a top coat.
Troubleshooting: When things go wrong painting IKEA Furniture
Some parts of my primer or primer are not rolling on. The paint is sliding around. What did I do wrong?
You might find that you can’t get the primer or paint to “grip” the furniture. This happened to me when I was painting my IKEA ALEX drawers. If it’s the primer that’s not gripping, re-sand that area and then prime it. If it’s the paint that’s not gripping, trying rolling light coats, and building them up slowly. As long as you sanded and primed, the paint should adhere to the surface.
I have small chips of paint. How can I correct this?
Small chips are normal in heavily used furniture items, especially if you have kids. I recommend a light sanding, then adding BIN Primer to those spots. After letting it cure, touch up the paint with a paint brush.

I have large chunks of paint peeling off. How can I fix this?
Sadly, you need to start from scratch. If you didn’t prep properly, take this blog post as a lesson in preparing your furniture. Get out your power sander! This can be fixed with the proper work.
Can I restain my furniture to look like wood?
It depends. If it’s wood, you can sand it down to the bare wood. From there you can use wood conditioner and your stain colour.
The problem is that it can be tricky to tell whether furniture is wood or MDF with a wood finish. When I did my nightstand makeover, I thought it was wood but only while sanding did I realize it was MDF. The wood grain disappeared as I sanded. That wouldn’t happen with real wood. I was left with a flat surface of MDF.
If you’re unsure, the only way to tell is to sand a small inconspicuous spot and see what’s underneath the top layer
IKEA Painted Furniture: Before & Afters
Here’s a collection of some of my favourite IKEA hacks that I painted
I love the functionality of my son’s IKEA HEMNES bed, but made into a full cozy reading nook.


I did this IKEA ALEX desk hack for my friend Asad’s home office

IKEA SEKTION Kitchen Cabinets that I painted for this coffee bar nook

If you found this post helpful, make sure to pin it!
How to paint an ombre dresser from IKEA - Hana's Happy Home
[…] that the colours flow nicely together. I added a pop of pink to for some fun and surprise. To learn how to paint furniture that never chips, check out my full tutorial on how to paint […]
DIY Dresser Makeover for a Nursery - Hana's Happy Home
[…] painted so many furniture pieces like my kids scallop table and chairs, and an ombre dresser. Painting furniture is so fun and easy! This DIY Dresser Makeover consists of 3 parts: 1. Painting the dresser2. Adding […]
How to paint a door without brush marks - Hana's Happy Home
[…] am at, a mother with 3 children.I have painted many pieces of furniture with a foam roller like my fluted nightstands, and my daughter’s floral dresser. I have always been happy with the results. As long as you […]