Vertical shiplap is such a huge design trend. It’s timeless and modern. Our small basement bathroom was in dire need of a good makeover. With no real design, no windows, and no natural light, I had to get creative bring this space to life. Vertical shiplap is a great feature wall for a bathroom and a beginner level project!
If you’re interested to see the completed bathroom, check out my small bathroom makeover.
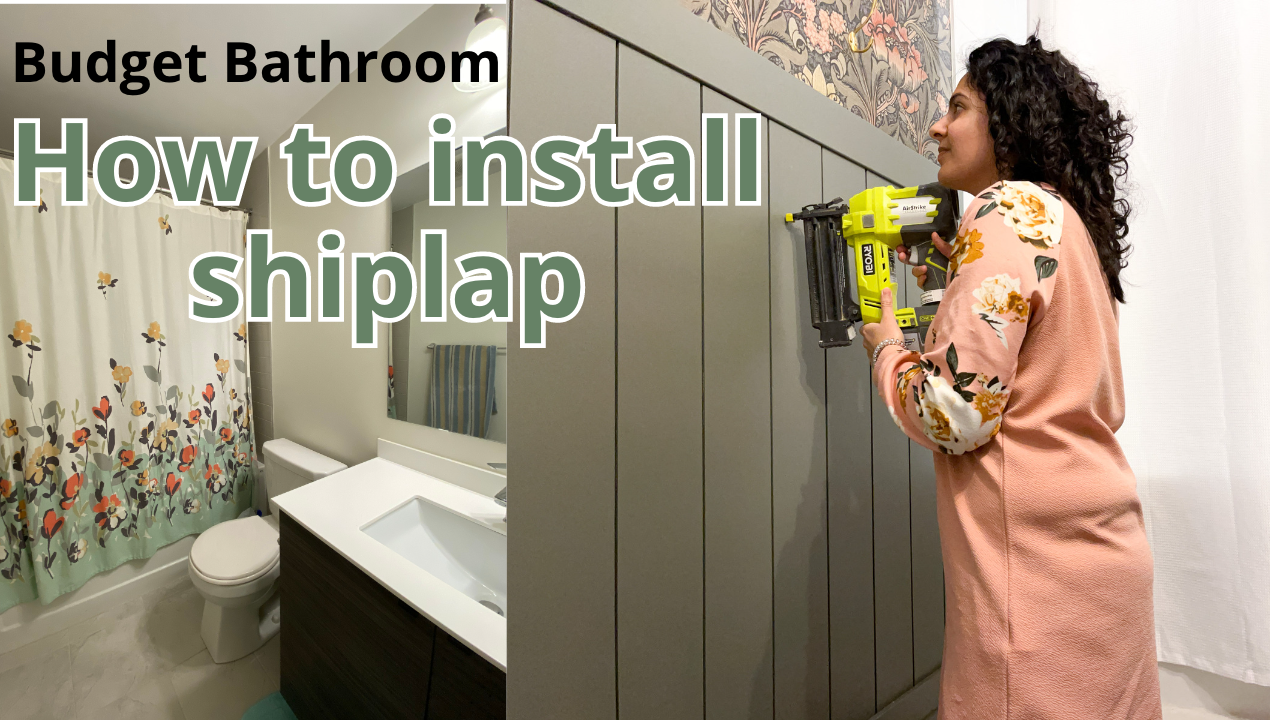
Read on to learn how to install shiplap in a bathroom space and how I accomplished this budget DIY project!
What you’ll need for the shiplap bathroom accent wall
Tools
Materials
- Shiplap boards
- 4″ primed board (for the top rail)
- Paint. I used Thunderous SW 6201
- Drywall spackle
- Level
- Pry bar
- Mallet
- Box cutter
- p220 grit sandpaper

Can you install shiplap in a bathroom?
You can install shiplap in a bathroom if you have good ventilation. One of the biggest concerns about installing shiplap in the bathroom is moisture, mould, and durability. Shiplap is made of MDF which swells when it becomes wet, so you have to be mindful of moisture levels in the room. It is best to use shiplap in a half-bathroom, with no shower or tub.
You can install shiplap in a bathroom with a tub or shower. Here’s what you should think about before installation:
- What type of ventilation do you have in the bathroom? Ideally there is both a window and good venting. This helps the steam and moisture escape the bathroom
- You use a highly durable paint. I use Sherwin-Williams Emerald line. I’ve used this in every bathroom in my home. This paint can wipe off water easily.
- How often is the shower used? If it’s a guest bathroom in which the shower isn’t used often, you can install shiplap. However, if it’s a bathroom with steam showers everyday, avoid shiplap
- How strong is the fan system in the bathroom? We live in a new home so we have good ventilation from the fans.
In my case, this is a bathroom in our basement. It has good ventilation as it’s a brand-new home. However, it does not have a window. We do not use it very often for showers, so it does not accumulate steam. When we do want to use the showers, we will have to turn on the bathroom fan and leave the door open after the shower.
What kind of wood shiplap do you use for the accent wall?
For this project, I used pre-primed boards, for two reasons. Firstly, using this pre-primed product allows you to skip the priming step, so overall it saves you time. And secondly, the result really does have a nice finish with these. If you use raw wood boards, be sure to prime them.
Step 1. Plan your vertical shiplap accent wall
A shiplap wall is pretty easy to plan. Measure each wall that will have shiplap boards installed.

1 – Measure the length of your walls
2 – Measure the height of your walls
3– Take a look at some inspiration pictures and determine what style you like. For vertical shiplap, you want to avoid slicing the boards directly in the middle. I personally like a tall vertical shiplap if you will not have wallpaper above the shiplap. For this project, I wanted to have wallpaper, so I wanted the shiplap boards to be shorter than half the wall.
4 – Determine your shiplap height – a good rule of thumb to determine the length of the boards is to make them about 1/3 of the height of your ceiling, or 40 inches for 9 ft ceilings. I wanted mine to take up a little less than ½ of the height, so I measured 44 inches (for my 9 ft ceiling).
5 – Measure the width of your boards. Most shiplap boards are 5½” wide. To determine how many boards you need:
width of the the wall/ 5.5″ /2 (if you select your boards to be less than 48″)
Now you can get cutting to the shiplap boards! You’ll need both horizontal pieces for the top and several vertical boards for your shiplap bathroom accent wall (I needed 44!).
Step 2. Cut all your shiplap boards
Once you’ve determined your desired length, it’s super important to make sure that each board is the exact same size. I simplified this process by using a stop block. Basically, you measure the distance between your saw and the stop block (something for the boards to butt up against; in my case, my garage door) to be the length you need. To prevent your saw from moving around and messing with your measurements, place something heavy on the other side of it, like a can of paint. I used my trusty Costco jar of peanut butter.

Using this method means you don’t have to measure each piece individually to length. You can just place each board on the saw, slide it until it butts again your stop block, and make the cut! It works so much faster, too. I cut all my 42 pieces in only 10 minutes!
Step 3. Remove the baseboards in your bathroom
Before installing the bathroom shiplap accent wall, you should prepare your walls to install the shiplap boards by first removing your baseboards. While it’s not a complicated process, I really hate doing this because our house’s builder used so many nails in our baseboards.
Since I was reusing my base boards, I wanted to go about this in a way that would keep them in good condition. I started by slicing the caulk where the baseboard meets the wall with a box cutter (at the top). Next, wedge a pry bar gently between the base board and the wall to create a little gap. Keep the pry bar there and use a mallet to tap the pry bar and separate the board from the wall.

Move along the board until the whole board is pulled away from the wall. And finally, once that’s done, you should be able to pull the board out with your hands.
Remove the nails if you will be using it with a plier. Set them aside to add again at the end of the project.
Step 4. Get a flawless paint finish on your shiplap boards
There are 3 ways to paint your shiplap boards. The first, which is what I did, is to paint them before nailing them in the wall so you can paint all the little crevices ahead of time.

The second way is to paint them after they’re installed; just keep in mind that you’ll probably need to use a craft brush to paint between each board. Using a paint roller unfortunately won’t get to those once the boards are up. And the third way is to spray paint the boards after they’re nailed in. I’ve don’t this before for another bathroom makeover and found it challenging to cover up all the spots you don’t want paint, but if you’re more comfortable using a spray method, go for it.
The color I chose for my shiplap boards is Thunderous SW 6201. It’s a gorgeous dark mossy green-grey that goes so well with my bathroom’s wallpaper.

I used two coats of paint before installing the shiplap boards in the bathroom. The first coat is a little patchy, but the second coat looks good. Make sure to let the paint dry in between coats. I pefer to use light coats of paint so I get the smoothest finish. I will be doing a third coat after they are installed on since there will be nail holes that will need to. be patched.


Step 4. Nail the horizontal top piece
Install the horizontal piece first – this is essential because all the vertical pieces need to butt up against it.
1- Mark the height. The bottom of my board was placed at 44″ from the floor
2- Ensure that it is perfectly level. My advice is to shoot one nail in the middle. Then make sure its level before adding more nails along the piece of wood
3- When you move onto the other bathroom walls, take care of installing the horizontal boards at the exact same height as your first one. Measure and mark the wall first, then line up your top piece to that mark. Make sure its level before nailing it.

Since nothing will be hanging off this board, I didn’t really bother checking for studs behind the wall. However, to ensure that it stays put, I install the nails in a criss-cross pattern (like a series of X’s) using a cordless brad-nailer and 1½ -inch nails.
Note: on the walls where you’re not sure about plumbing, you can use shorter nails (behind the toilet, around the vanity, etc). I used 1-inch nails in those areas.
Step 5. Nail the vertical shiplap boards for the accent wall
Finally, it’s time to install the vertical shiplap boards! This is when you’ll start to see what your shiplap walls will look like. Exciting!
1- When you place the first board, line it up flush against the wall edge. Don’t assume your walls are even; check that the board is perfectly vertical since all your other boards will be positioned according to this first one.
2- Once it’s level, slide the board up to butt against the top piece. Nail the board in two places, one at the top and one at the bottom; this should be enough. I tried to nail one at the very bottom where the baseboards will be placed so I don’t need to fill, sand and paint that

3- Repeat these steps for all the vertical shiplap boards. Make sure to butt subsequent boards up against the top piece and horizontally against the adjacent shiplap board, so the spacing is equal across all the vertical shiplap boards

4- Once you get to the end of the wall, you may have to cut the last piece to a smaller width. Measure the remaining space, mark the piece, and make the cut. Be mindful of which shiplap edge you will keeping as I made a mistake with that. You’ve got this!


Step 6. Cutting around tricky corners
Of course, bathrooms aren’t bare rooms, so you’ll most likely encounter some more complicated little spaces to work around or fit the boards into. Here’s how to cut boards to fit.
Behind the toilet:
I used 1-inch nails, just in case of plumbing. In my case, I couldn’t remove the base board behind the toilet because it was installed behind the vanity. If something like this happens to you, measure the length you want the boards to be and cut them accordingly.
You’ll likely have to cut a board around the water connection

I noted the height at which the pipe would go through the board as well as the width of the pipe and marked this on the board. Using a jigsaw, I cut a dome shape in the shiplap to fit around the pipe.

Looking at the spot from a normal vantage point, you can’t see the hole at all; the only way to spot it is to lie flat on the floor next to the toilet and look up. And really, no one should be doing that, ever, so it’s fine.

Around the vanity:
You may have to cut an angle into the shiplap board to fit snugly around the vanity edges. Take your time to measure each side.
Mark the height and width of the cut you need and draw it out on the board. The height required a longer cut, so I used my table saw for that one, and then made the smaller, more precise width cut with my jigsaw. It was nearly a perfect fit – I just needed to sand down the width a bit and them it fit like a dream. If you ever find a board needs to be cut a little bit, sand it down. Any time I’ve tried to make that cut again, it ends up being too big!

Adding shiplap around an outlet
*Important first step: you must turn off the circuit breaker for this outlet. Do not skip this safety step, please. If you are unsure, always consult a professional.
1- Remove the outlet cover
2- Use an outlet extender to bring the outlet forward
3- Measure and mark the outlet opening
4 – Cut it with a jigsaw. Use a fine tooth blade for the smoothest cut
5- Sand the trim and use a short nail (I used 1″ nail) to attach it to the wall
6 – Paint the outlet cover. Replace the outlet cover


Step 7. The finishing touches to the shiplap bathroom accent wall
You’ve made all the cuts and placed all the nails. You’re nearly done your shiplap bathroom accent wall! All that’s left is to cover the nail holes and add a last coat of paint.

Cover the nail holes with spackle and sand it down using p220 grit once it’s dried. Go over all your boards with one last coat of paint.


For more bathroom makeover images, check out my bathroom makeover project
What do you think? Is a shiplap accent wall something you’d want in your own bathroom? Pin this to save it for your next project


I would love to see you tackle this design. If you do, be sure to share with me. And don’t forget to follow me on Instagram for more budget projects!
Leave a Reply