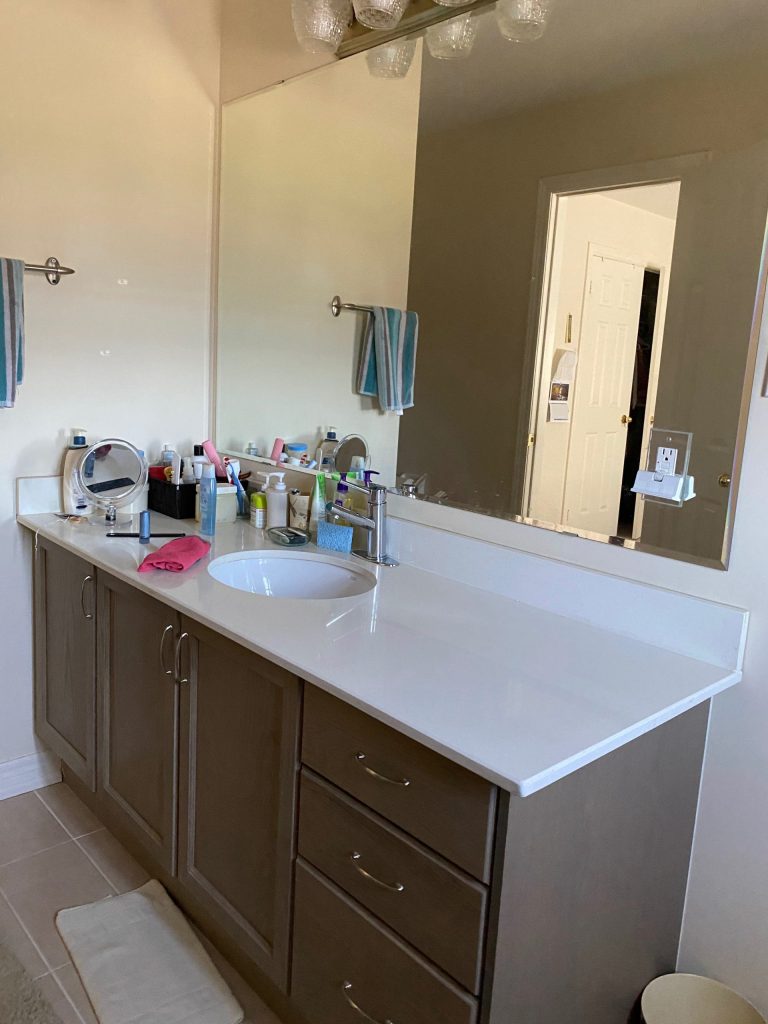
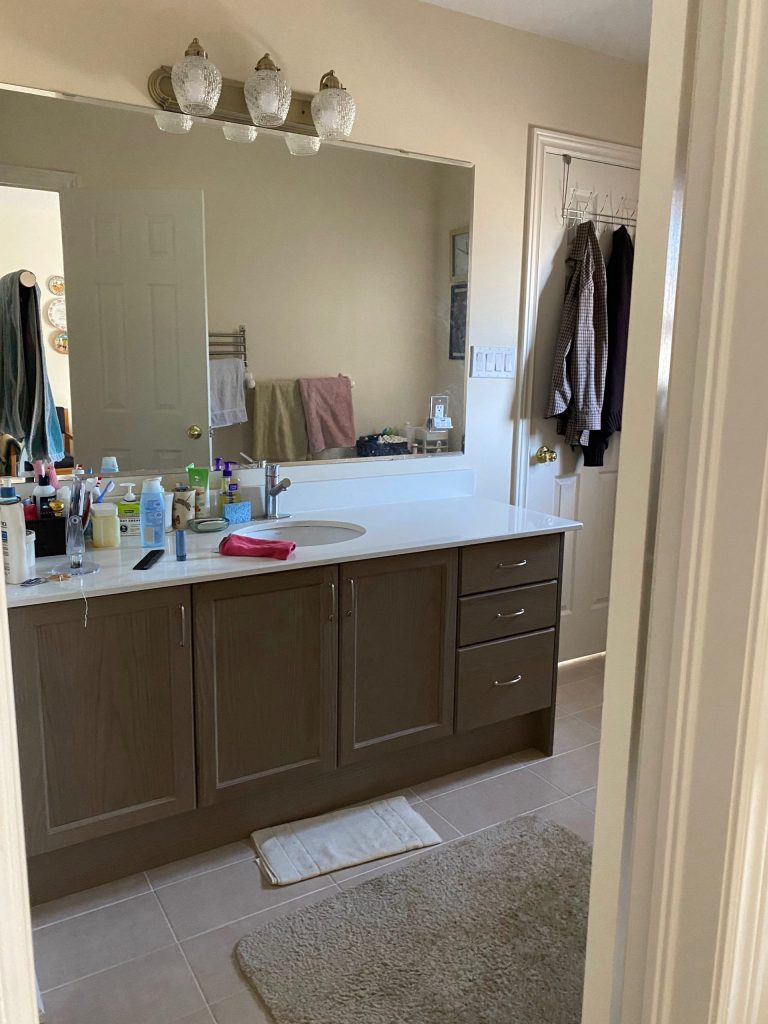
A bathroom vanity makeover is a perfect weekend project. If you’re looking to spruce up your bathroom, a painted vanity cabinet is a quick and affordable way to upgrade the space. When I designed my mom and dad’s bathroom on a budget, one of the ways I kept the budget down was by repainting the existing vanity. Fortunately the vanity was in great shape, but needed a different color to be modernized. Not only was this more cost effective, but it is also much easier than taking out the old cabinet and configuring the plumbing as well in a new vanity.

If you’re wondering how to paint your bathroom vanity- it’s a simple, straightforward project. A bathroom vanity makeover is also a great beginner project as you also need only 1 power tool: a sander. I prefer to use a mouse sander which helps to get into all the trim and corners.
Materials for a Bathroom Vanity Makeover
Power tools
- Drill
- Impact driver and drill bits
- Sander with the 220 grit sandpaper
Materials
- Rustoleum UMA extreme bond primer
- Screw bits
- Drill bits
- Wood filler
- Drywall knife
- Paint brushes. This is my favourite rubber handled brush
- Paint. I used Caviar SW 6990 in the Urathane Trim Enamel line in a satin finish
- Painter’s tape
- Drop cloth
- Foam rollers
Step 1 – Remove the doors, drawer fronts and hardware
Before you begin, remove the doors, drawer face hardware and any other accessories. There should be a few small screws on the hinges to remove the doors. On painter’s tape, label the doors and drawer fronts so they can be placed in the same spot. The cabinet should be clean before painting. You can wipe it down using a cleaning spray

Step 2 – Fill all the holes with wood filler
If you’re going to be using new handles with different placement on the doors, you’ll need to fill the holes of the previous knobs. This will help smooth out any imperfections in your surface and make it look more professional.
Using a putty knife, apply wood filler to each hole and press firmly into place. When filling larger holes, it might be easier to work from inside the cabinet rather than from outside (if you’re working on a vanity). The key is to get as much of the hole filled with wood filler. It’s okay to overfill a bit as you can sand down the wood filler so it is flush with the cabinet door. If there are scratches on the door fronts, fill those too. These were in good condition so I didn’t need to.
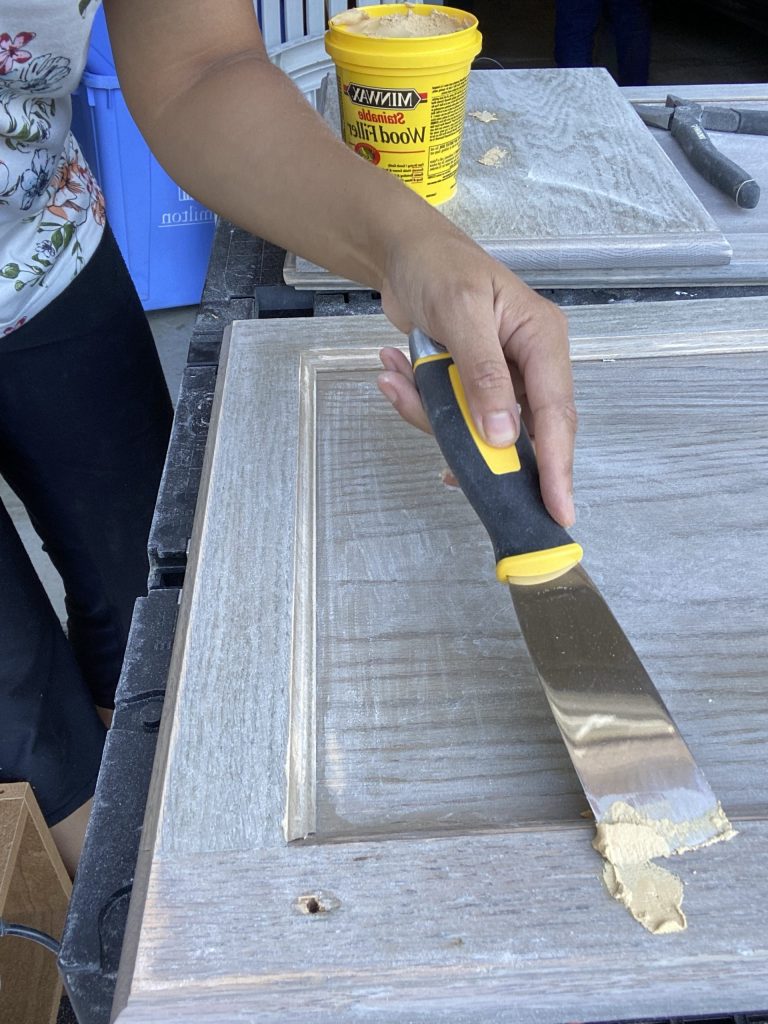
After applying all the wood filler, let dry for 30 minutes before sanding down any high spots that may have formed during application with p220 grit.
Step 3 – Sand the cabinet doors and body of the vanity
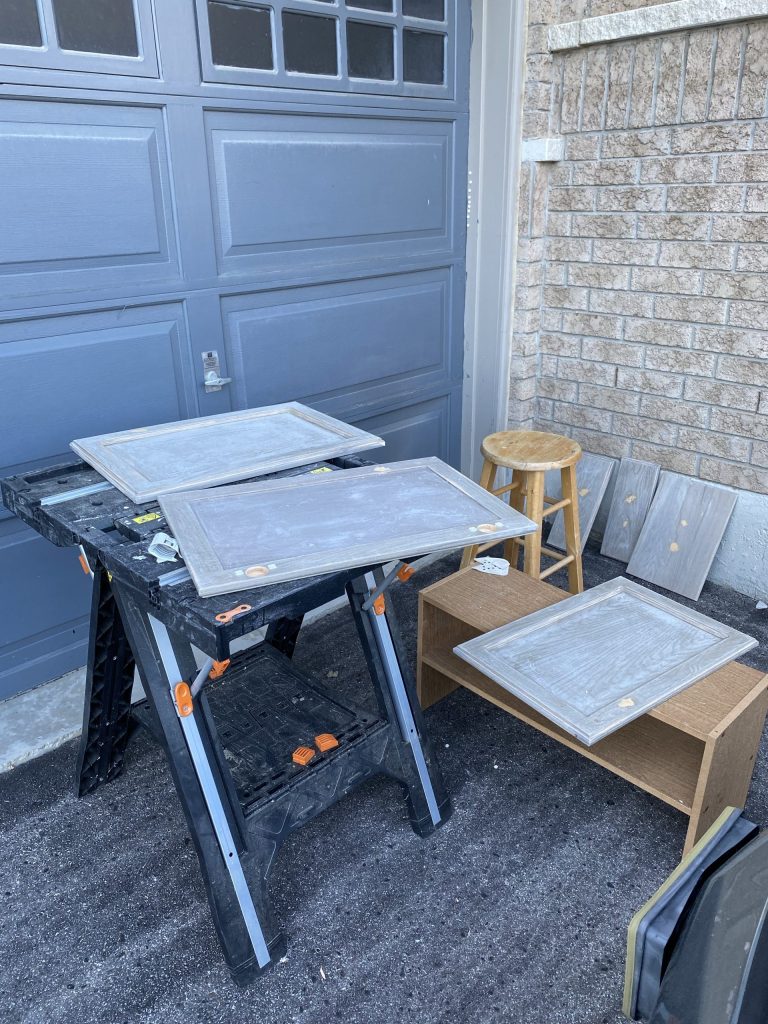
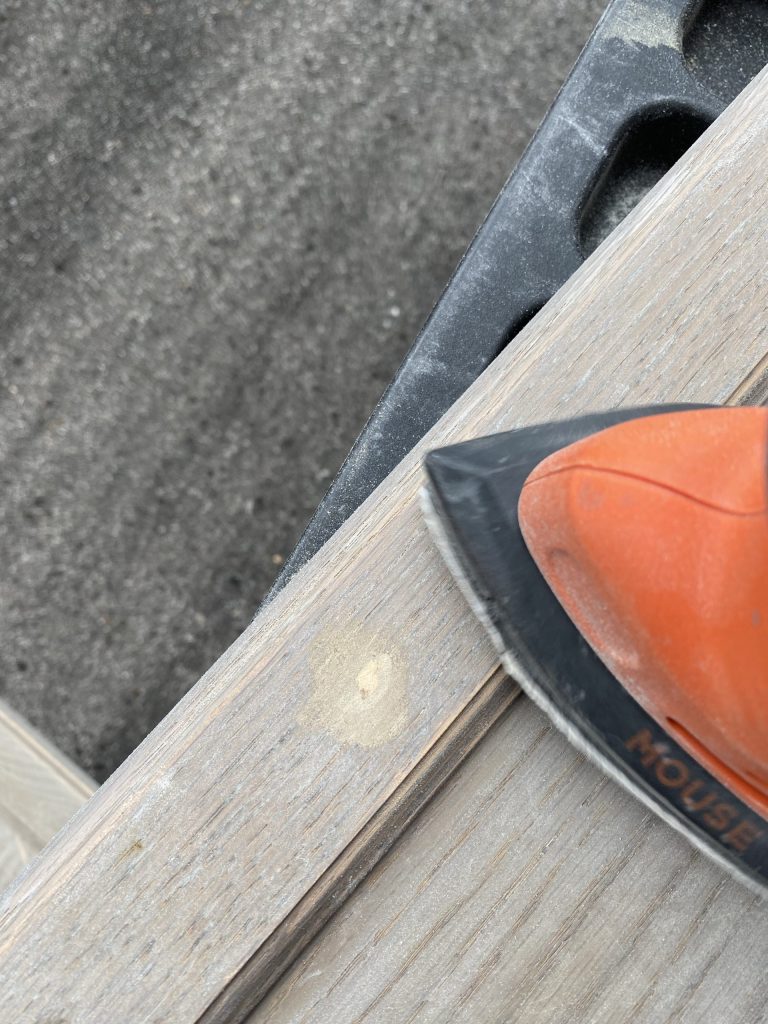
I laid out all my doors and drawers fronts on my workbench and tables. I began to sand with a p120 grit sandpaper.
To sand the vanity, I did the same thing. Actually, I wish I had used my mouse sander, but I hand sanded because my baby Sabrina was sleeping in the room next door. Use a mouse sander to apply the medium grit sandpaper to your vanity cabinet, using a circular motion. Don’t sand too much or too little, as this could result in uneven paint application and removal of the original finish on the wood surface. You’ll want to sand enough so that the surface is roughed up.
Step 4 – Remove any dust after sanding
Once you’ve sanded, use a scrubby sponge, tack cloth of paper towel to remove any dust or debris from the cabinet. This will help the paint stick better and make it go on smoother. It will also help the paint last longer.
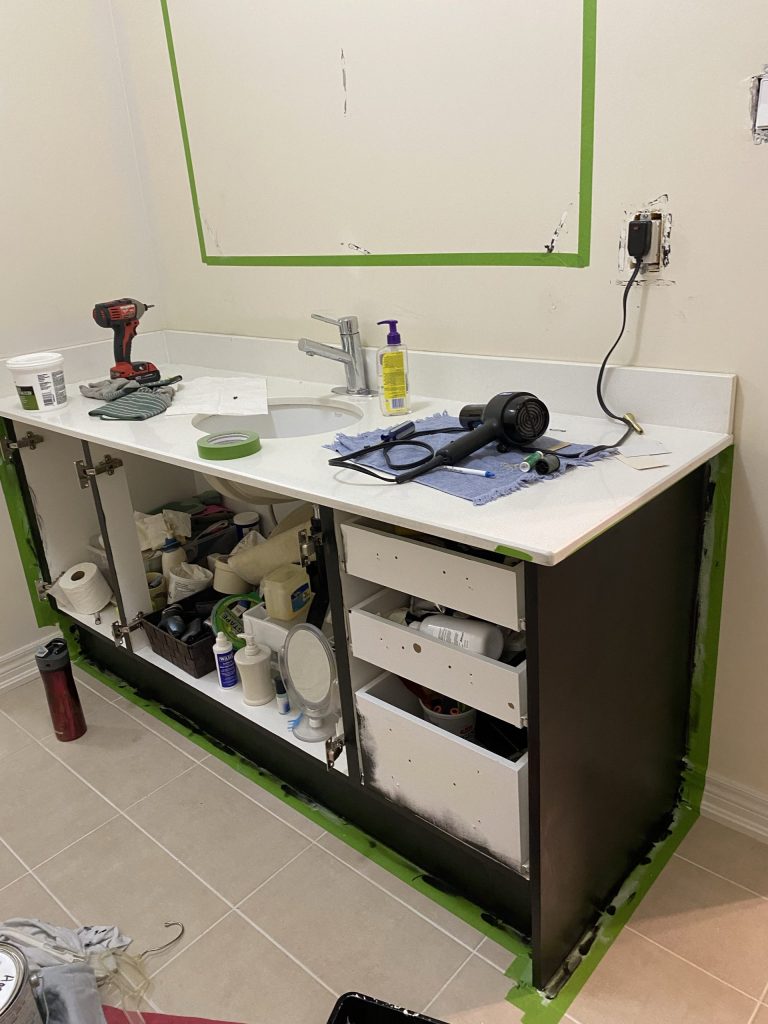
Also, tape up the wall and floor of the vanity so that doesn’t get damaged while you paint the vanity.
Step 5 – Apply primer to the cabinet
Primer will help ensure that the paint sticks to the surface of the cabinet and provides a smooth finish, which makes for easier cleanup later on.
First, use a foam roller (a brush won’t work as well for this step- it will be very streaky) to apply two thin coats of primer to each side of the vanity cabinet door, drawers fronts and base. Be sure to leave enough time for them dry completely between coats. Allow primer to dry completely. Before you begin painting, you’ll want to let the primer dry for at least 24-48 hours (depending on which primer you use; make sure to read the instructions). This will ensure that your paint will adhere well and stay in place once it’s applied
.

Step 6 – Bathroom Vanity Makeover Essential – Do the Scratch Test
Once you’ve allowed enough time for the primer to dry, take a clean fingernail or pen and run it across an inconspicuous part of your project. If there’s any noticeable scratching from this light test or the primer comes off, then your paint job may not hold up well over time and would likely need repainting sooner than later. If there is no visible damage after running your fingernail across the surface of the primed vanity, then you can move on to applying paint!
If the scratch test fails – DO NOT PANIC! I know you’ll be disappointed but here’s a few options:
- Wait more time to see if the primer has not adhered
- Add another coat of primer
- If the top options above don’t work – Start again and sand more. If you did not get remove all the glossy finish of the doors, then the primer will not stick to the doors.
Step 7 – Apply paint
What kind of paint should you use? I use the SW Urethane trim Enamel paint because it’s durable and meant for cabinets. Plus, since this is in the bathroom, I need this paint to also hold up to moisture. Unlike popular opinion, I do not like using chalk paint at all to paint furniture. It chips very easily.
Use a foam roller and 3 light coats of paint to the vanity base, doors, and drawer fronts. Don’t be surprised when the first coat doesn’t look like the color you expected. I always wait until the 2nd coat to determine whether I like it! Also, use an angled paint brush and feather the corners or trim that the roller cannot get into. The key to a smooth finish is light brush strokes. You can do this by using a paintbrush in any corner or nook that you may have missed with your roller. Once you’ve done that, let the paint dry for 2-4 hours before applying the second coat. You can also achieve a more durable finish by applying additional coats. I do not paint the inside of the cabinet. I don’t think it’s necessary.
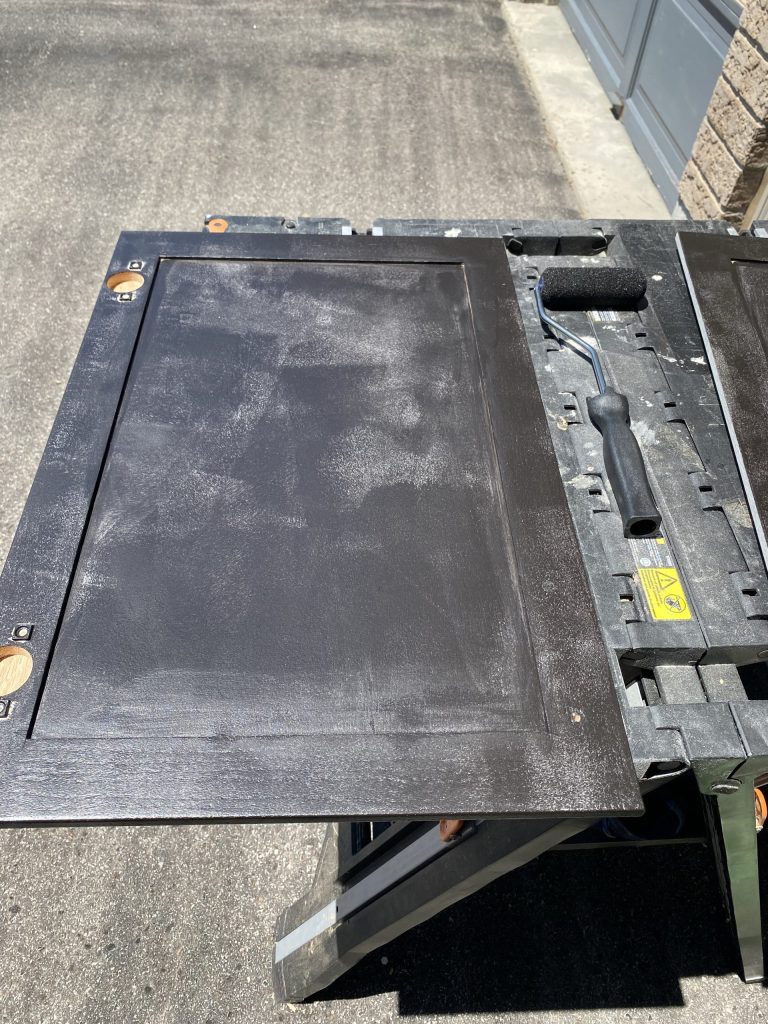
Optional: If you have access to a paint sprayer, use it instead of applying multiple coats with a brush or roller. This will ensure even coverage and save some time!
You should allow the paint to dry for 24 hours before applying a second coat if you need it. If you are looking for a deeper color, or if you want to hide imperfections in the surface, apply another coat of paint.
Step 8 – Re-attach the doors and old drawer fronts
Next, you’ll need to re-attach the doors to your cabinet and drawer faces. Since you labelled them, it should be easy to re-attach them. Just make sure they’re in the right place and secure them with screws or a drill. They look like new doors!
Step 9 – Add new cabinet hardware to complete your bathroom vanity makeover
You can buy new hardware at a hardware store or online. Choose hardware that will compliment other elements in your space like the mirror and lighting. You can use a hardware jig to mark the holes or use painters tape to mark where you want it, then measure how far apart those measurements are and drill accordingly.
Step 10 – Change the faucets
This is optional, but I decided to add a new faucet. Trending new faucets come in many different finishes. Brass and matte black are very in-style. I was REALLY intimidated to change my faucet. I watched a bunch of YouTube videos and after I was convinced this was an easy project, I mustered by my courage and got to work. Surprisingly, it was so EASY!
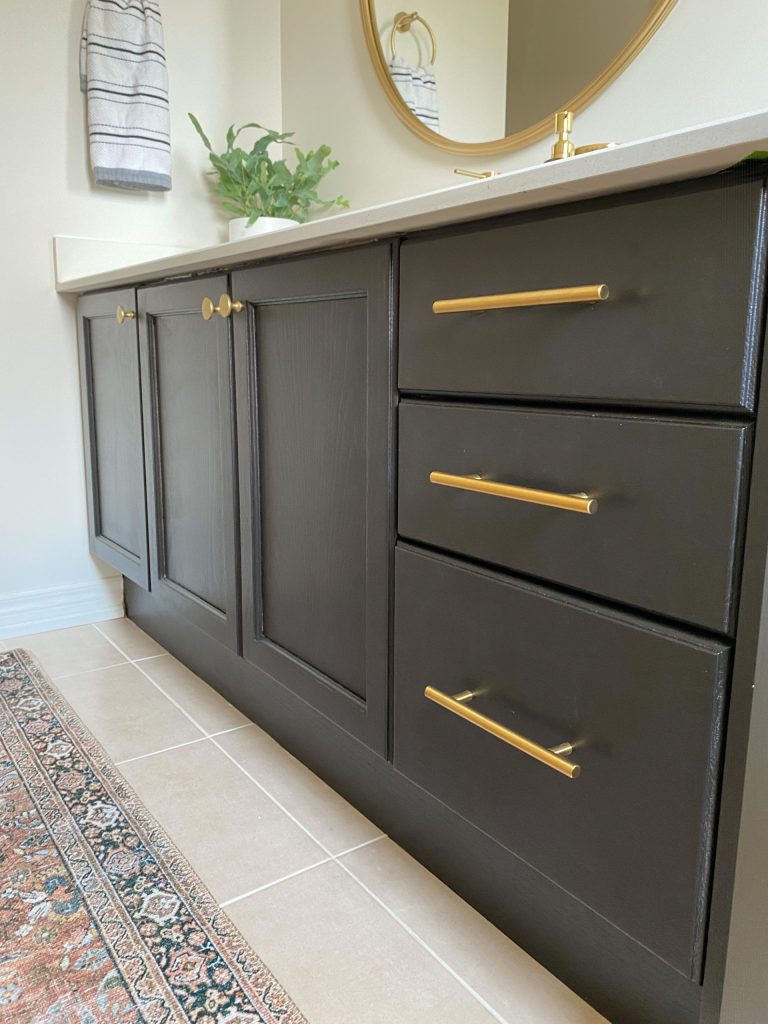
Admire the results of your DIY painted vanity
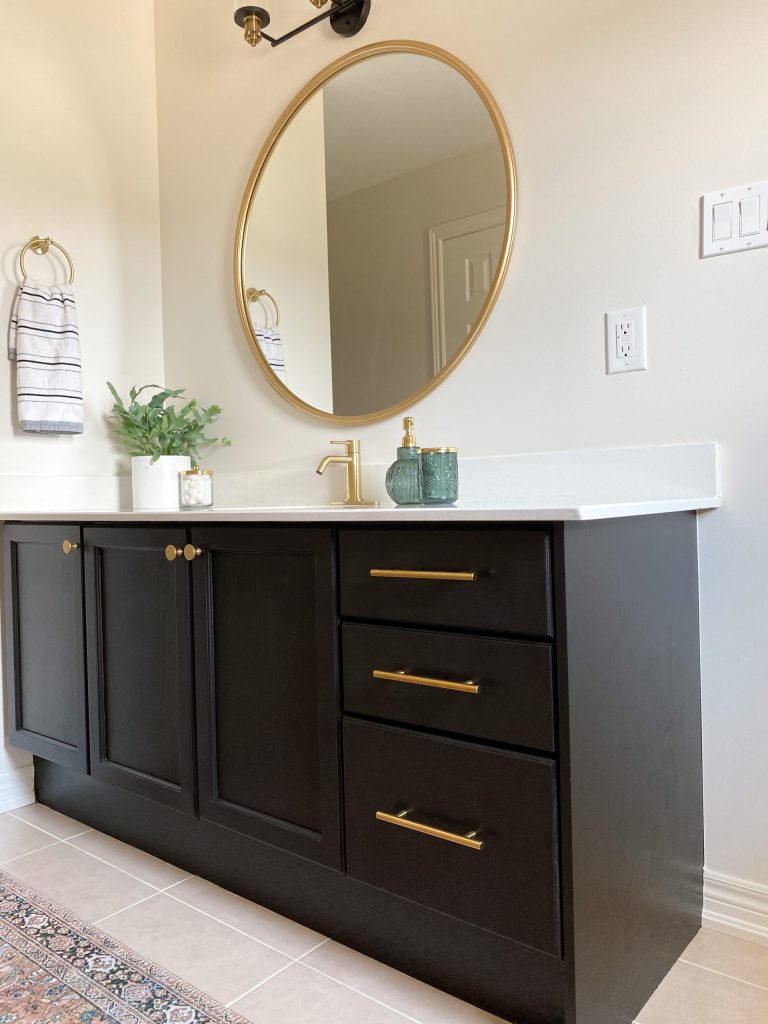
Painting a bathroom vanity cabinet is one of the easiest home DIY projects you can do that will have the most impact. And it won’t cost you a fortune either! With a fresh coat of paint, new faucet and hardware I gave these old cabinets a whole new look on a tight budget!
I can hardly believe this is the same vanity!? Now you know how to paint your bathroom vanity and I bet it looks like a whole new expensive piece! our secret is that you did not spend a lot of money! Luckily, our vanity was in good shape, but you can also paint your vanity top with this paint kit if it needs a refresh. The full budget-friendly bathroom makeover also included changing the light fixtures, a fresh coat of paint on the bathroom walls, and adding trim molding. You can see the full reveal in this blog post

I would love to see the result of your painted bathroom vanity! There are so many paint colors to choose from, my favourite are white, black and greige. If you do, be sure to share with me. Follow me on instagram for more budget projects.


Pingback: How to Paint an Old Nightstand to Make it Look Expensive! - Hana's Happy Home