
This next project in my budget kitchen makeover was a fun and easy one. I had an empty wall beside my pantry, which looked like it was missing something. I decided a cute display shelf would add so much character to the kitchen.

Materials
I earn commissions from purchases made through my links
The vision:
I mapped out how I wanted the display shelf to look before I officially began building it. Using painters tape I made a rough layout of the shelf on the side of the pantry.

This helped me visualize the shelf as well as account for any measurement adjustments when I began to cut the wood.

Building the shelf:
I used 1×4 pine wood to create the frame of the plate rack. Using my saw I cut pieces the length of my wall (minus 1.5″ to account for the vertical pieces of the plate rack).

The shelves were cut the width of the pantry, minus 1.5″ from the sides. Before assembly, I primed and painted all the pieces of wood. I used the same paint as the cabinets.
To be proactive I pre-drilled the holes in the shelf I would need later to install the rails.

I assembled the frame of the plate rack by using adhesive to join the corners.

And then using my corner clamp, I clamped the corners together to make the corners square.

After that I was able to nail the shelf frame into place.

With the frame intact, the next step was to nail the shelves into place.

Make sure that the distance of the shelves is equal.

Adding the gallery rail:
I wanted to add character to this display rack and add a gallery rail along the edges of the shelves.
The gallery rail is only two pieces: the pegs and rods. The pegs and rods I ordered were a bit too brassy, so I used my favorite gold spray paint to get the desired color. I used BEHR metallic spray paint.

I would suggest installing the pegs in place before you attach the shelf to its desired location. I forgot to do this and had to use toothpicks to get the pegs in place.

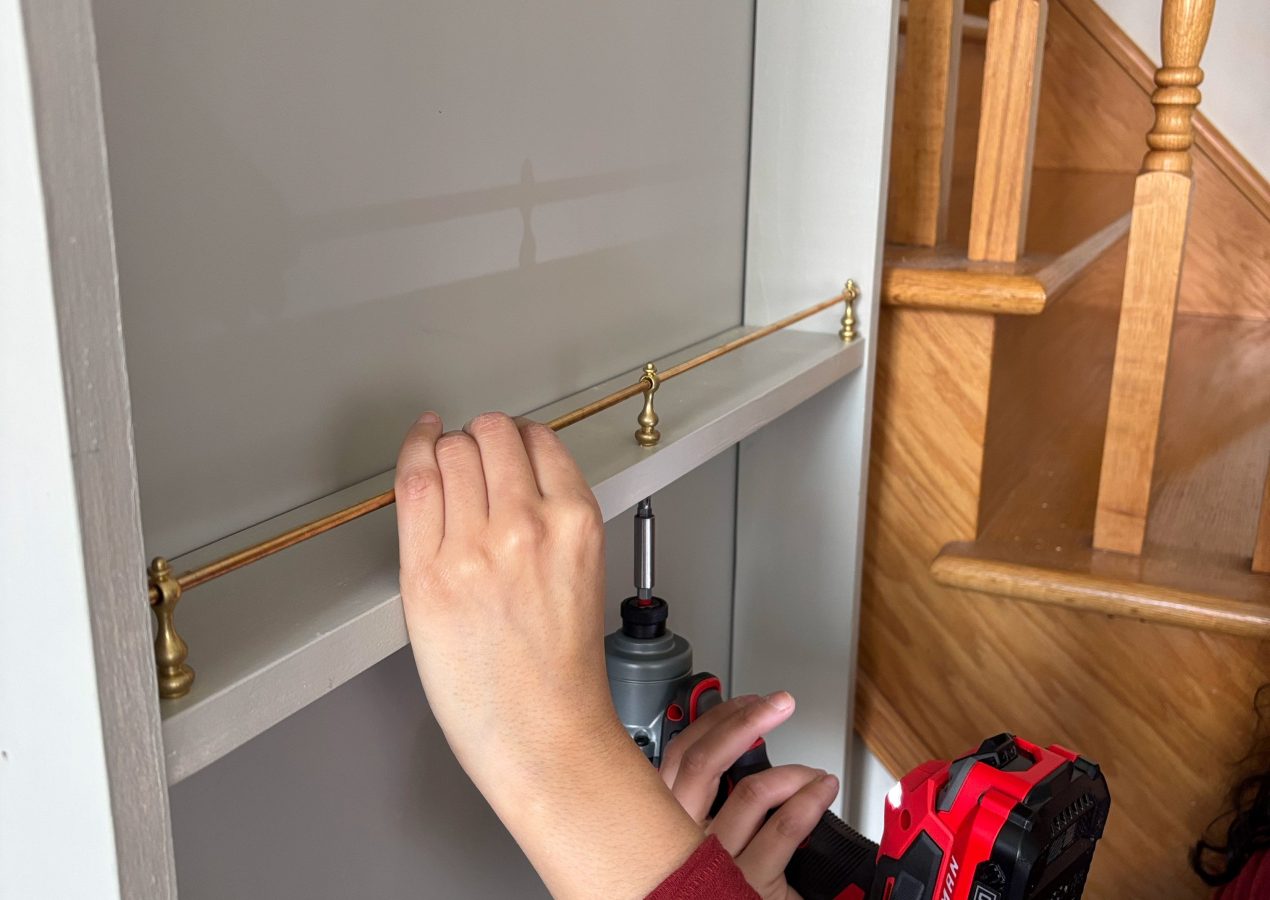
I threaded the brass rails through the pegs. I had to use two shorter brass rails for the expanse of the shelves.

Attaching the plate rack:
Attaching the plate rack to the cabinet was the hardest part of this project. I had to attach the cabinet from the inside. It was too late to add pocket holes, so I had to attach from the inside.

This was a bit nerve wracking as there is a high chance of error. This is mainly because if I don’t hit the exact spot, then the shelf can split. Thankfully, I was very careful with the measurement and was able to get the right placement. Once it was installed, I attached the pags and rails.

Final look:
The final look is this beautiful and useful corner. This was such a fun and inexpensive project to do, which required minimal effort. I was able to take a forgotten space into a gorgeous corner of my kitchen.

You can decorate as you like. And because it is in such a prime spot, you can change up the decor as you desire. With pastels for the spring and a fun autumn palette for the fall. You can even add trinkets and decorative platters year round.
After we had our floors and stairs done, it looks even better! If you’re thinking of having your floors replaced, make sure to read my guide on everything you need to know before getting your floors done!

If you loved this post, make sure to pin it!


Leave a Reply