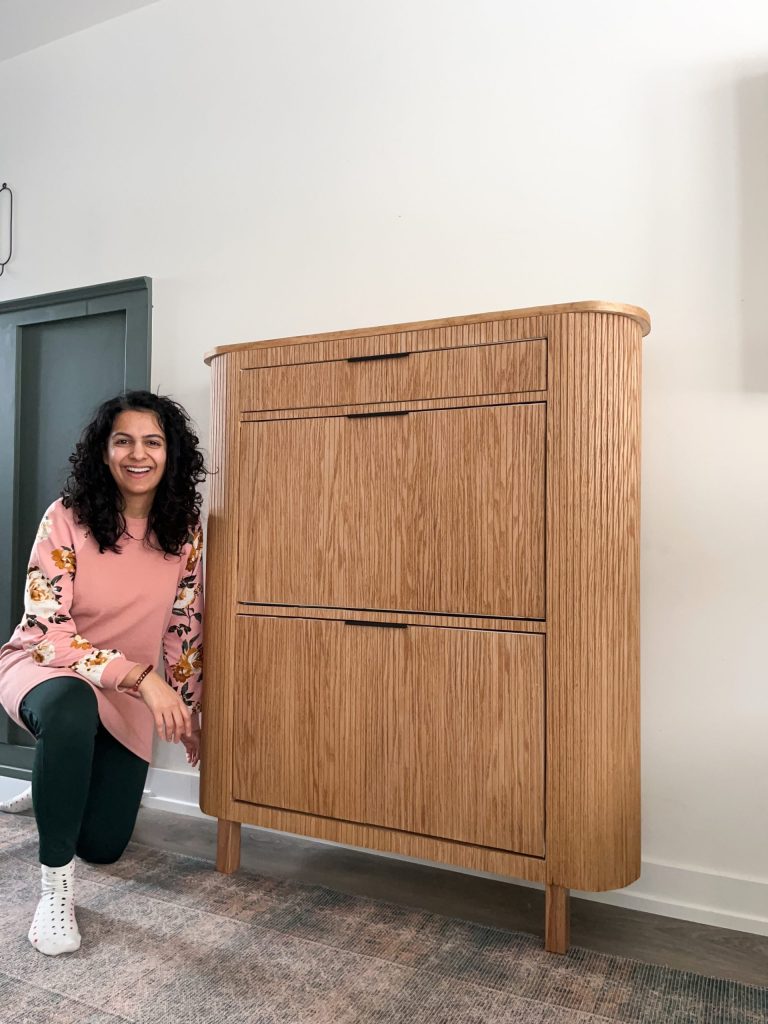
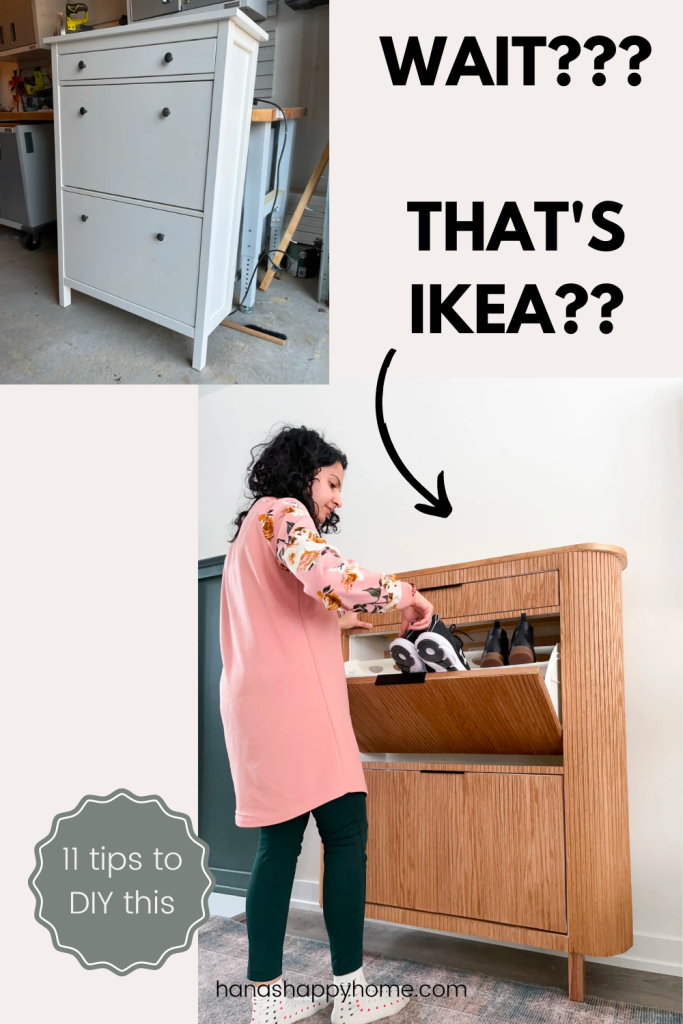
You won’t believe how many people ask me where I got this beautiful shoe cabinet from. Their jaw drops to the floor when I tell them it’s from IKEA. Well, it’s an IKEA hack that I DIY’ed. It’s such an easy project that I think anyone can tackle it.
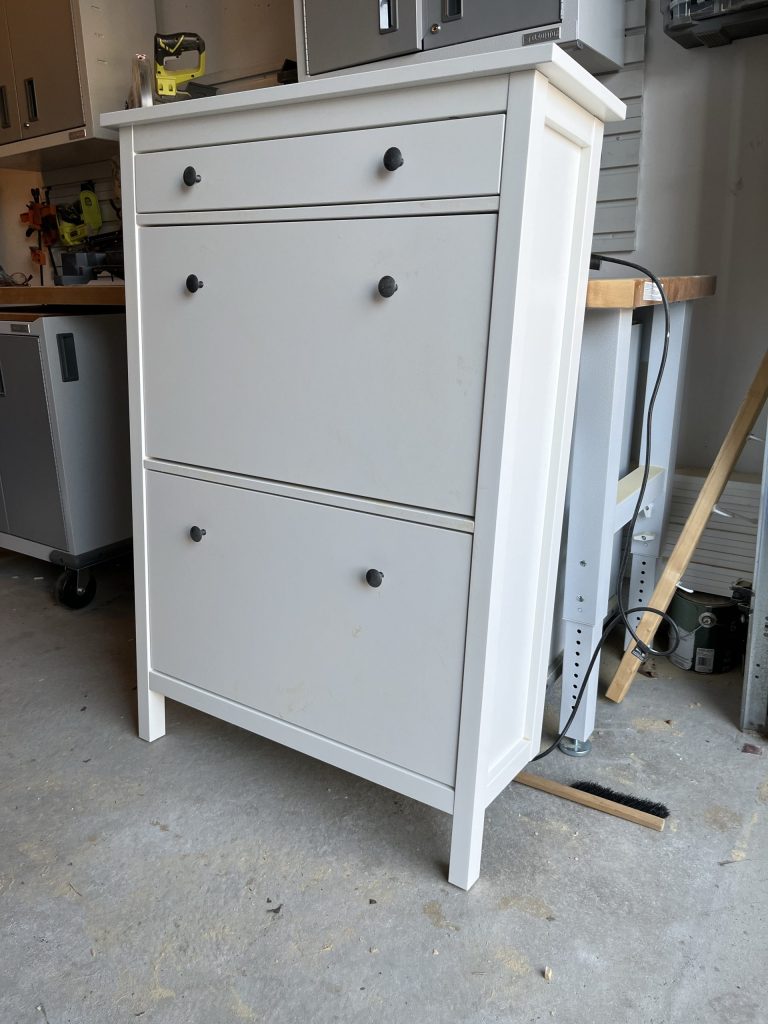
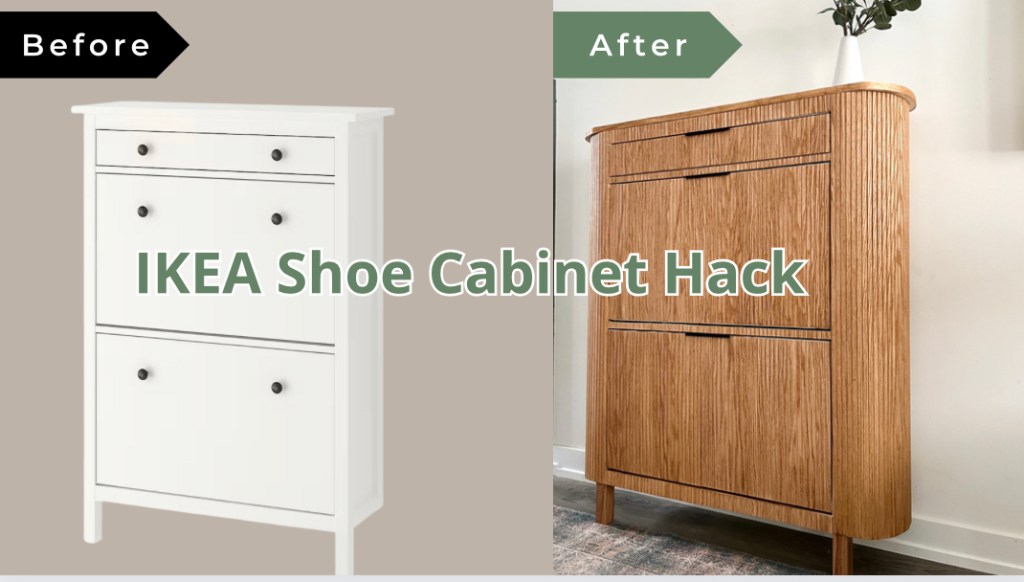
One of IKEA’s key strengths is how functional their furniture is. They design their pieces to make the most of the available space. This is why I absolutely love their Hemnes shoe rack cabinet. It’s a great shoe storage solution for an entryway, saving it from looking like a footwear fiasco on the floor. However, it doesn’t have much style. Some people really like that white, clean, minimalist look for their home decor, but I knew I could turn it into a stunning custom piece of furniture. Now, watch me transform this boring unit into a stylish and trendy furniture piece with this easy IKEA Hemnes shoe cabinet hack!
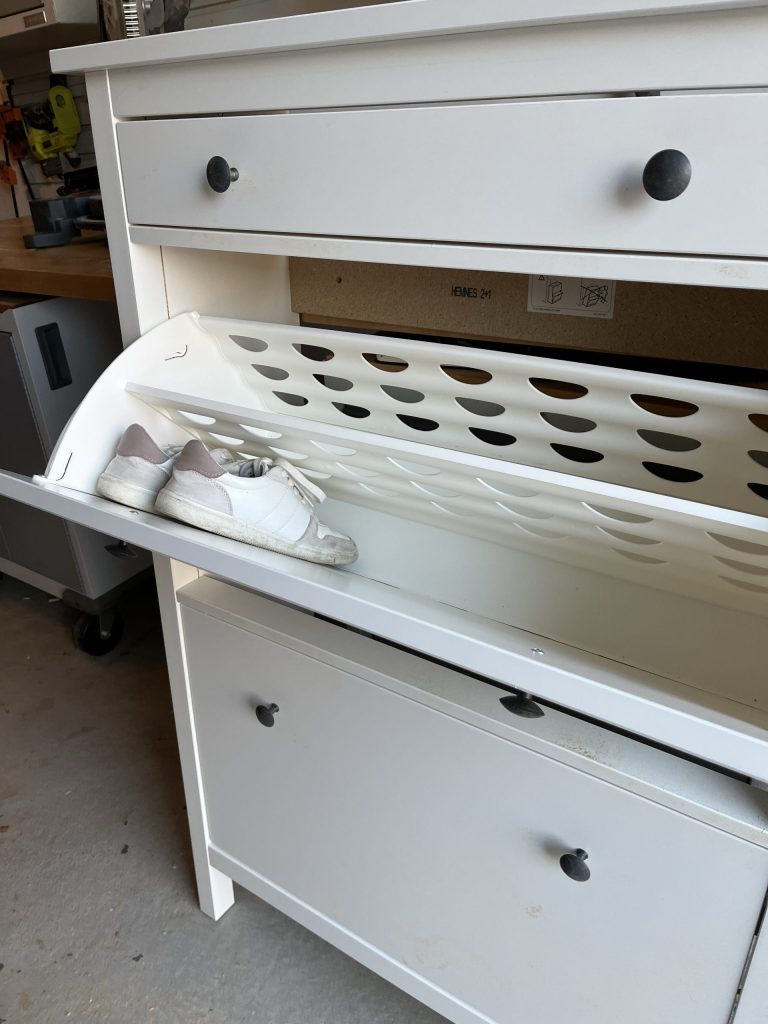
This is not a hard project at all – it just has lots of little steps that I had to show you. You can definitely pull this off!
- What you’ll need for this IKEA Hemnes shoe cabinet hack:
- Step 1. Cover the drawer fronts with pole wrap
- Step 2. Sand the pole wrap
- Step 3. Add pole wrap to drawer fronts
- Step 4. Cover cabinet front with pole wrap
- Step 5. Create a semicircle template
- Step 6. Cut out semicircles
- Step 6. Attach semicircles to IKEA Hemnes cabinet
- Step 7. Hack with IKEA Hemnes with a wood top
- Step 8. Attach the top of the cabinet
- Step 9. Attach the pole wrap to the sides
- Step 10. Condition and stain the pole wrap
- Step 11. Add the finishing touches to the IKEA Hemnes shoe cabinet
- The Reveal of my IKEA HEMNES Shoe cabinet!
What you’ll need for this IKEA Hemnes shoe cabinet hack:
Power tools
- Drill
- Table saw
- This is my Mitre saw but you can use a beginner saw as well
- pin nailer
- Jigsaw
- fine tooth jigsaw blade
- power sander
Materials
- Pole wrap (I used 2 of these)
- edge banding
- 3/4″ pin nails
- P220 grit sandpaper
- Painter’s tape
- Wood conditioner
- Wood stain. I used this color
- Optional: yarn or string
- plywood (a 4×4 sheet)
- 12 small brackets and screws
Step 1. Cover the drawer fronts with pole wrap
Measure all the drawer fronts. Then cut the pole wrap to fit on top of the drawer fronts.
How to cut pole wrap
Pole wrap comes in sheets. The ones I got were 8 feet long X 16″. For fun, I tired cutting this using my circular saw, table saw and mitre saw. the best way to cut pole wrap was with my mitre saw. Overall, that’s the tool I’d recommend for this task.
If you fold the sheet in half and cut along the line, it works really well. Use painters’ tape exactly where you’re going to make your cut to prevent splitting the wood. This simple technique makes for a much neater cut.
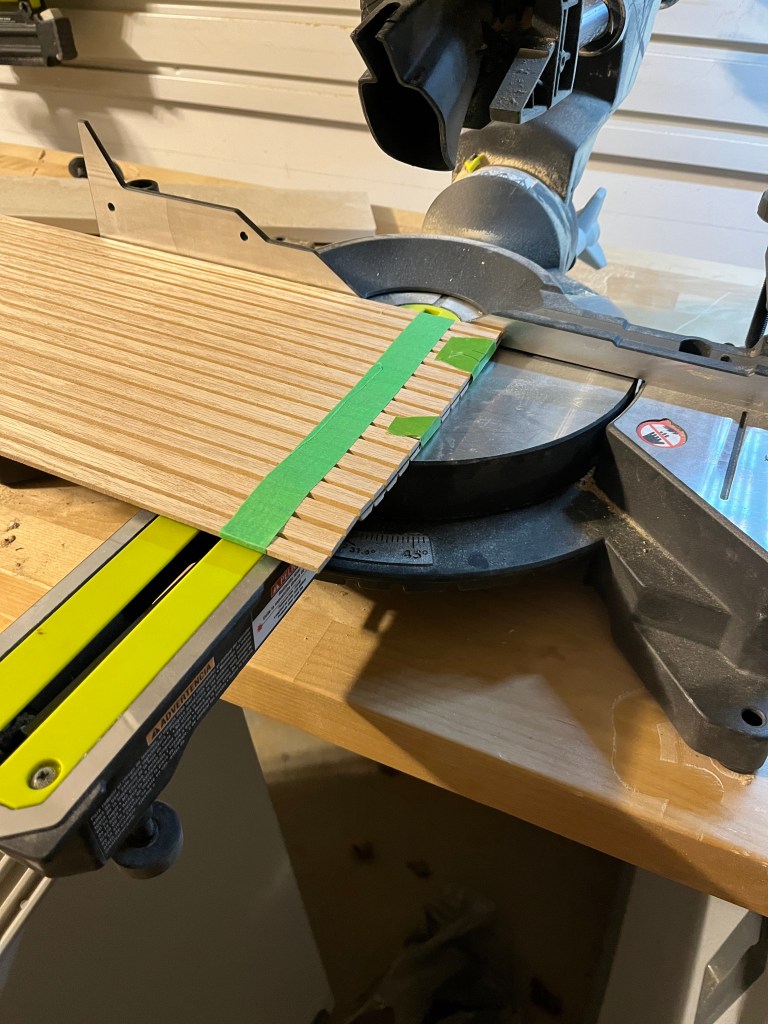
If you have to cut off a few slats, is to use a utility knife. Cut into the middle of the groove and slide your knife down the line and there you have it.

Step 2. Sand the pole wrap
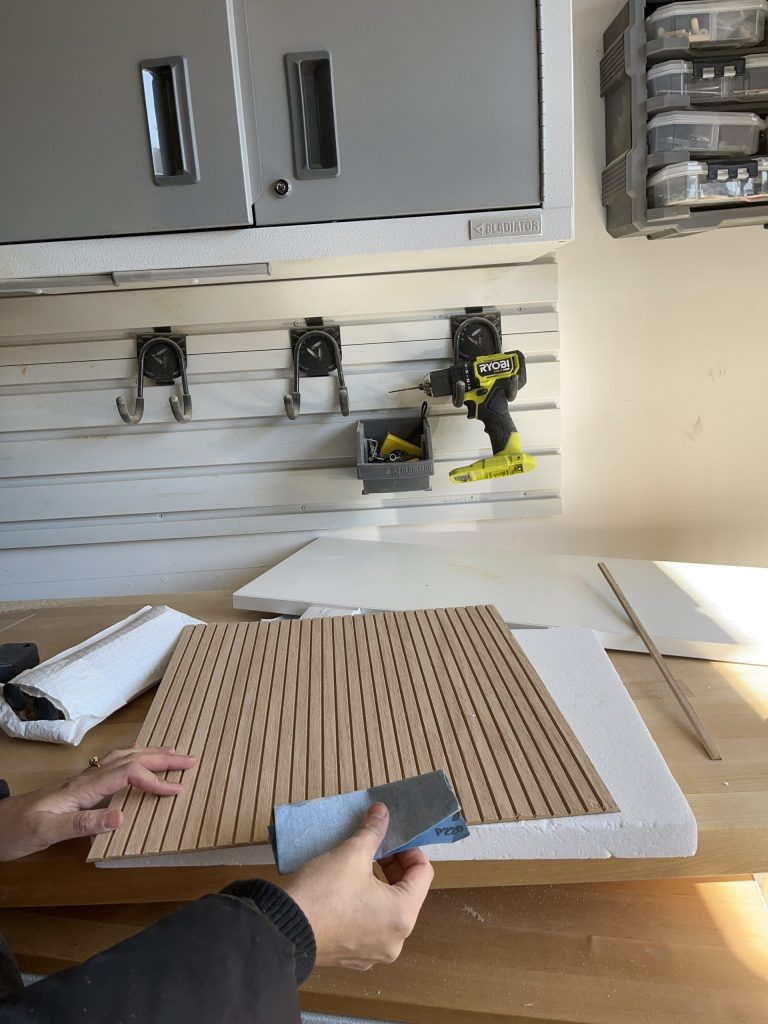
Once you’ve made the cut, you’ll also need to sand down any rough edges. Use p220 grit sandpaper to smooth the edges where you cut.
Step 3. Add pole wrap to drawer fronts
Now to attach our beautiful pole wrap to the front of the drawer doors. Remove the hardware.
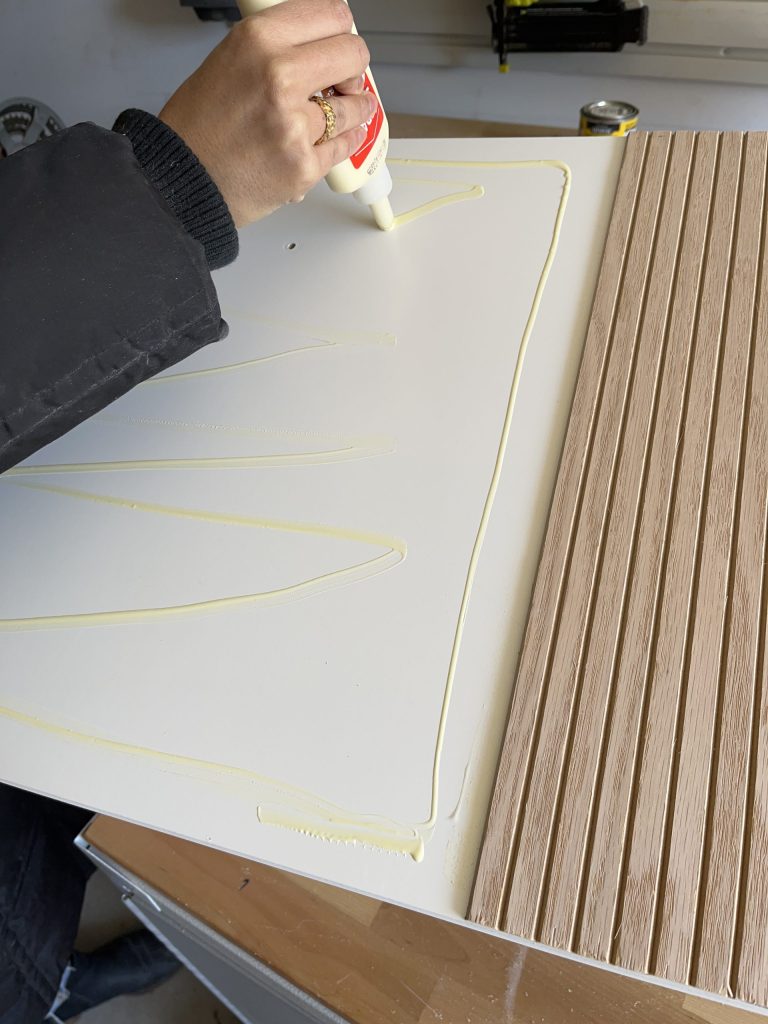
Start with wood glue. You don’t need a thick layer, but make sure to still cover the whole surface. Try not to go too close to the edge either, or the glue might ooze out of the side. If that happens, it’s not a big deal; just clean it up before it dries.

Next, use a pin nailer with ¾ inch pin nails. Nail the pole wrap in a few spots, just to make sure it stays put on the drawer surface.

I’m choosing a pin nailer here rather than a brad nailer, for example, because I really want to use small nails for this part. I don’t want to go through the drawer with longer nails nor do I want to leave any visible nail heads. It also leaves fewer splinters, it’s an easier tool to use, and it’s the fastest. A pin nailer is the best tool for this job.
Step 4. Cover cabinet front with pole wrap
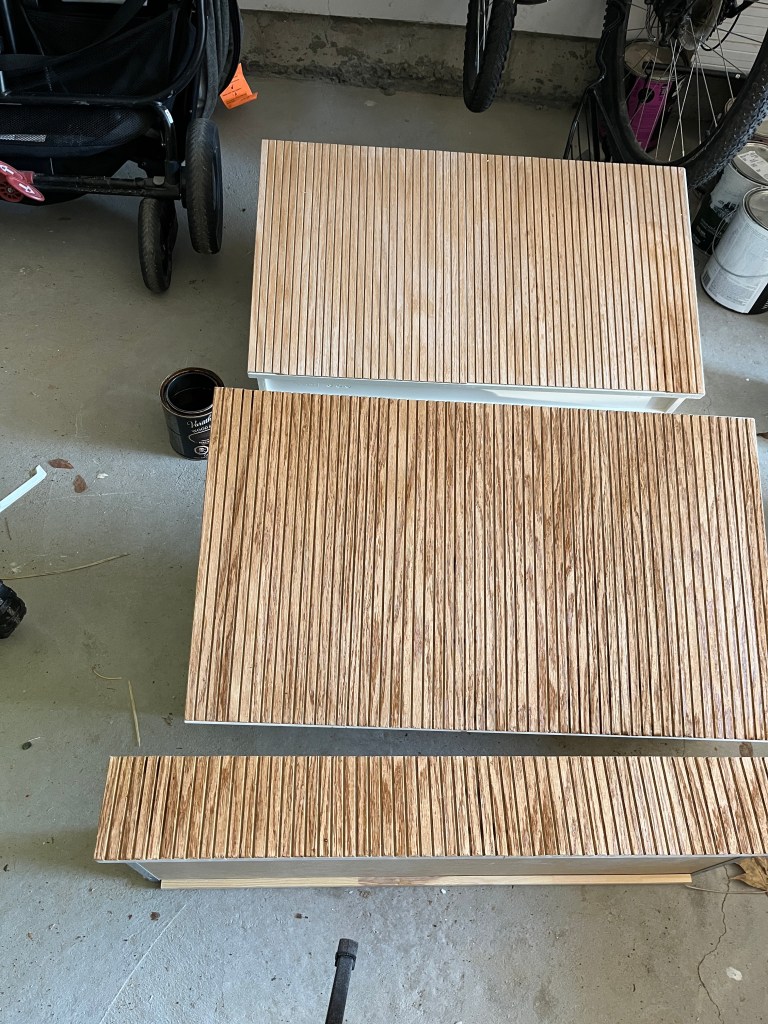
Once you’re done with the drawers, do the same thing for the rest of the front facing part of the cabinet. Cover the remainder of the white pieces of the cabinet with the pole-wrap so it all looks like real wood.
These spaces are smaller so you just need to cut thin strips of pole wrap and stick them on with wood glue and pin nails.

Notice how I’m only doing the spaces between the drawers. Leave the vertical edges uncovered. We’re going to do that later.

Step 5. Create a semicircle template
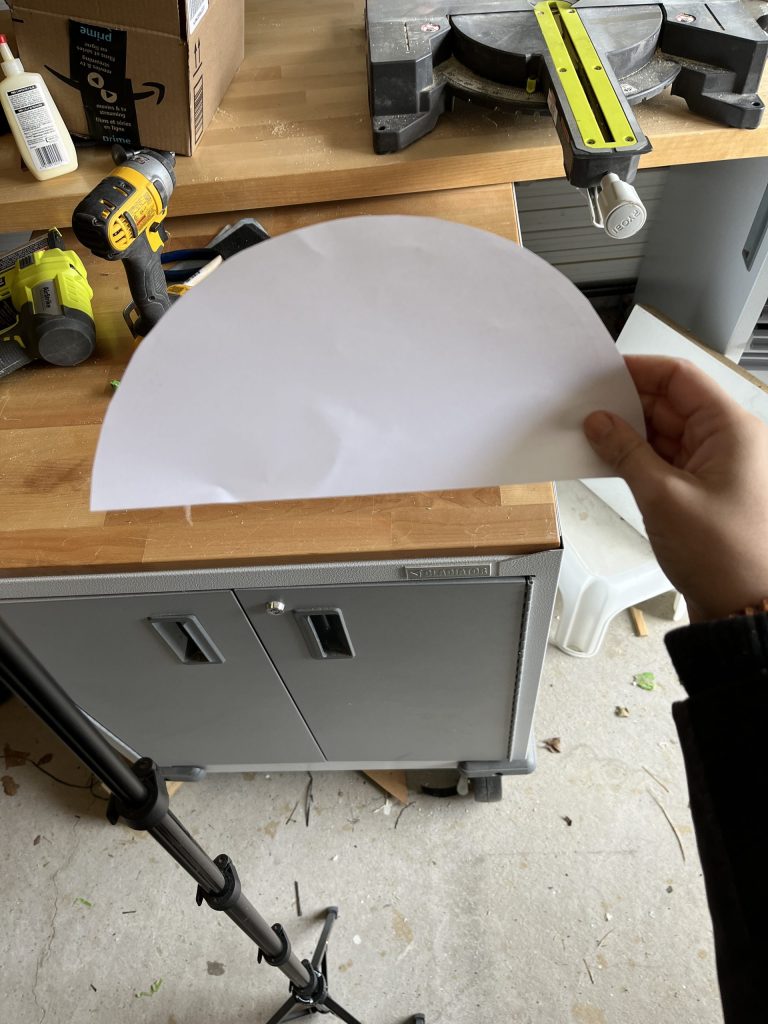
Ok, here’s how we’re going to create that curved look for the side of the cabinet. First, you’ll need to cut a template for a semicircle.
I’m going to tell you about this neat little trick you can use to draw perfect circles. All you need is a piece of string, a pencil, and a piece of paper.
Take a piece of yarn and hold one end down firmly on the paper; this is the center of your circle. Then, attach the other end of the yarn to a pencil (or just hold it in your hand, tightly against the pencil). Keeping that yarn taught, trace around the center point of your circle. Basically, you’re just making a line, but because you’re holding down that yarn, your pencil will be guided around that point. And voilà! A circle!
Since we only need a half-circle, though, the spot where you hold down the yarn should be at the edge of the piece of paper.
How to make your semicircle the right size
My pole wrap is only 16 inches long, so my semicircle can only be so big. The size of the circle you draw will be determined by the length of the piece of string. But how do we know how long it needs to be?
Math, baby. You remember in high school you wondered when you would use math? Now! For this IKEA Hack. I calculated this for you. The distance between where I’m holding down the yarn and where I’m holding it against my pencil should be a maximum 5″. Trace the semi circle. If you cut it out and it’s not the right size at first, it’s just paper so adjust and try again.
Step 6. Cut out semicircles
Once you’ve made a perfect semicircle, cut your shape out. Use this template to trace your shape onto a piece of wood.
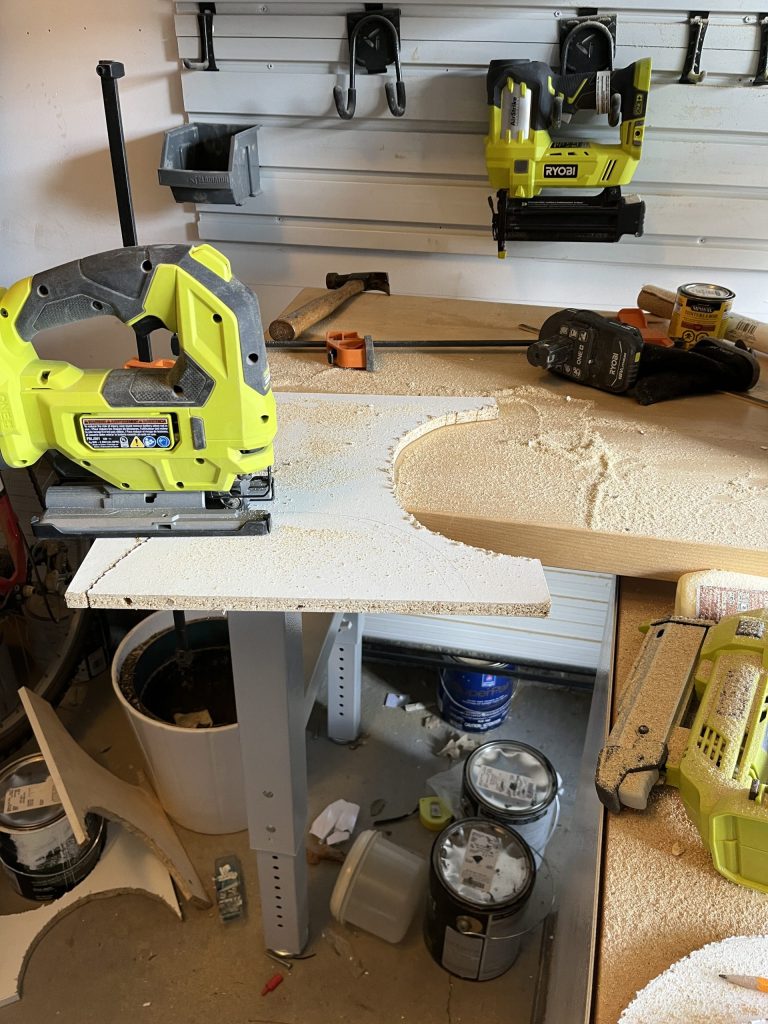
Clamp down the piece of wood and use a jigsaw to cut 6 semicircles. You’ll need three for each side (top, middle, and bottom).
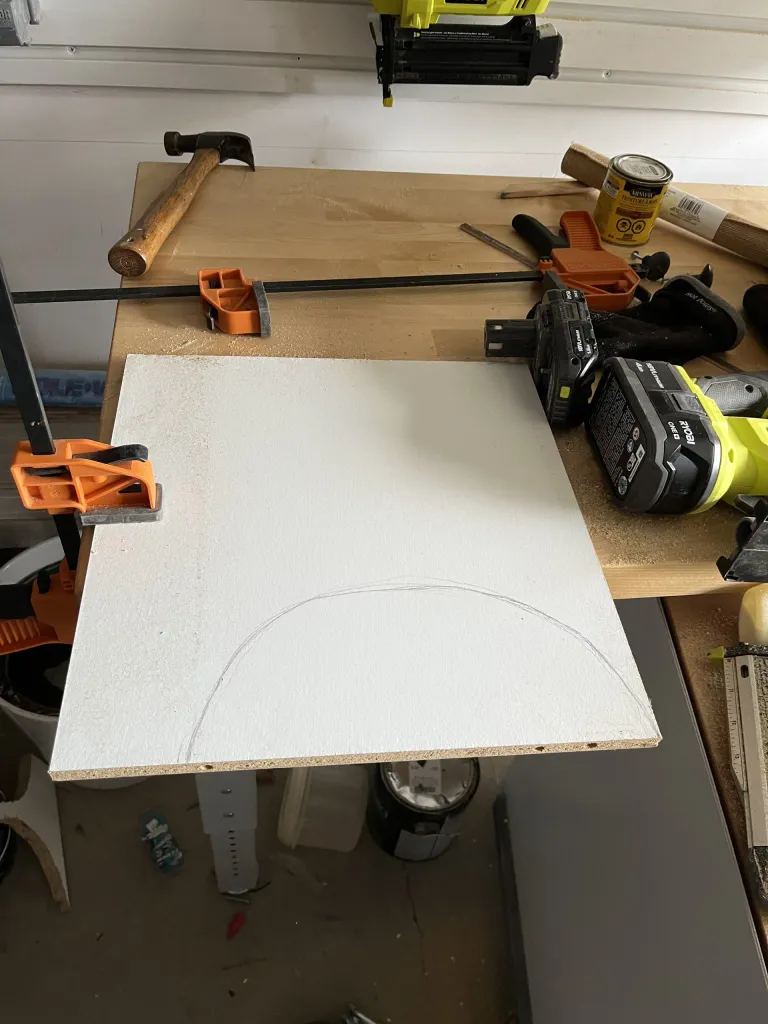
For more control in cutting out this curve, I suggest you use a fine toothed blade with your jigsaw.
Step 6. Attach semicircles to IKEA Hemnes cabinet
We’re going to attach the semicircles to the cabinet using small L brackets. To avoid splitting the wood on the cabinet, make some pilot holes first. This step is important, especially when working with furniture.
Use a level to make sure you’re installing these evenly. (I did not, and had to redo some steps. Learn from me, please.)
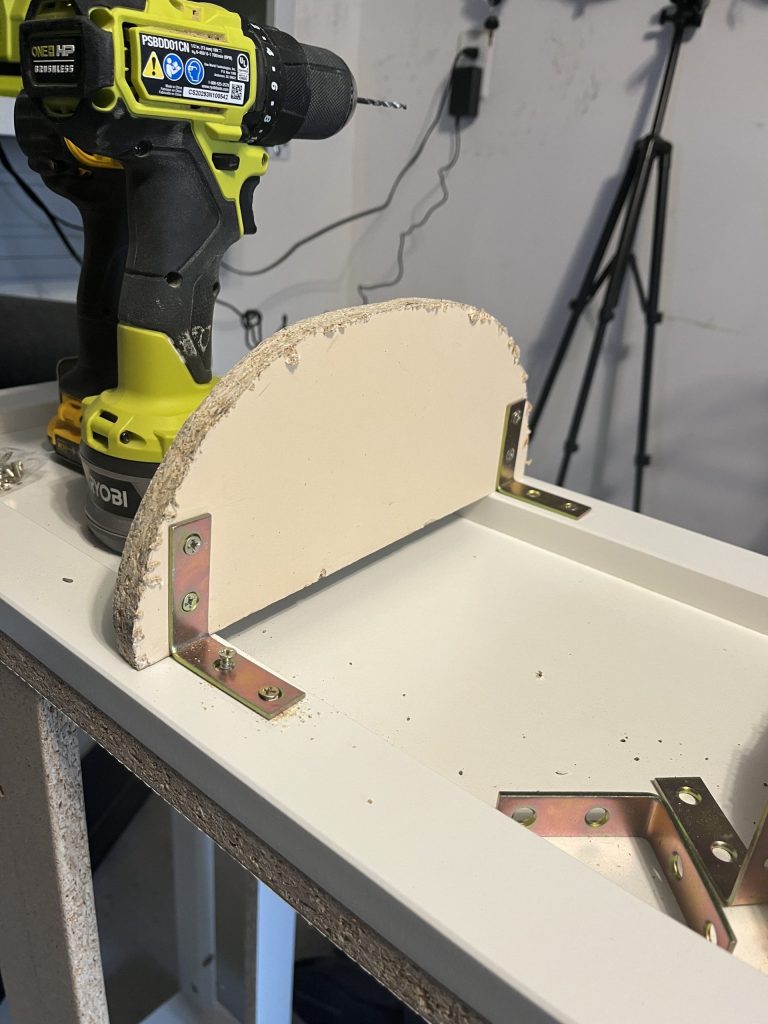
Start with attaching the brackets to the semicircles first. Then, bring each piece to the cabinet and drill through the L brackets into the pilot holes. Attach these to the thicker raised part of the cabinet frame (as above)
Step 7. Hack with IKEA Hemnes with a wood top
My initial plan was to sand down the paint of the top piece and work from there. However, as soon as I started I realized that the IKEA Hemnes unit was not made of pine like I thought but rather MDF. Instead, I just made a whole new top out of plywood.
Since I want the top of the cabinet to match the rest of the newly shaped furniture piece, I cut the wood for this part into curved ends. I used the semi-circle template to cut this out. I made the width of the top just a little wider than the Hemnes cabinet base.
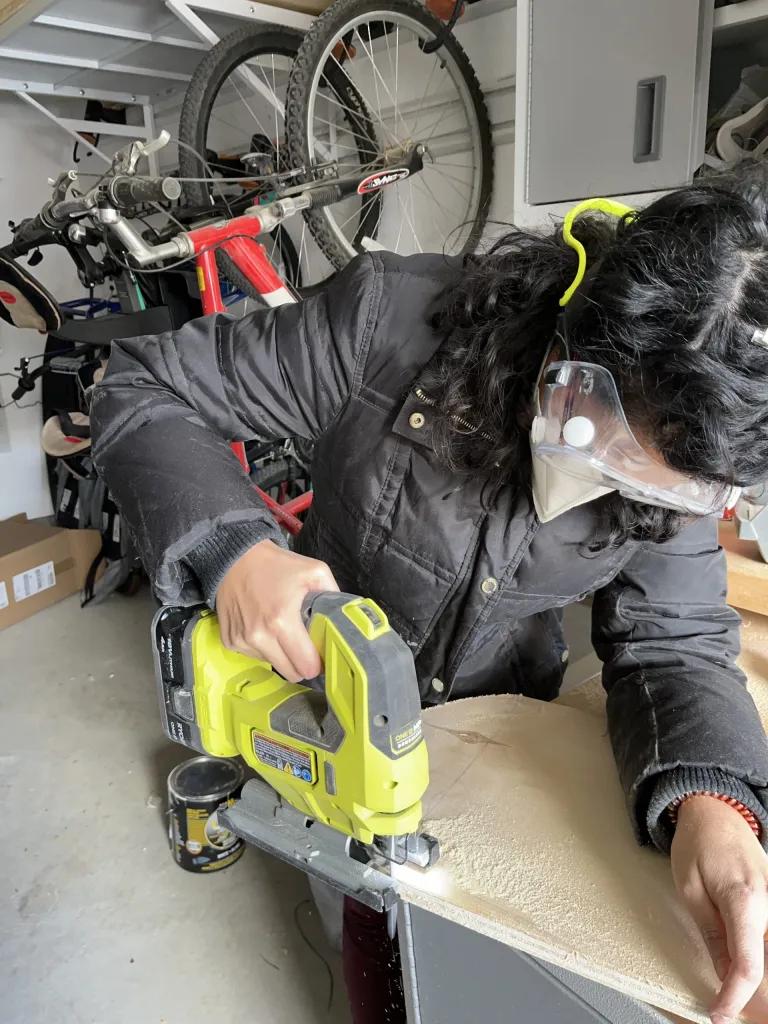
Use a jigsaw here to cut rounded sides to the top of the cabinet.
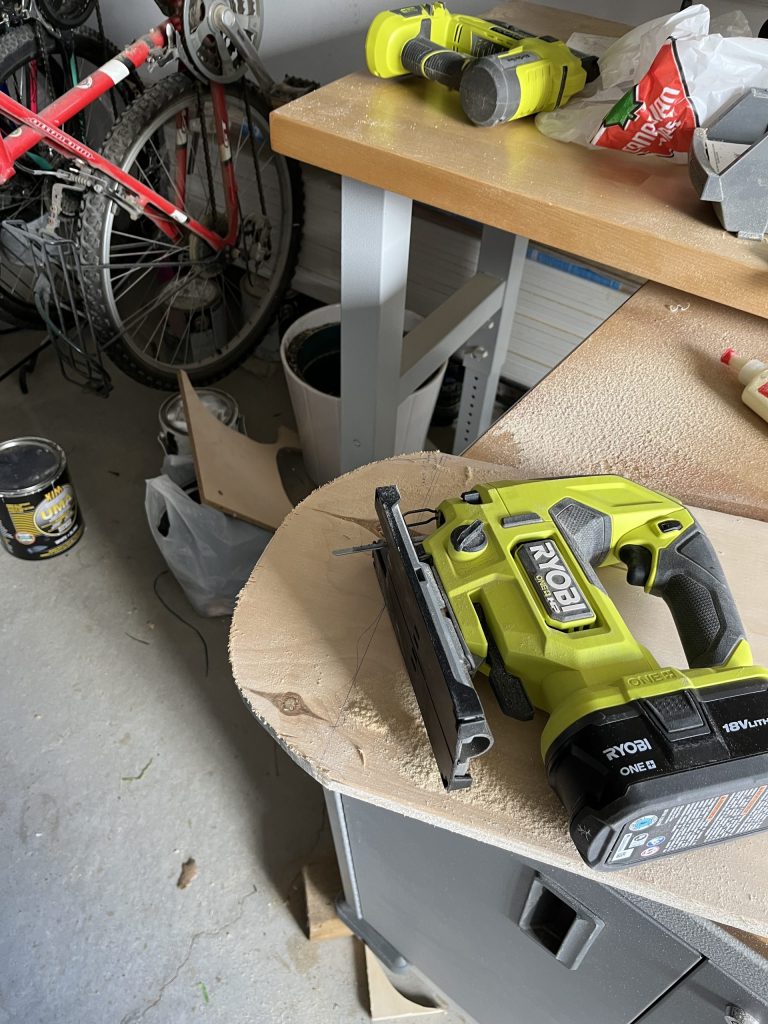
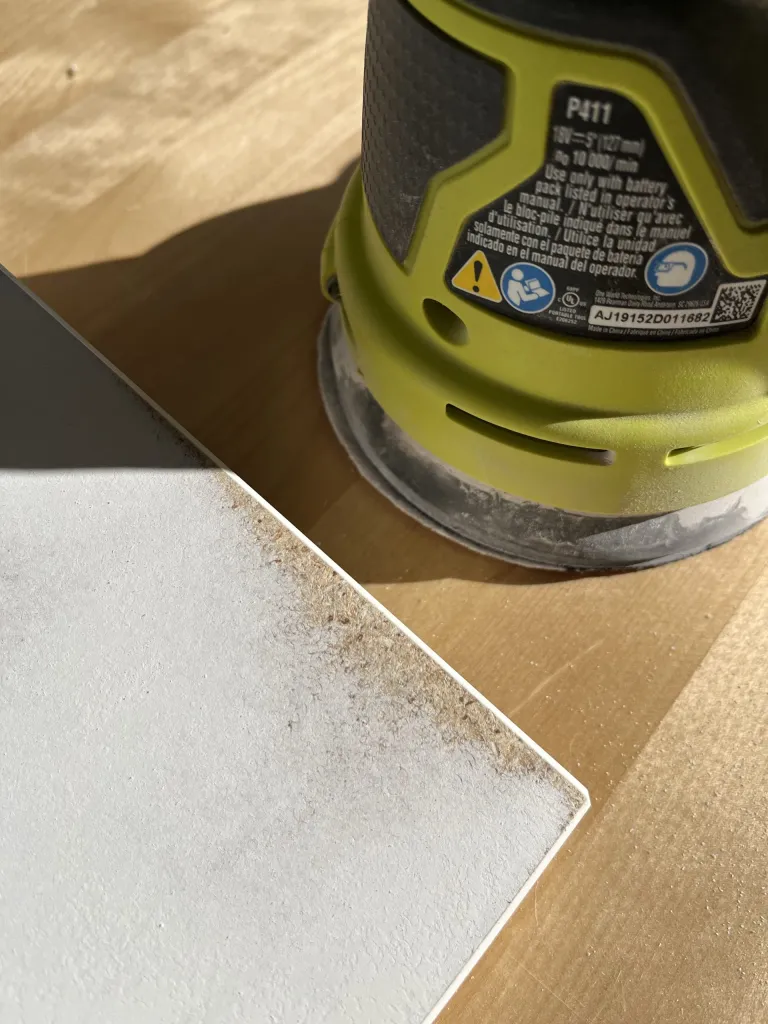
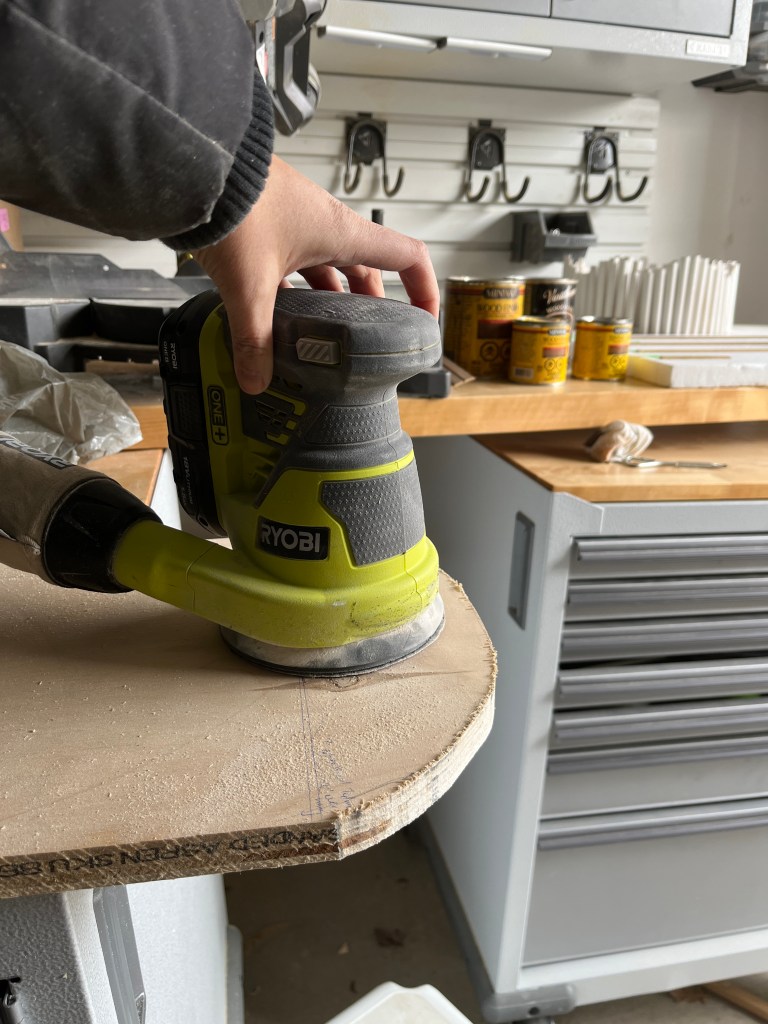
You can see that the edges need to be sanded. Smooth out this roughness with p220 grit again. This time I used my power sander

I used plywood for this top piece. Though it has ugly sides, I just used edge banding and ironed it on. It’s inexpensive, easy to use, and looks great. Edge banding makes the ugly edge look like real wood. Plus it’s stainable
Step 8. Attach the top of the cabinet
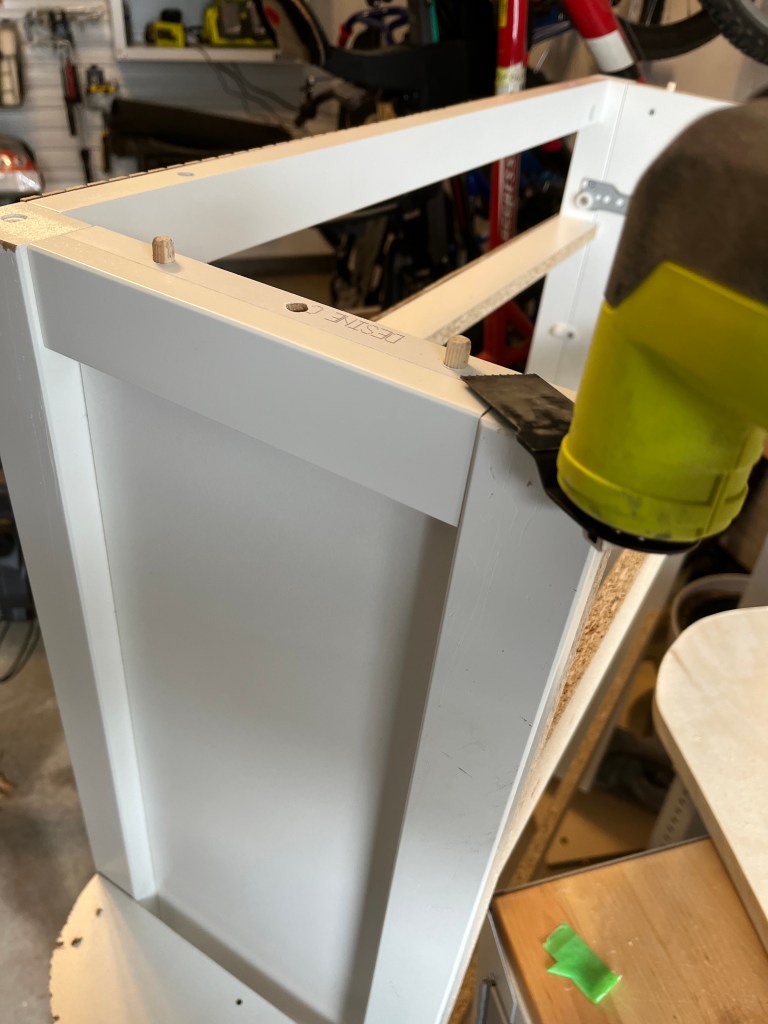
IKEA furniture sometimes attaches pieces together with wooden dowels, but we don’t need these so you can remove them. I couldn’t pull them out – they were really tightly wedged in – so I used my multitool to cut them off.
Like we did with the pole wrap, attach the top to the cabinet with wood glue, first. You can slide it around a bit to make sure it’s centered, and then use 1¼ inch nails to secure it in place with a brad nailer.

Step 9. Attach the pole wrap to the sides
Use a pin nailer to attach the pole wrap to the sides. Nail your pins into the half moon pieces we added to the cabinet. This way, the semicircles will support the pole wrap as you fold the pieces around the sides of the cabinet. This is so exciting! You get to see it come together!
Step 10. Condition and stain the pole wrap
Before you even think about staining, please please please use wood conditioning. Do not skip this step. Conditioning the wood prevents the stain from going on blotchy. It helps the stain go on smoothly and evenly, and helps the wood absorb the stain.
You’ve worked so hard and gotten this far. Don’t sabotage yourself by skipping this step.
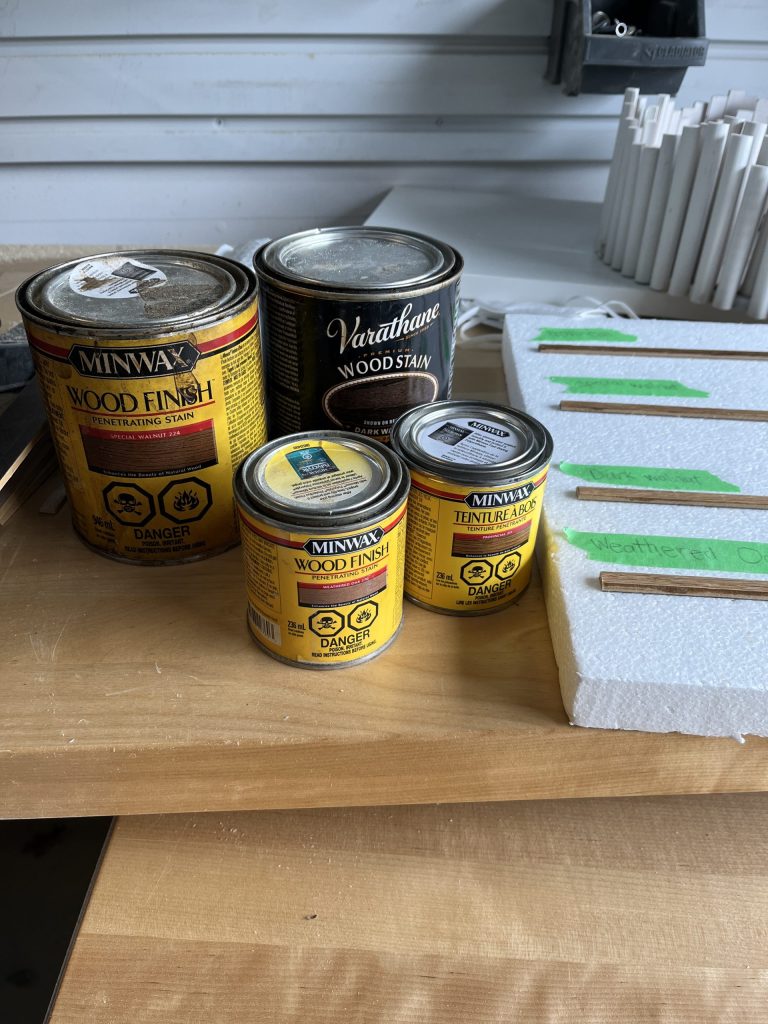
I wasn’t sure which stain I preferred, so I got a few to try out: Special Walnut, Dark Walnut, Weathered Oak, and Provincial.

I tested these stains on scrap pole wrap pieces I had lying around and found that my favourite was dark Walnut.This shade is not too dark, not too yellowish, and carries the perfect undertones for the space.

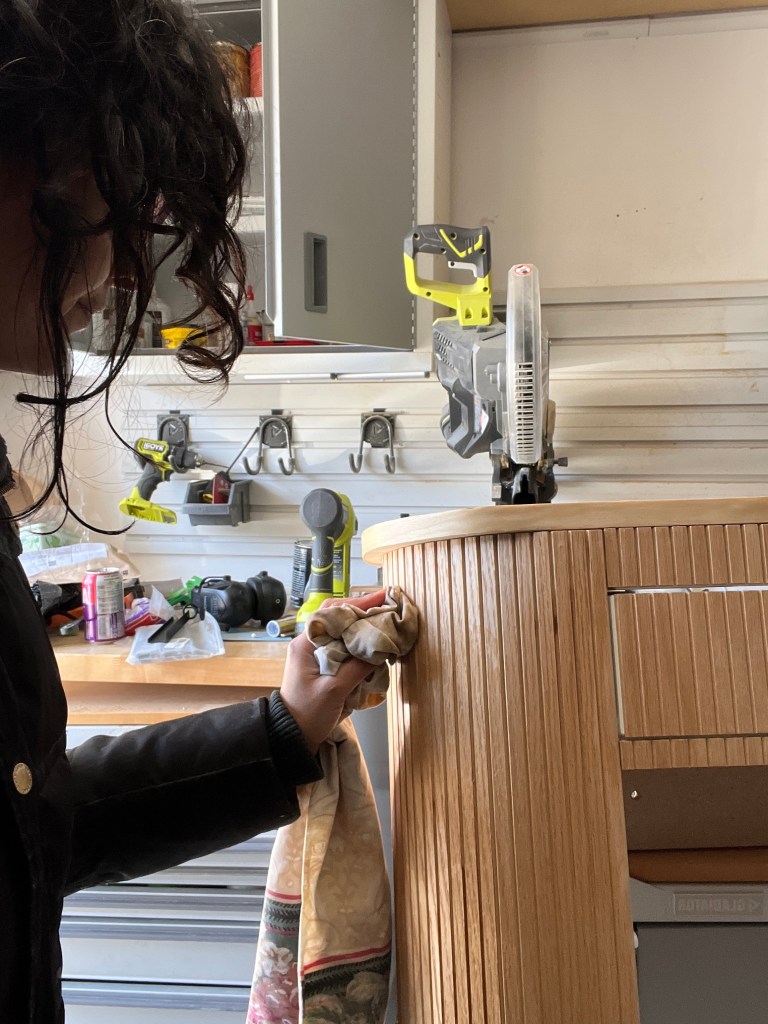
I also used this stain (and wood conditioning) on the top of the cabinet, including the edge banding.

Step 11. Add the finishing touches to the IKEA Hemnes shoe cabinet
Cover up the legs
For the legs, I just wrapped them with wood grain contact paper, which goes on like a sticker.
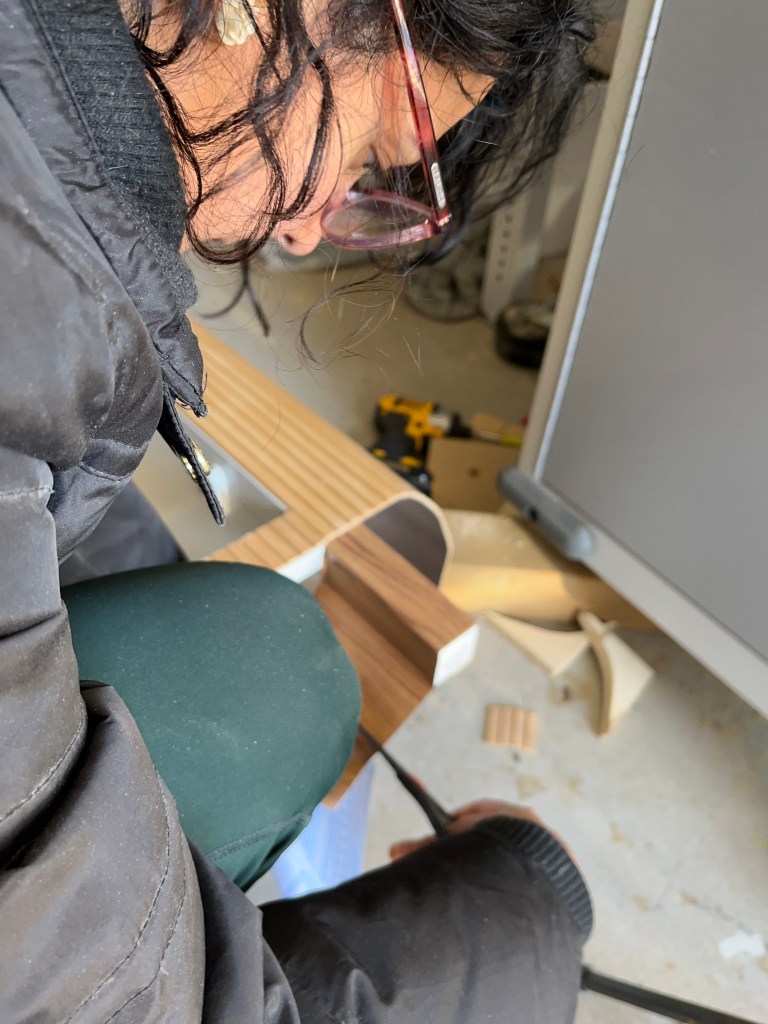
It actually matches the walnut stain pretty nicely.

Also they’re very small legs so you can’t tell even if it was a little off.
Add the drawer handles
I chose some modern matte black handles for the drawers. I measured to make sure it was centered, used a drill to make pilot holes, and then attached the handles.

Cover any visible white spots with contact paper
After all that, you could still see white gaps on the top of cabinet drawers so I added contact paper there too to cover the white bits. If I were to do this again, I would probably have purchased the black/brown option of the Hemnes shoe cabinet instead of white.
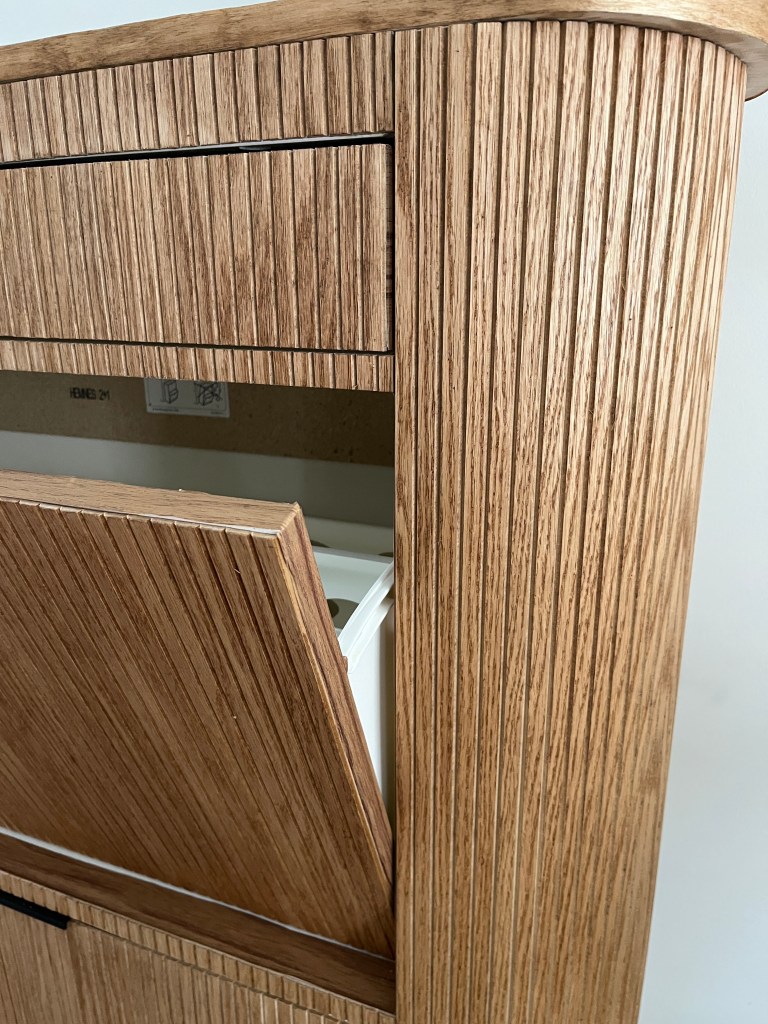
The Reveal of my IKEA HEMNES Shoe cabinet!
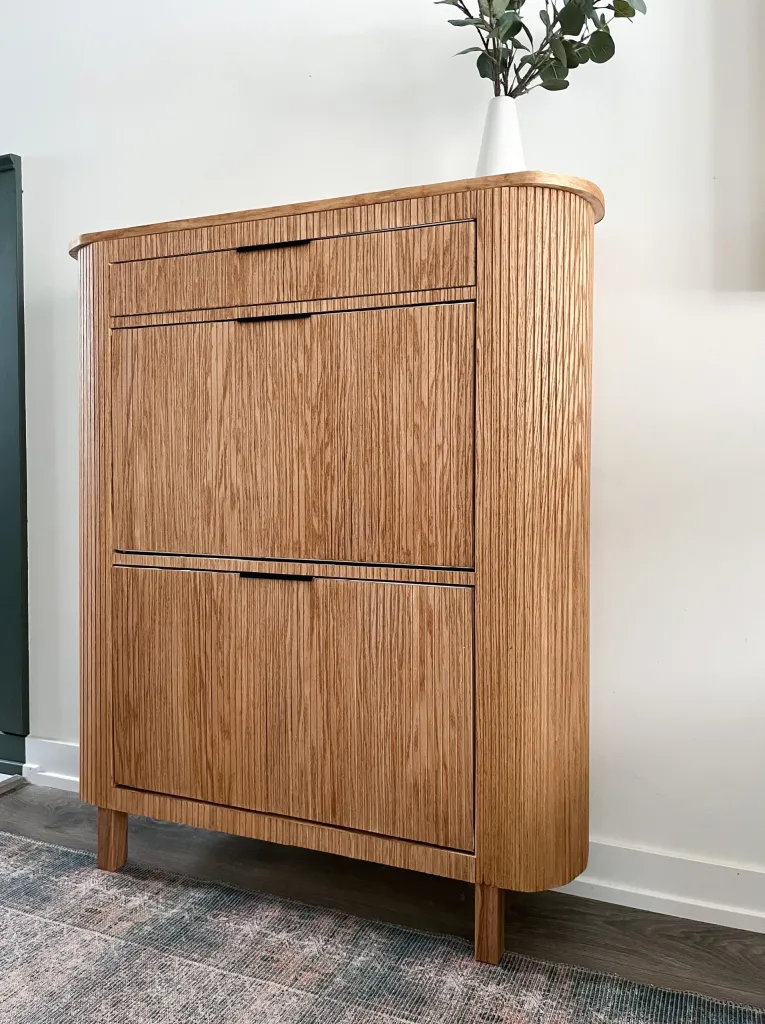
Are you ready for the result of my IKEA Hemnes shoe cabinet hack? I can’t get over how great it turned out. Here she is:
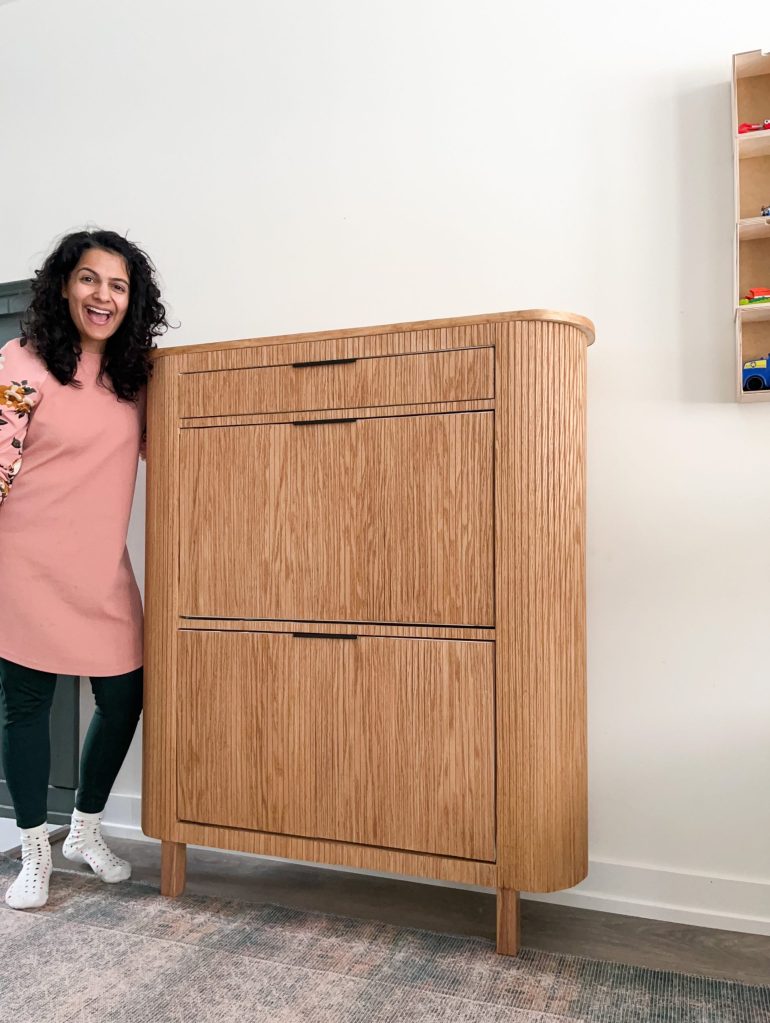
I’m so happy I was able to achieve this stylish and trendy look with my IKEA Hemnes shoe cabinet hack. It still has that great IKEA functionality and now it looks amazing!

It came out exactly like I envisioned.
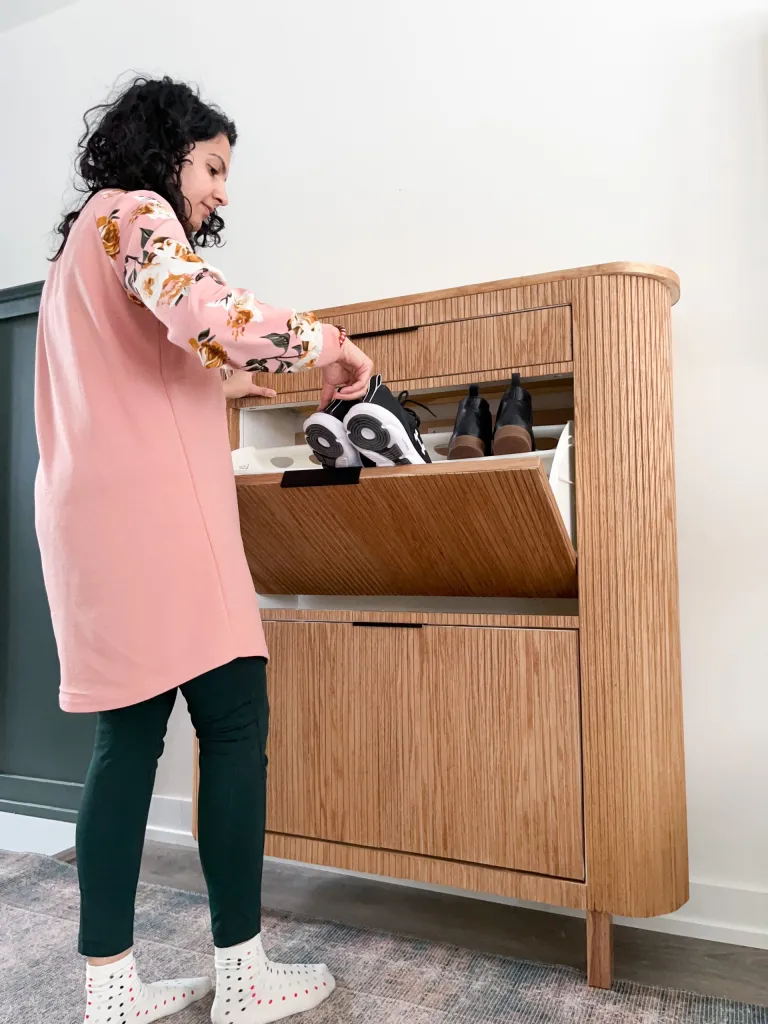
Overall, I spent $200 on this IKEA hack, which makes this a great budget friendly project.
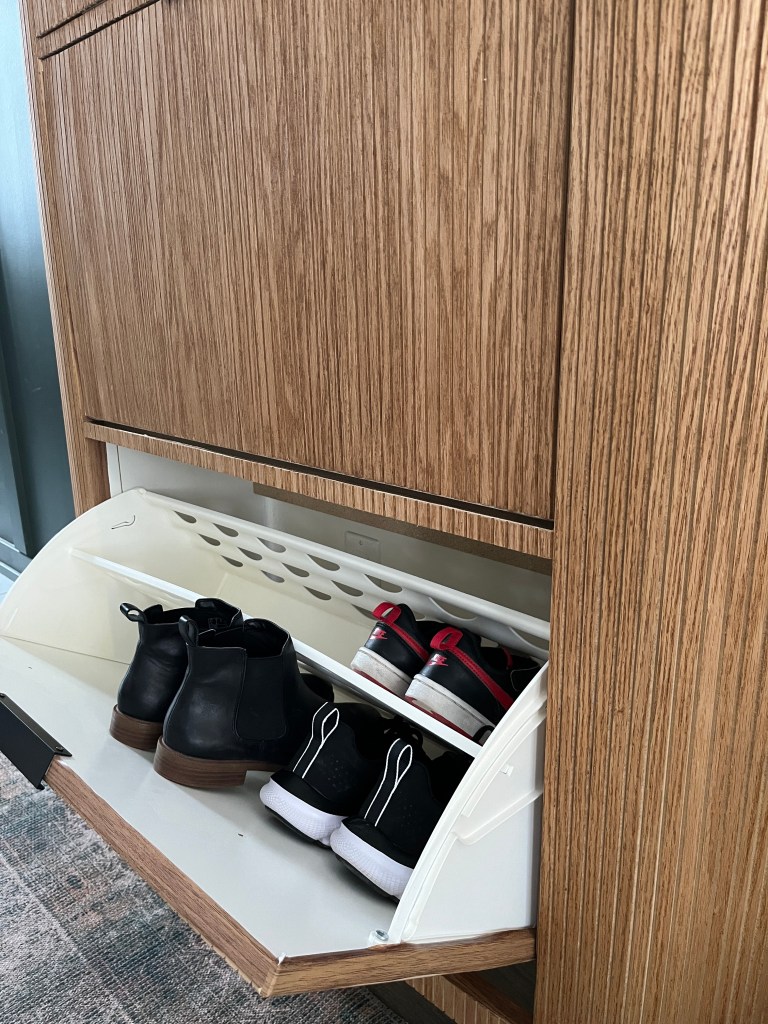

The pole wrap worked really well. It looks like a solid wood furniture piece!
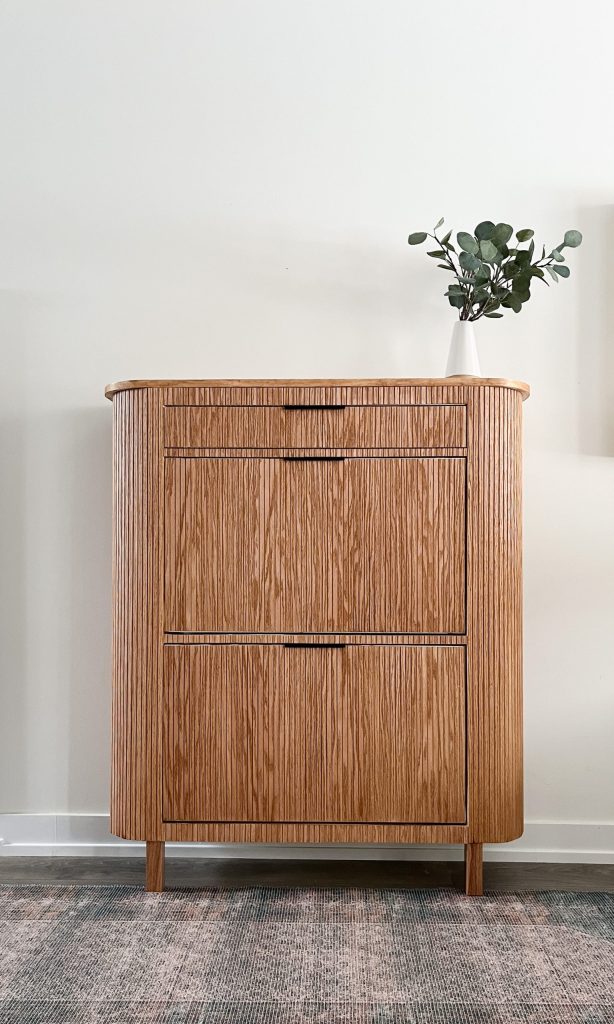
Do you think you’ll try something like this for your home? If you do, be sure to share it with me – I’d love to see! And don’t forget to follow me on Instagram for more budget projects!
Make sure to pin these images for later!


Pingback: 9 genius IKEA shoe cabinet hacks to transform your storage