
Why I need to upgrade our builder grade mirror?
We moved into this home with plain mirrors and I wanted to upgrade all of the mirrors. Framing a mirror in a bathroom is great budget project. It’s also a lot easier than pulling the mirror off the wall and replacing it (which still scares me!). I’m at home with two kids. Thankfully one is potty trained, but the other one is just 5 months old. Which means I’ll be changing diapers well into 2021. So I’m in this bathroom A LOT.
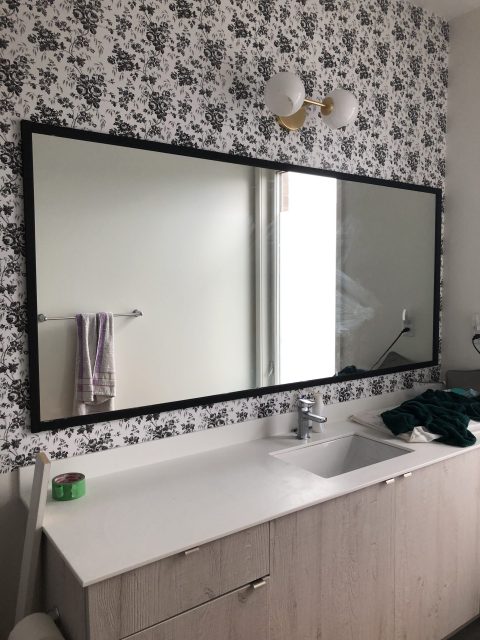
The original mirror was just a plain old mirror. It is not help by mirror clips. I think it is glued on.

But it bothered me because the size was so big and added no style to the space. I’ve seen a few folks update their builder grade mirrors with a rustic wooden frame, but I wanted something more classic to go with the modern French style of this bathroom.
So I dreamed up this mirror frame and it came out even better than I thought!
What you need
- Thin trim. Your choice of thickness and material. I used 5/16 inch knotty pine
- Liquid nails. I used Lepage no more nails
- Paint. I wanted a matte finish so I used chaulk paint
- Mitre saw
- Level
- Measuring tape
Let’s get building the outside frame of the mirror
- Measure your frame and cut the outside of the frame dimensions first

2. Paint all your trim. Paint the back too as it’s reflected in the mirror
3. Apply liquid nails to the back of 1 piece. This stuff is super tacky so you don’t need to go overboard. The trim is thin enough that a thin bead will suffice. If you add too much glue, it will ooze out the sides of the trim and be visible on the mirror or trim
4. Start lining up each piece and use a level to ensure they are straight. Also make sure that it matches up with the outside edge of the mirror.
Build the inside frame of the mirror
1. Cut 2 horizontal pieces that are the same length as the top and bottom of the frame. Glue these to your mirror
2. Measure the distance between the inside top and bottom frame to cut the long vertical pieces. Cut and attach these next.

3. You want to make a square in all the corners, so measure the distance of the vertical trim from each other and cut the small pieces to size. You’ll want an extra few to use as spacers

Closing thoughts
Now every time I go to the bathroom, I love looking at the mirror!! Framing this mirror cost under $60 and took just a couple hours to complete.

Amy
I am very unstetestes in this – what did you do around the little plastic things holding the mirror in place? (I have no idea what they are called!)
Thank you! (Also, I also teach body pump! #united)
Hana’s Happy Home
We didn’t have those on our mirrror but you can make a little notch and chisel around them
Amy
thank you! I’ll try to do that 🙂
Paige
I love your project and am planning to do it on my own mirror!
I’m curious, how has your frame held up with regular showering (ie. humidity and mirror fog) since you posted it in 2019?
Hana’s Happy Home
No issues at all! Still looks great. I do have a window in this bathroom so it doesn’t get very humid
Paige
I completed this project last month and am so happy! Thanks for the inspiration and guidance. It seems to be holding up just fine in my windowless bathroom, for those who are interested.
Photo here: https://ibb.co/KGSp3Cp
^the link will expire in Nov 2021
Hana’s Happy Home
That’s amazing! Great work!
Sarah
how did you get the wood to stay on while being glued? Its right up against the wall so I cant fit a clamp in there.
31 Creative DIY Wood Framed Mirrors Ideas With The Tutorial - MUGITHINGS
[…] Get the tutorial at hanashappyhome.com […]
15 Creative Mirror Frame Ideas You Can DIY Easily - Hand Knitting and Crafts
[…] One. DIY bathroom mirror frame […]
DIY Anthropologie Mirror Dupe - Hana's Happy Home
[…] Looking to create a DIY anthropology mirror dupe? Not to brag, but I made this is a beautiful dupe on a budget! It’s no surprise the Anthro mirrors have become so popular. But given that these mirrors can be hundreds or even thousands of dollars, I knew there must be another way. I fell in love with this mirror and knew it could be created easily. If you’re looking for a modern mirror, check out my double framed mirror. […]