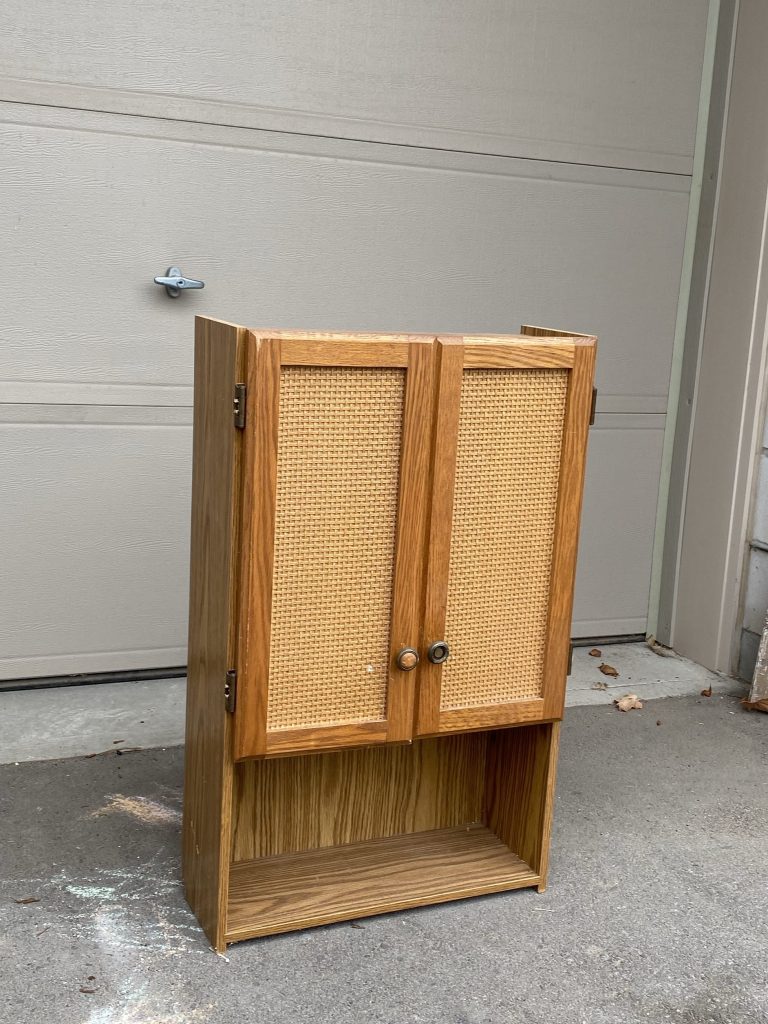
I got this second hand dresser for $7. This DIY dresser makeover made into a unique one of a kind piece for my daughter’s dresser with paint and resin flowers.
The moment I saw it at the thrift store, I knew it could be something really special. I immediately thought of a painted dresser makeover. Since I am making over my master closet into Sabrina’s nursery, the scale of the furniture it’s really important. This piece what is the exact right size for a DIY dresser makeover. Even though it was an ugly old laminate wood finish, I saw potential in it. I’ve painted so many furniture pieces like my kids scallop table and chairs, and an ombre dresser. Painting furniture is so fun and easy! This DIY Dresser Makeover consists of 3 parts:
1. Painting the dresser
2. Adding the handle, hinges and legs
3. Making the flowers (THE BEST PART!)
Materials
- Sander
- p60 and p150 grit sandpaper
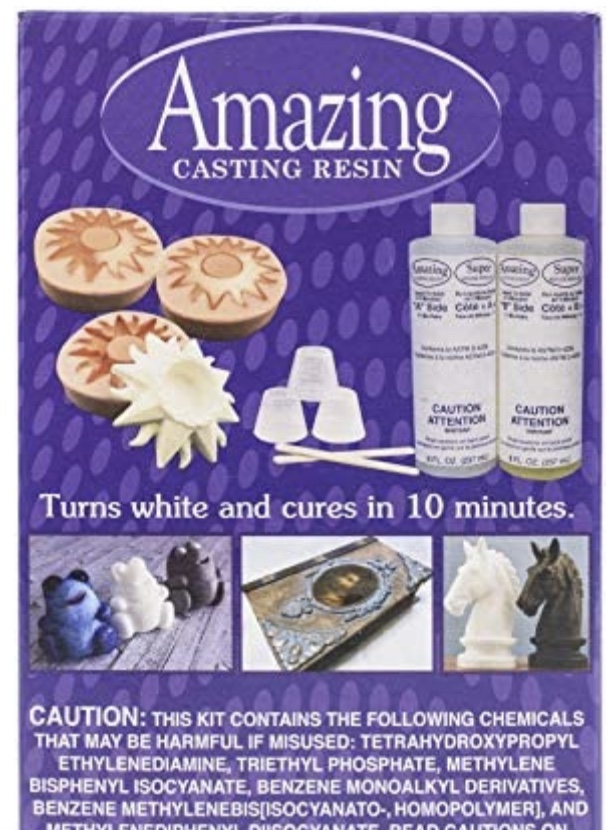
- Resin to make flowers
- Silicone flower molds. I used this garden mold and the winter blooms mold
- Rub n’ buff – antique gold
- Paint brushes. This is my favourite rubber handled brush
- E6000 glue
- Foam rollers and handles
- disposable cups
- Drop cloth
- Paint tray
- Primer. I used Rustoleum UMA extreme bond primer
- Paint. I used Sherwin-Williams 2022 Color of the Year – Evergreen Fog SW 9130 Emerald urethane trim enamel in satin. It’s recommended for furniture and cabinet painting
- Screw drivers
- Furniture legs
- Furniture leg installation plates
- Brass Handles
- Painters tape
- Hinges. I got these fitted based on the old ones.

DIY Dresser Makeover with Paint
Painting furniture consist of three major steps: sanding, priming, painting. And let me get this out of the way now.. No, I do not recommend chalk paint. Let’s begin 🙂
Prep – clean your piece of furniture with a damp rag and wipe off any dust, grease spots, or debris that might be stuck to the surfaces. I also remove the doors from the cabinet because it would be much easier to work with. I remove the hinges and the knobs as well. Because I was going to be adding handles instead of knobs, I also filled the holes with wood filler. After it was dry I sanded it smooth.
Sanding – I used my sander and p60 grit sandpaper to get the shiny coat off of the furniture. You don’t need to sand it all the way down to the MDF. We’re just trying to scruff it up so that the primer will adhere to it. Since the p60 credit is very rough, I smoothed it out a little bit with a p150 grit. Give it a good wipe down with a tack cloth or a damp paper towel. I think that sanding is the most important step so be sure to be thorough and really get that shiny surface off of your furniture piece.
Priming – use a form roller to prime all the flat surfaces, and an inexpensive dollar store brush to get into all the corners and crevices. I found the primer is very hard to wash off brushes so I use a very inexpensive brush and throw it away after. I waited until the first coat was dry, and then I primed one more coat. I find the 2 coats of primer are good for your paint to adhere to.
Next you have to do the very important scratch test. Do not skip this on your DIY Dresser Makeover. The Scratch test is when you take your nail, and literally scratch the surface your furniture. If your primer chips off, that means your paint will also chip off. It means that you did not sand the laminate surface sufficiently. You’ll have to go back start the beginning and sand again. You can chance painting it, but in my experience of painting many pieces of furniture, the scratch test never lies.

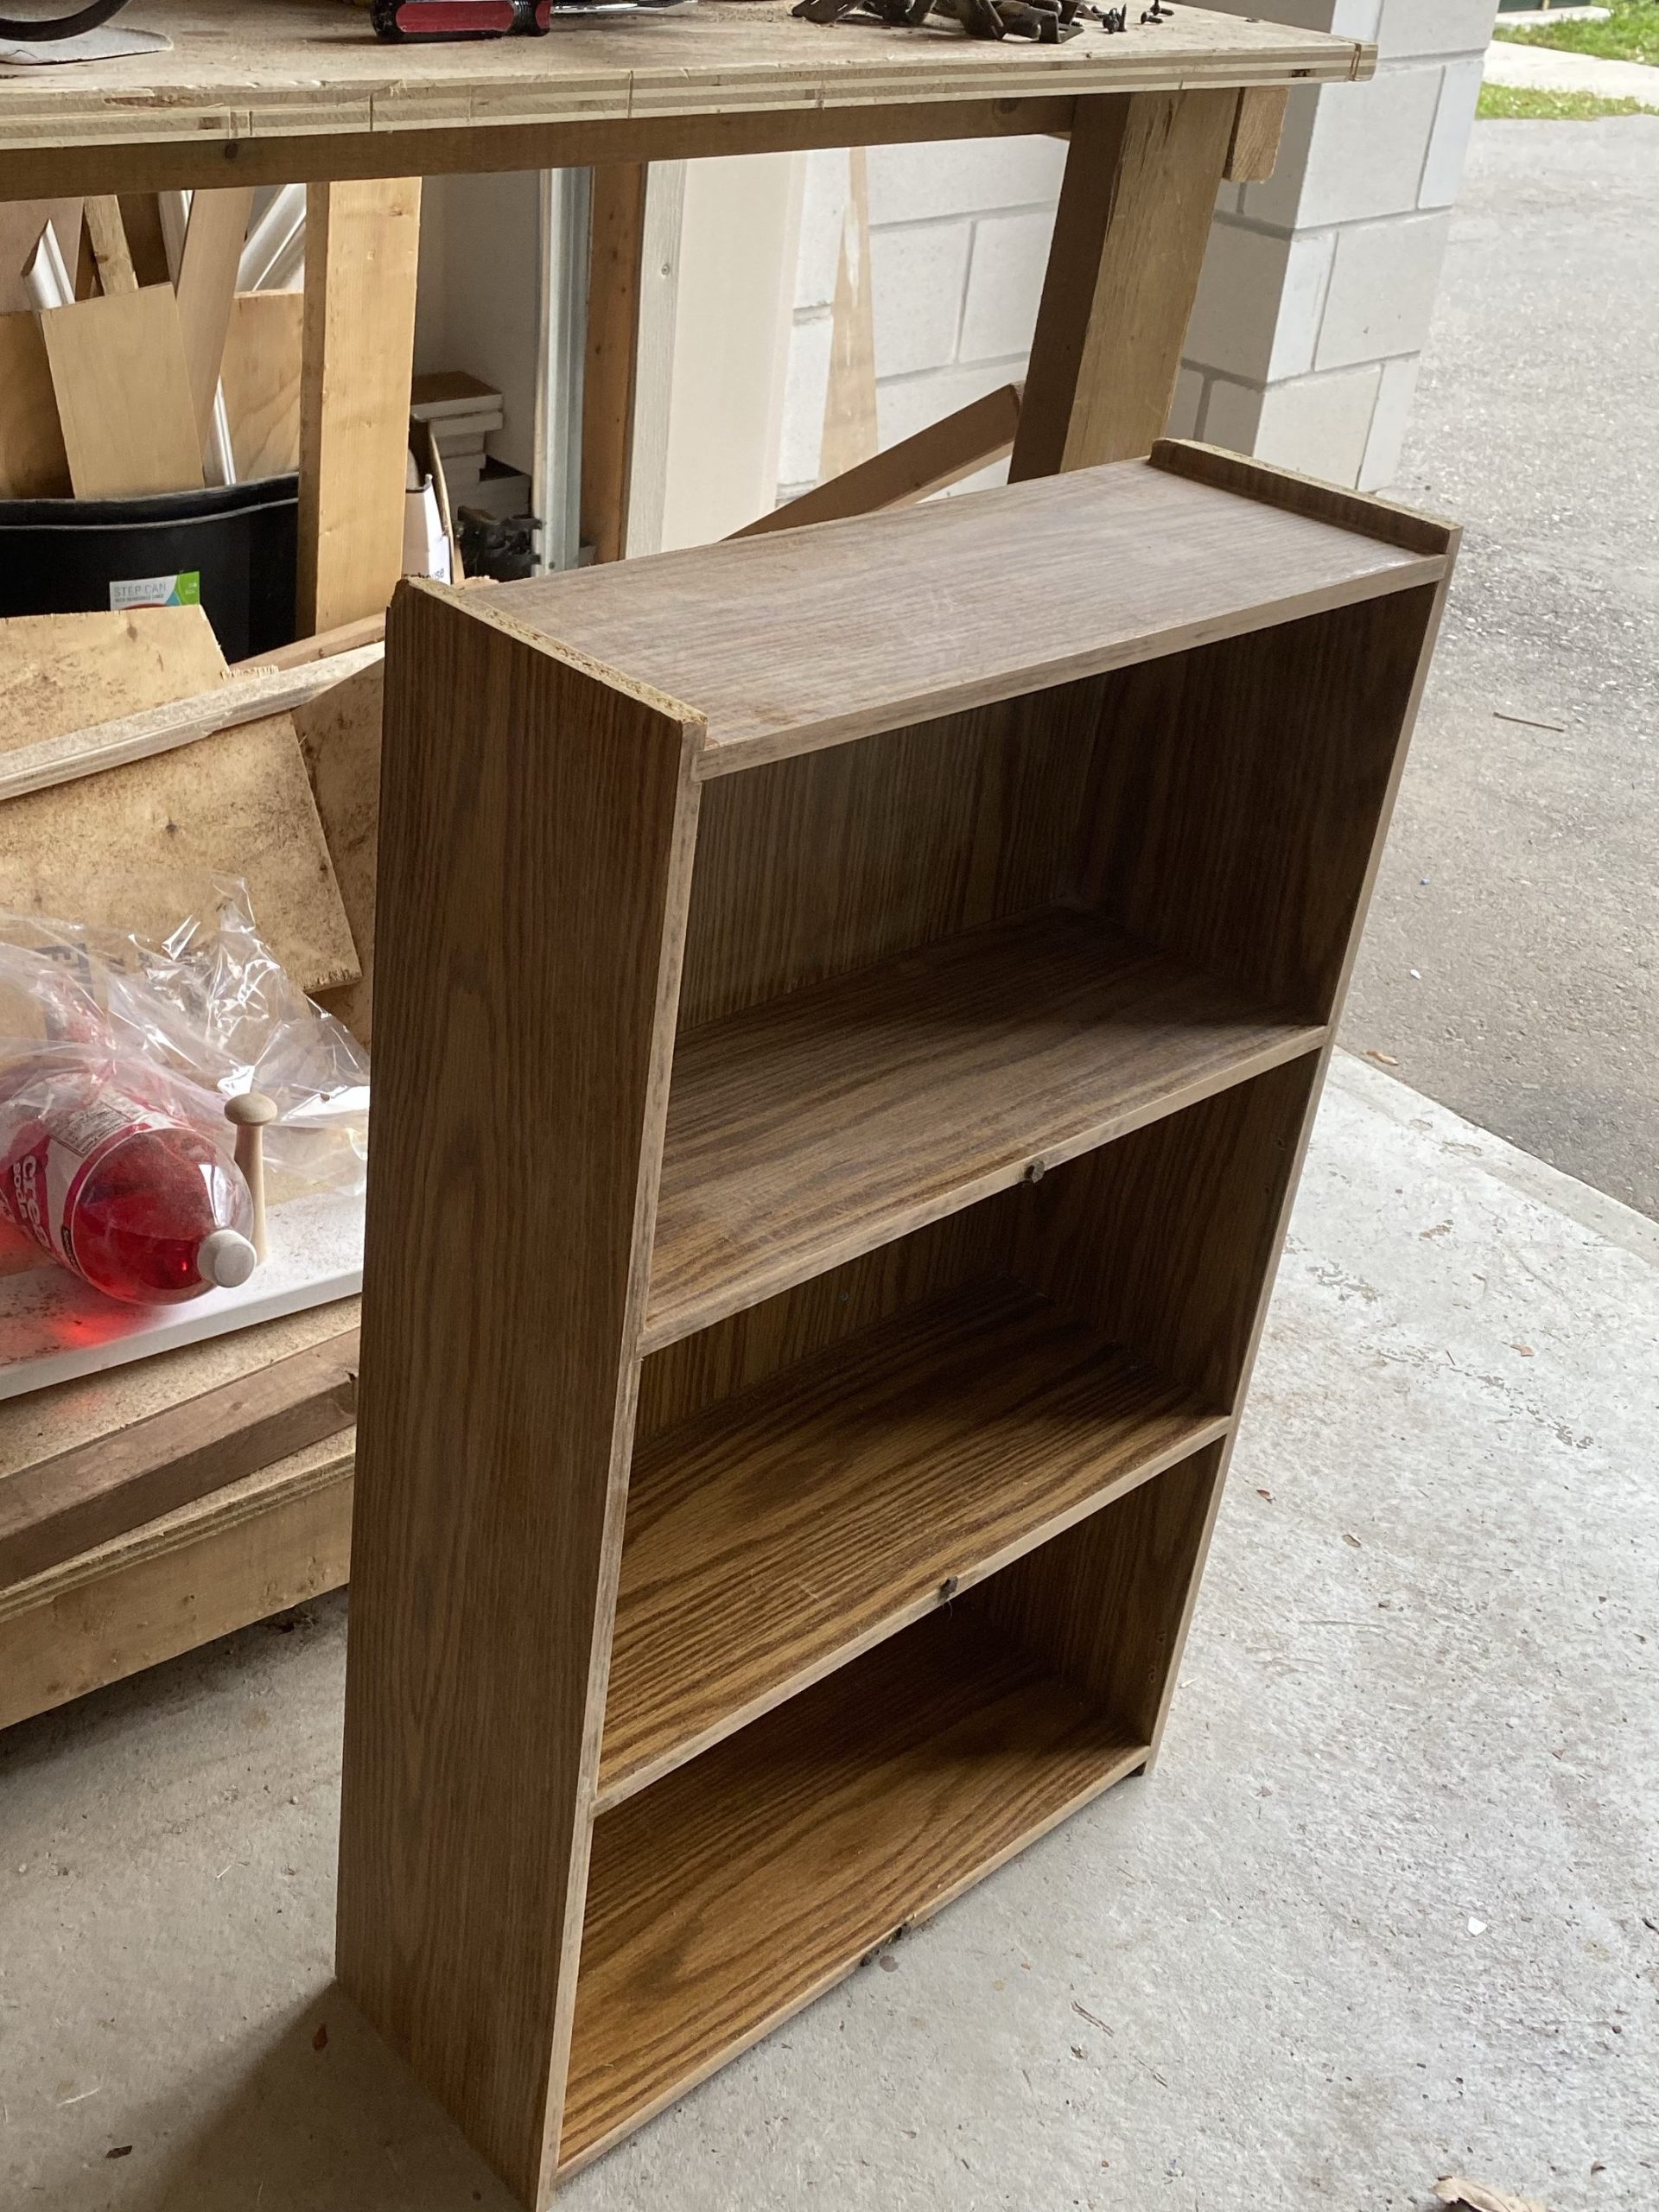
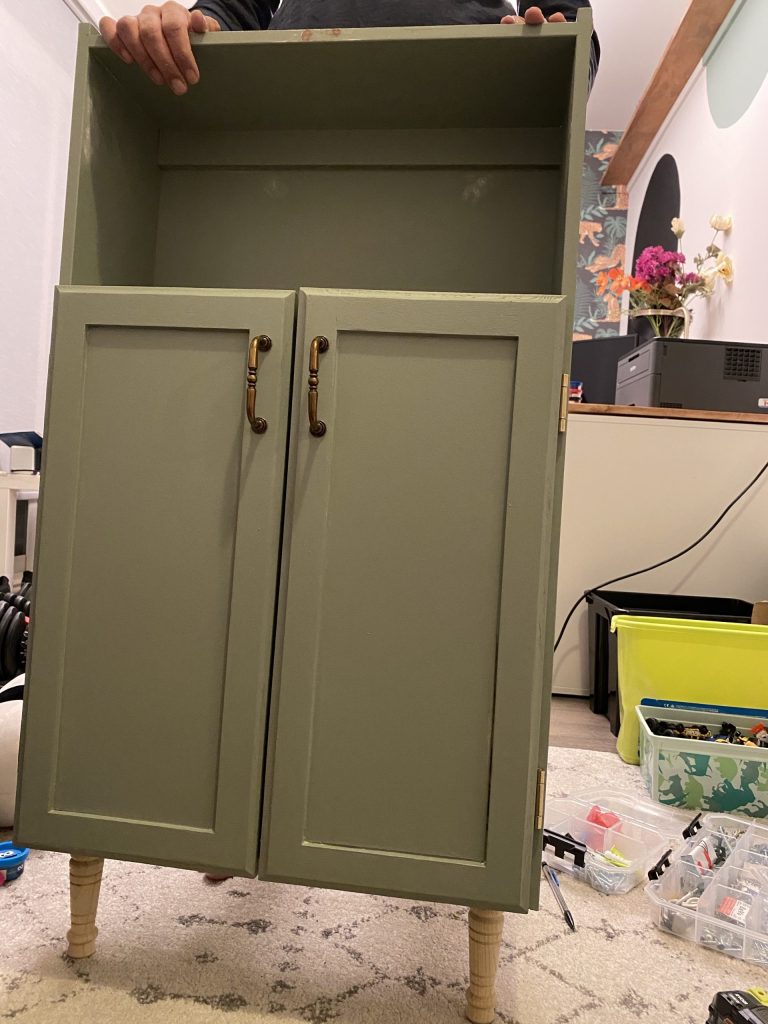
I also had a cane finish on the door. I know cane is trending but when I placed the flowers on the cane, I felt like it was competing too much. I took a scrap pieces of MDF and used wood glue to secure the MDF to the cane doors. I put paint cans on top to ensure a strong hold. Then I used caulk to fill in the gaps around the edges so it looks seamless. I also primed the MDF.
Painting – I used Evergreen Fog SW 9130 Emerald urethane trim enamel in satin. It’s recommended for furniture and cabinet painting. This was the first time that I used paint especially for cabinets and furniture. I found that the texture was very good and it was really easy to paint with. I highly recommend this paint. I chose this colour from Sherwin-Williams because I absolutely love green, and I didn’t want to have another bold colour in the nursery because the wallpaper is already very busy. I started by painting with my favourite brush into all the nooks. Then I used a foam roller to get a good smooth finish on the flat surface. 3 coats of paint ensure that I got great coverage. I also painted the inside of the cabinet as well.

Attaching legs, hinges and handles to my DIY Dresser
Attaching the legs – I have never attached legs to furniture, and I was very intimidated. To be honest attaching them was much easier than I thought it was going to be! Simply install your plate on the bottom of the dresser using four screws. I did not use the screws that came with the package because they were too long. It’s easy to check to see if they will go through the bottom of your board and into your cabinet.
Just hold the screws up to the edge and see how long they are. I also use pilot holes so that I would not split the wood in my dresser. I used a hand screwdriver because a drill may have split that wood. Once the plate is installed, the leg simply screw into the plate. I left my legs as a natural wood as I am incorporating other tones of natural wood in the nursery.
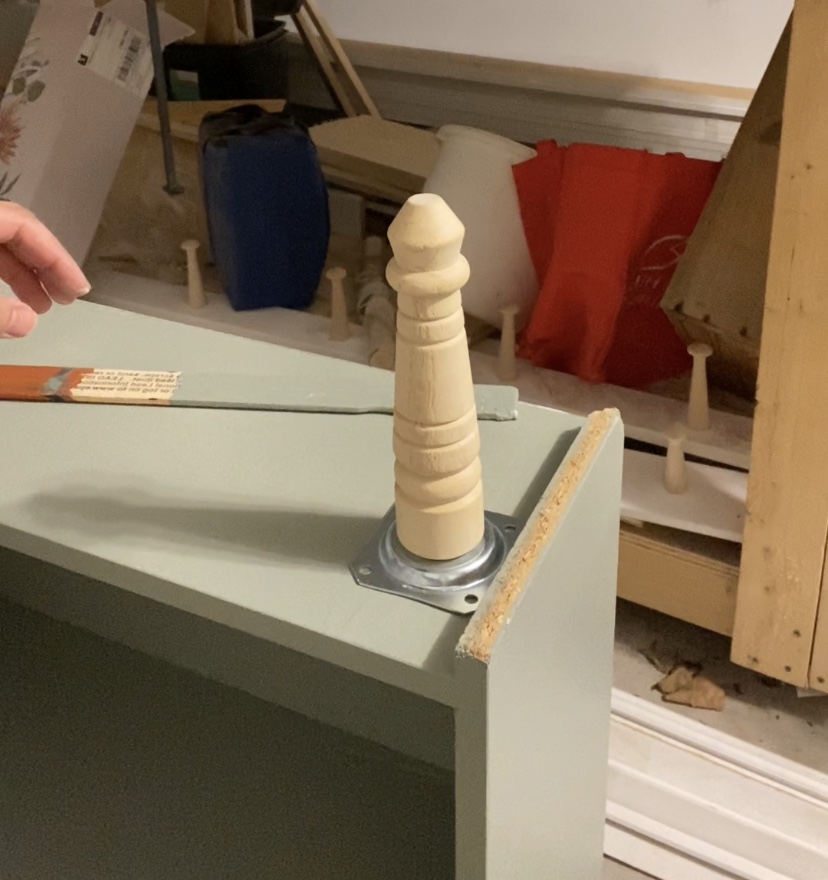
I installed 2 legs due to the size of the dresser. I am a big proponent of securing all furniture to the wall. This will be secured in the nursery so I didn’t need 4 legs. It would be too crowded with 4 legs.
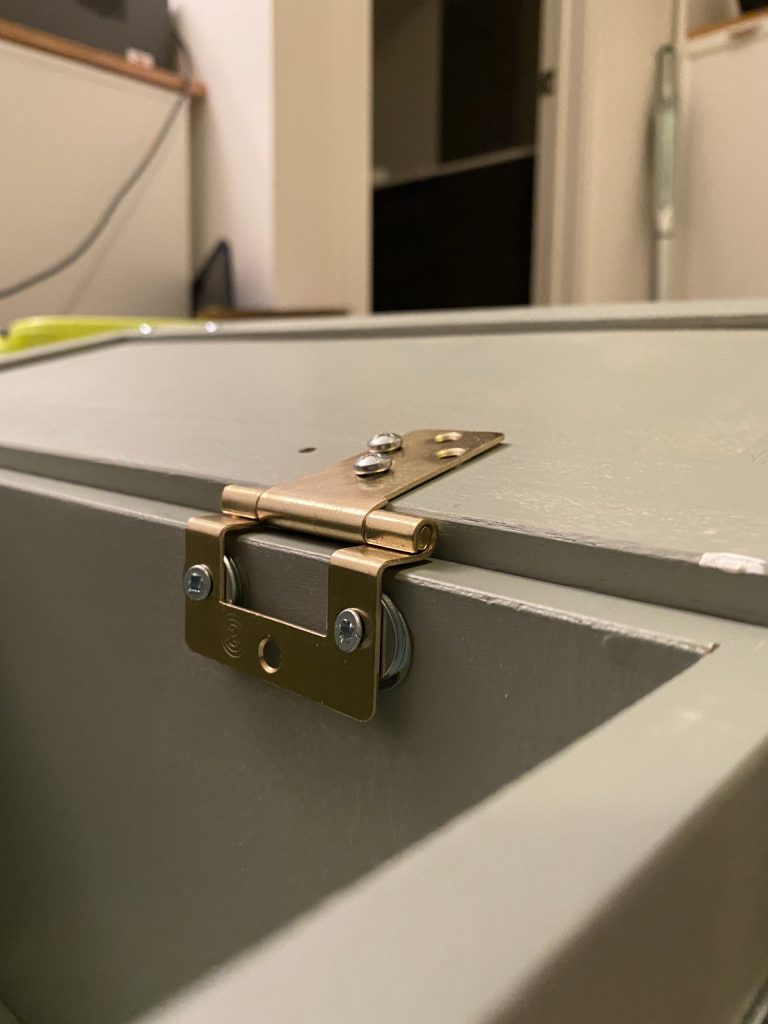
Installing hinges – I have installed hinges in the past and it was a big disaster. But this cabinet needed new hinges, so I tried it again. This time I laid the doors flat on the dresser and marked where are my pilot holes for the hinges would be. Then I went ahead and drilled all the pilot holes first. I secured one dresser door, but I found that there was a large gap in the middle of the dresser. Doors were not meeting together. So we used washers under the hinges to inch the hinges forward, closing the gap a bit so I could live with it!
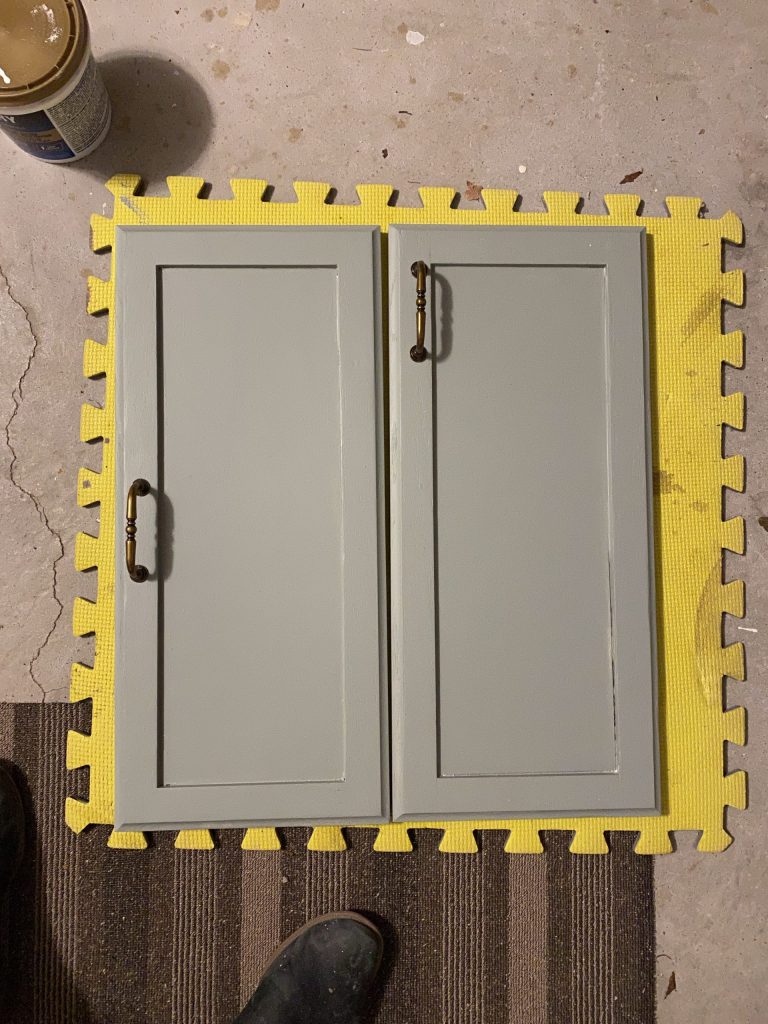
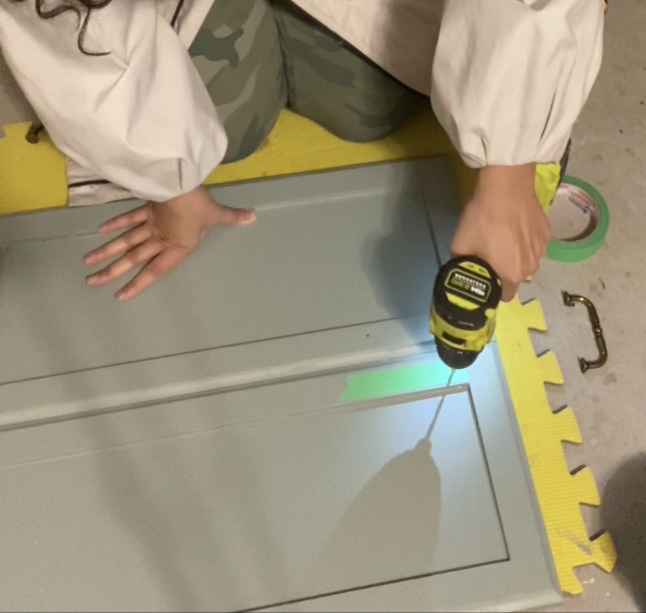
Installing handles – This is a great hack for installing handles on a dresser. I would not use this for entire kitchen, but it works well if you’re simply installing a few handles. Cut a piece of painters tape longer than your handle. Stick it to the back of the handle. Poke the holes where the screws will go onto the tape (use a screw to poke the holes). Now take the painter’s tape and transfer it exactly where you’d like to place the handles on the dresser. Drill pilot holes on the exact markings of the tape. Remove the tape and screw on the handles from the back. Use the same piece of tape and transfer it to the other door. To make sure they are aligned measure the distance the holes are from the top and sides. This works every time!
How to make the flowers
The flowers make such a beautiful impact and are so easy to make. Anyone can make them. All you need is the Resin to make flowers and silicone flower molds. I used this garden mold and the winter blooms mold.
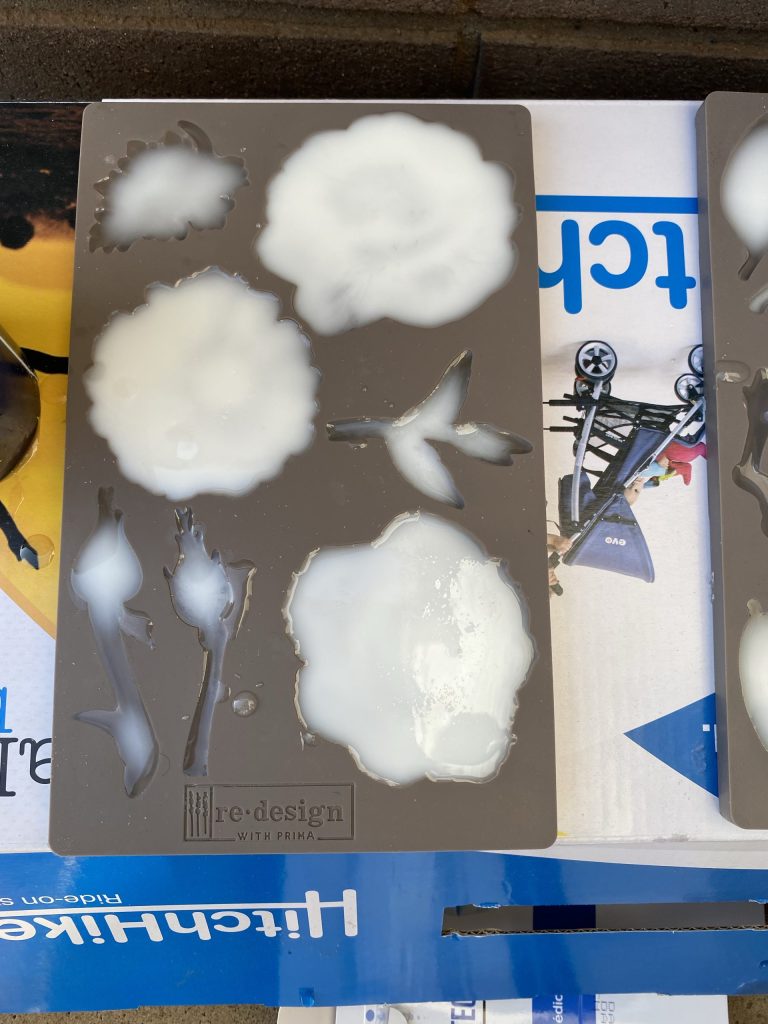
Mix the resin solution – The resin kit comes with 2 solutions. Follow the instructions to mix equal parts of the 2 solutions. Work in small batches because it starts hardening as soon as you mix the 2 solutions together. You only want to mix enough that will fit in your molds at once. I mixed 20 mL of each solution into a disposable cup (the resin kit comes with plastic measuring cups). Mix well with a popsicle stick (also included in the kit)
How to fill the molds – Place your molds on a flat level surface. It has to be level. I learned the hard way as my garage was not level and the flowers would overfill on one side. Slowly pour the mixture into each flower. If you overfill the molds, don’t panic. You can cut the excess with an exacto knife after they dry. It does not require heat to set and harden.
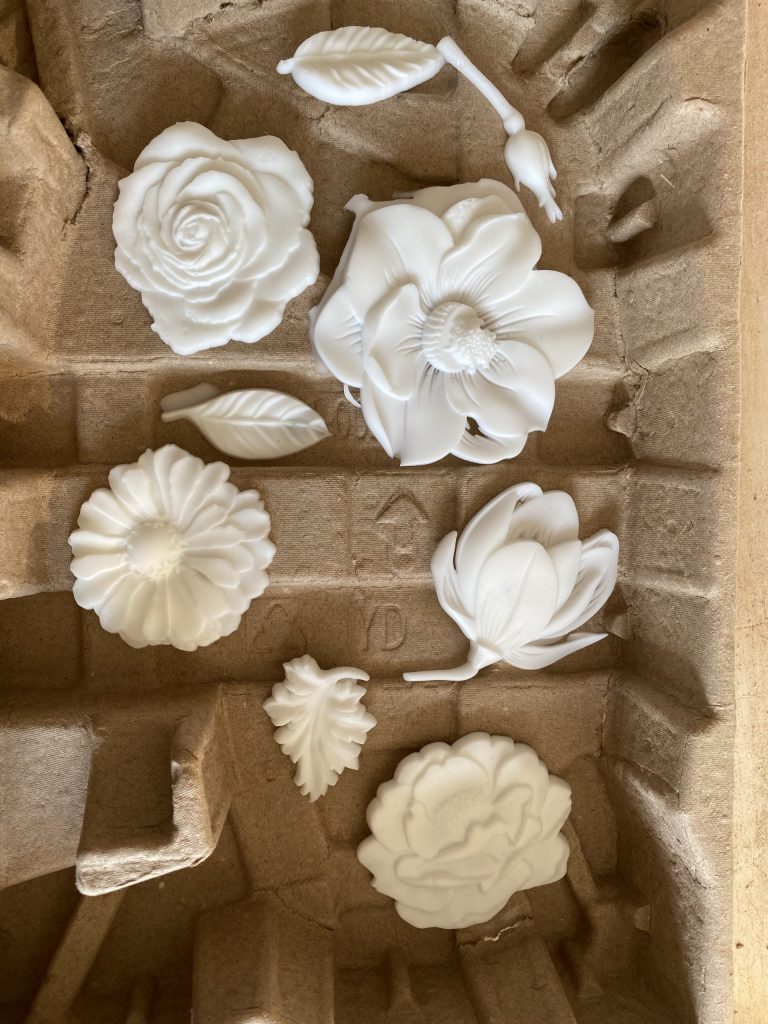
Remove the flowers- The resin takes approximately 10-15mins to cure and harden. You’ll know it’s ready because it goes from clear to white. They also harden into a plastic material. Carefully bend the silicone mould back and pry the flowers out of the mold. There will be some spots with the mould is extremely thin, like branches where it’s easy for the branch to break. Just try your best to peel it back very carefully. Place them on a flat surface, making sure they were not stacked on top of each other just in case there was any sticky residue that still need to dry.
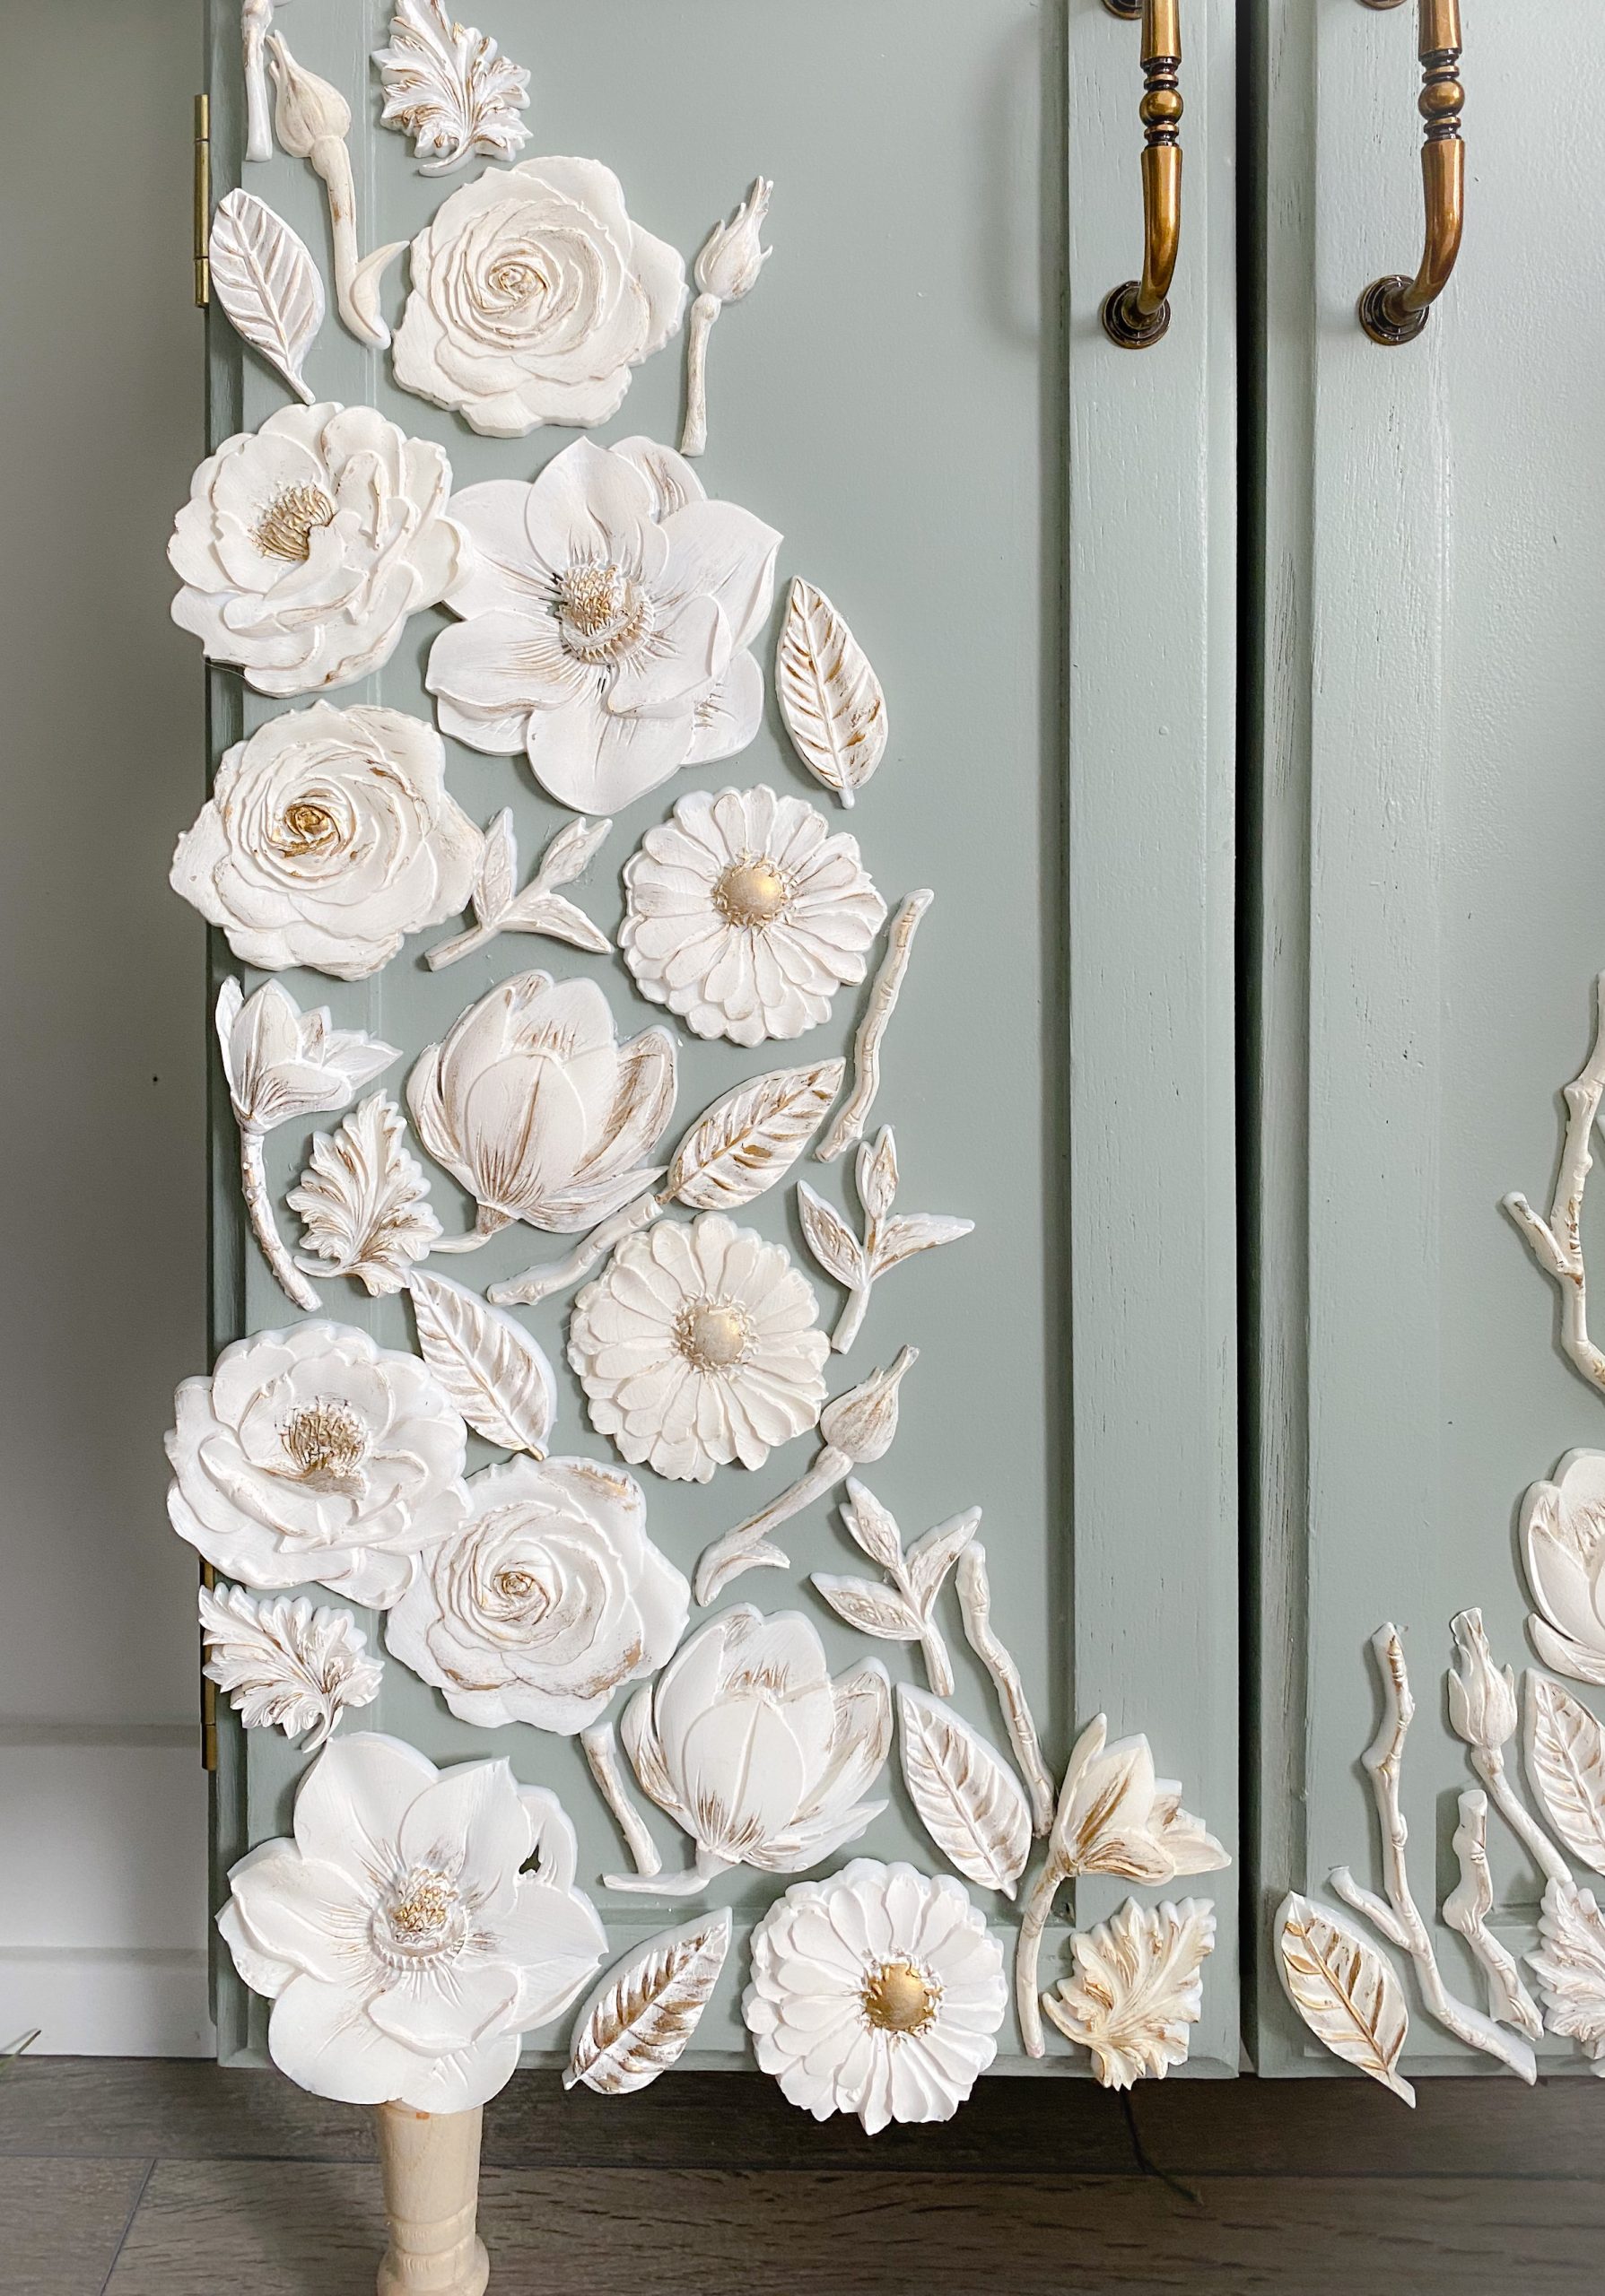
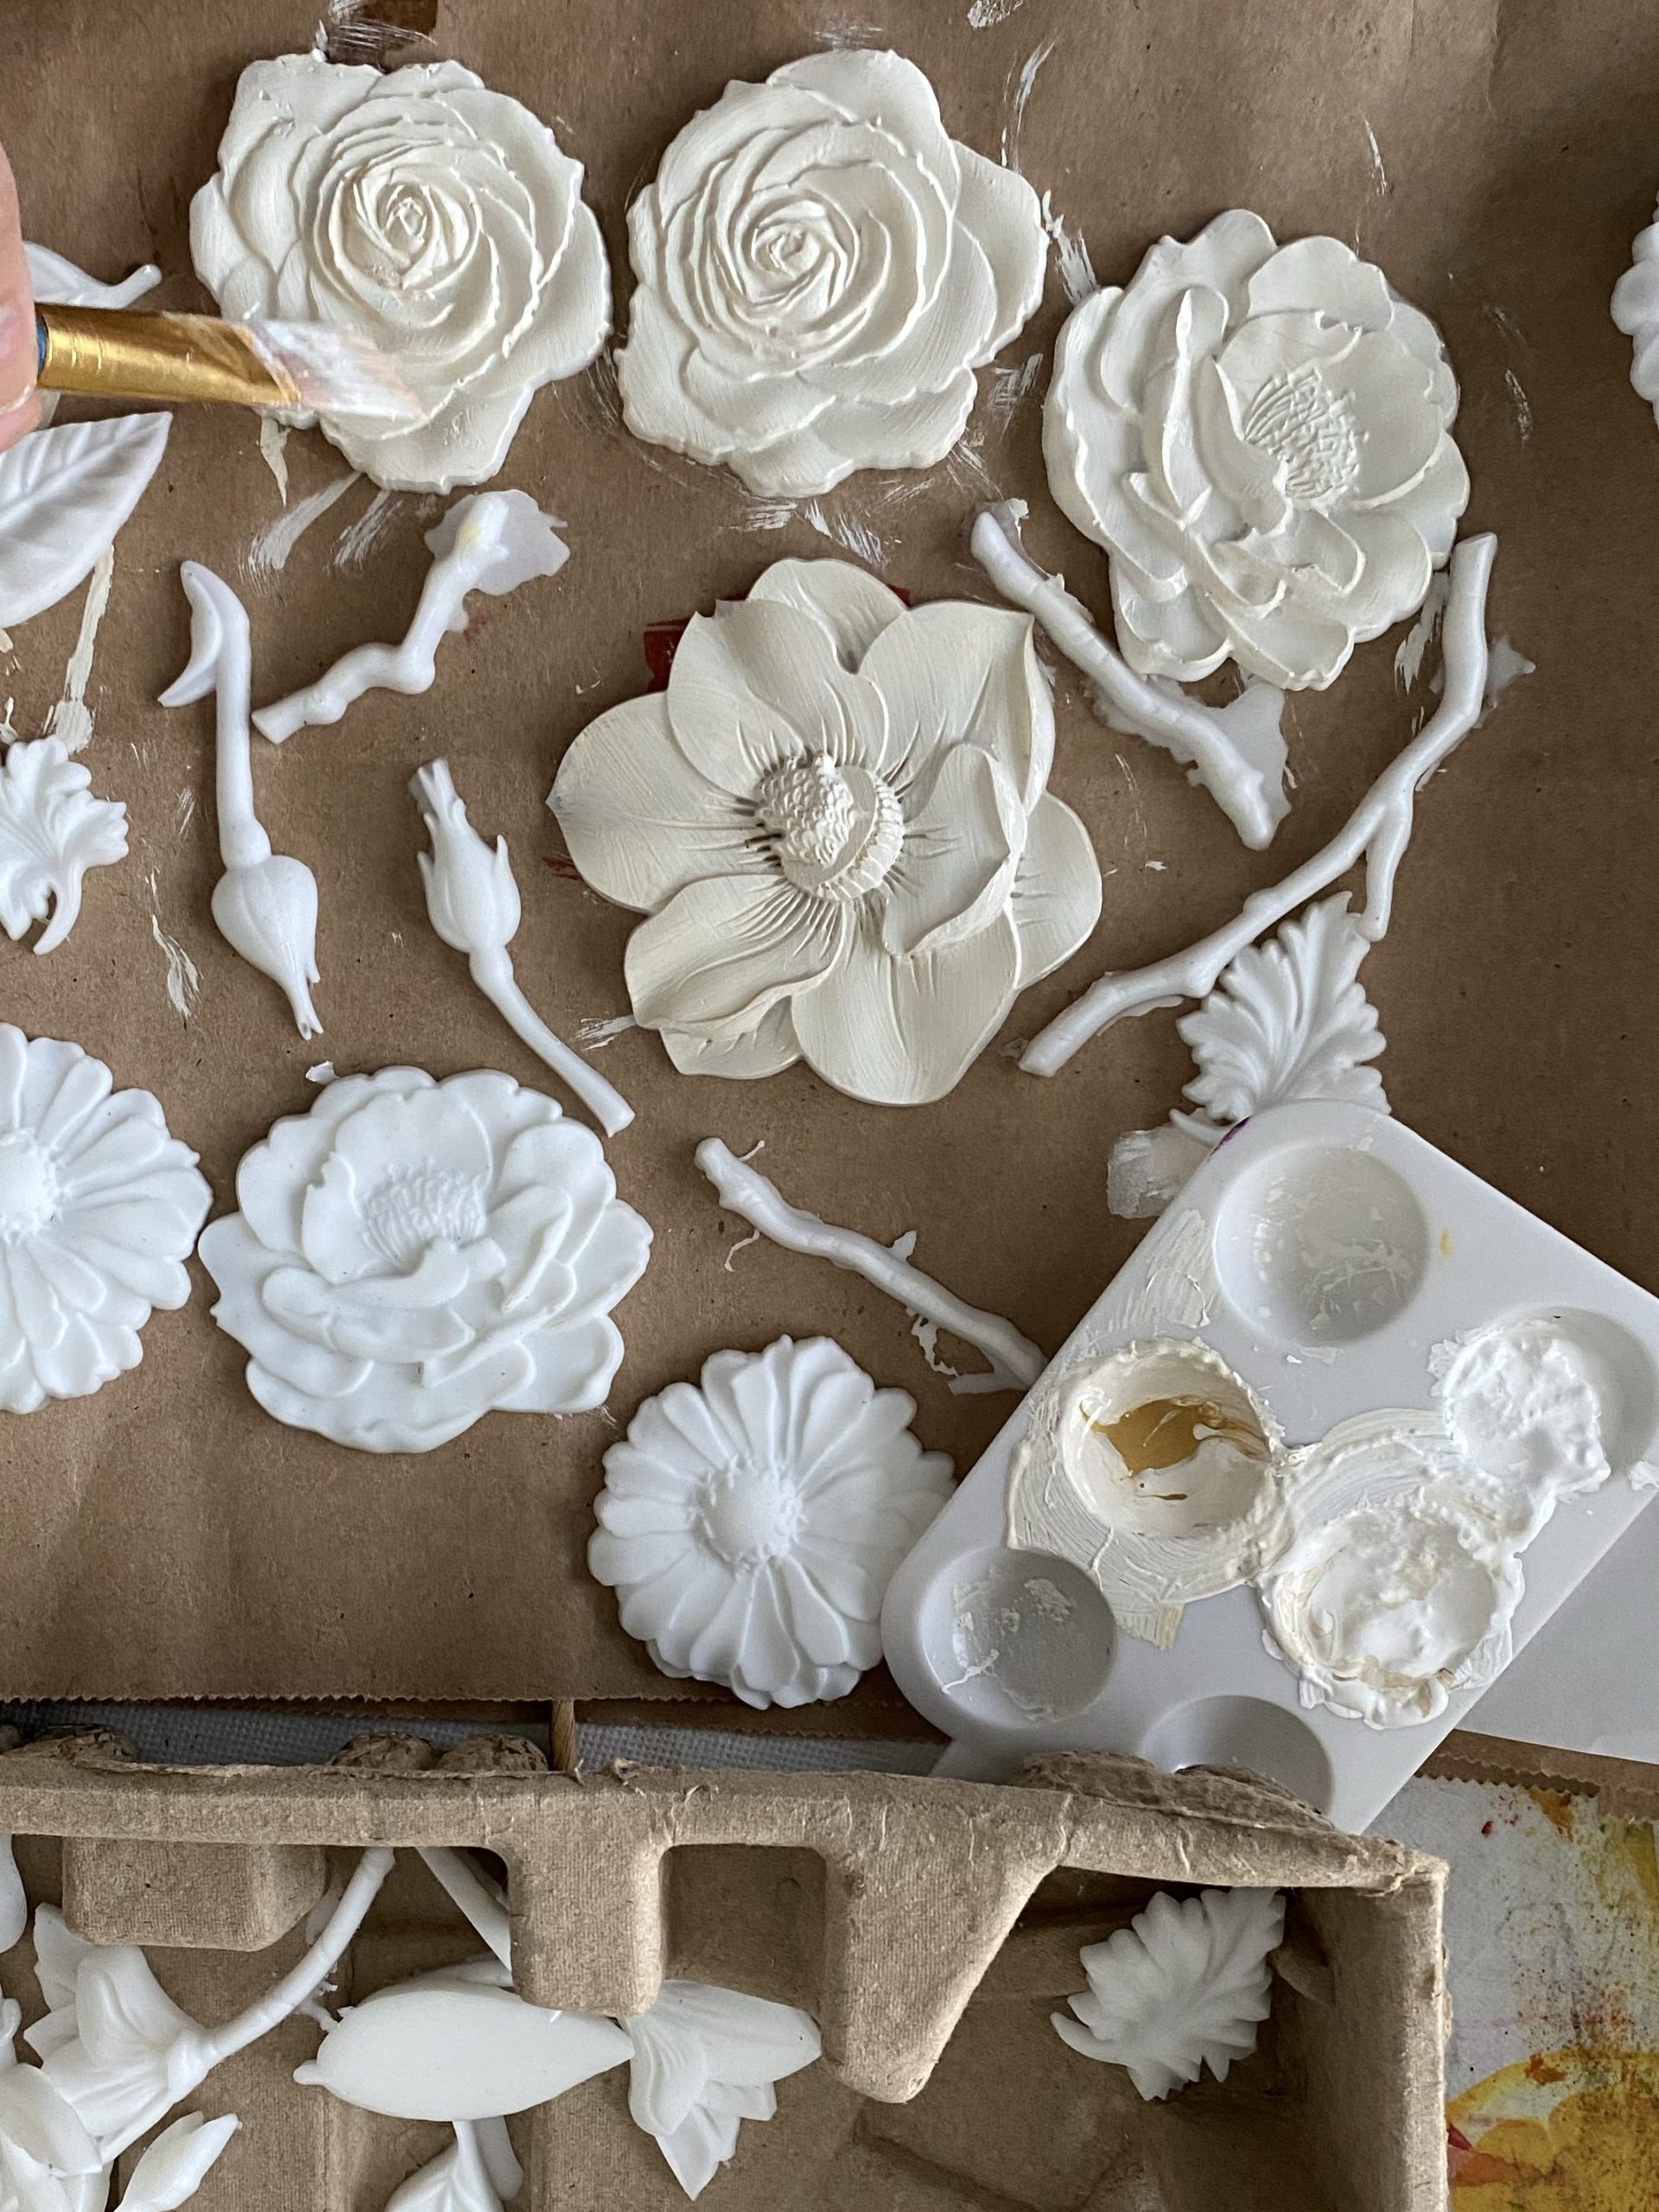
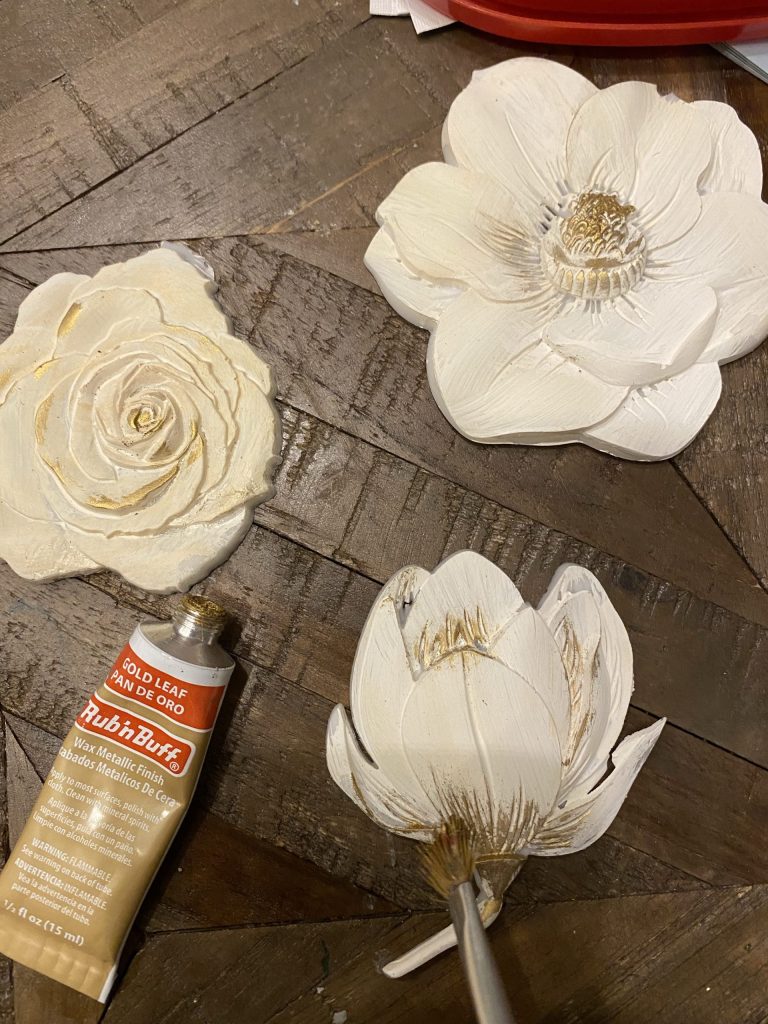
How to paint your flowers – I painted my flowers using regular craft paint. I mixed white and gold to make a soft cream color. You could paint them any color. I also used rub n’ buff to give the flowers a little bit of sparkle. I added the highlight to the centres of the flowers and some parts of the petals as well. I haven’t tried colouring the resin, but I know that painting them afterwards will definitely work!
Securing the flowers to the DIY Dresser Makeover – I laid out all the flowers to see how I would like the arrangement. When I was happy with the set up, I used E6000 to secure the flowers to the dresser door. E6000 is like a super strong craft glue. I used a good amount, but not too much, otherwise it oozes on to the dresser door. Make sure to use it in a well ventilated area – it’s smelly!

Safety note: The resin smells, so be sure to work outdoors or in a well ventilated area. I also wore gloves and eye protection.

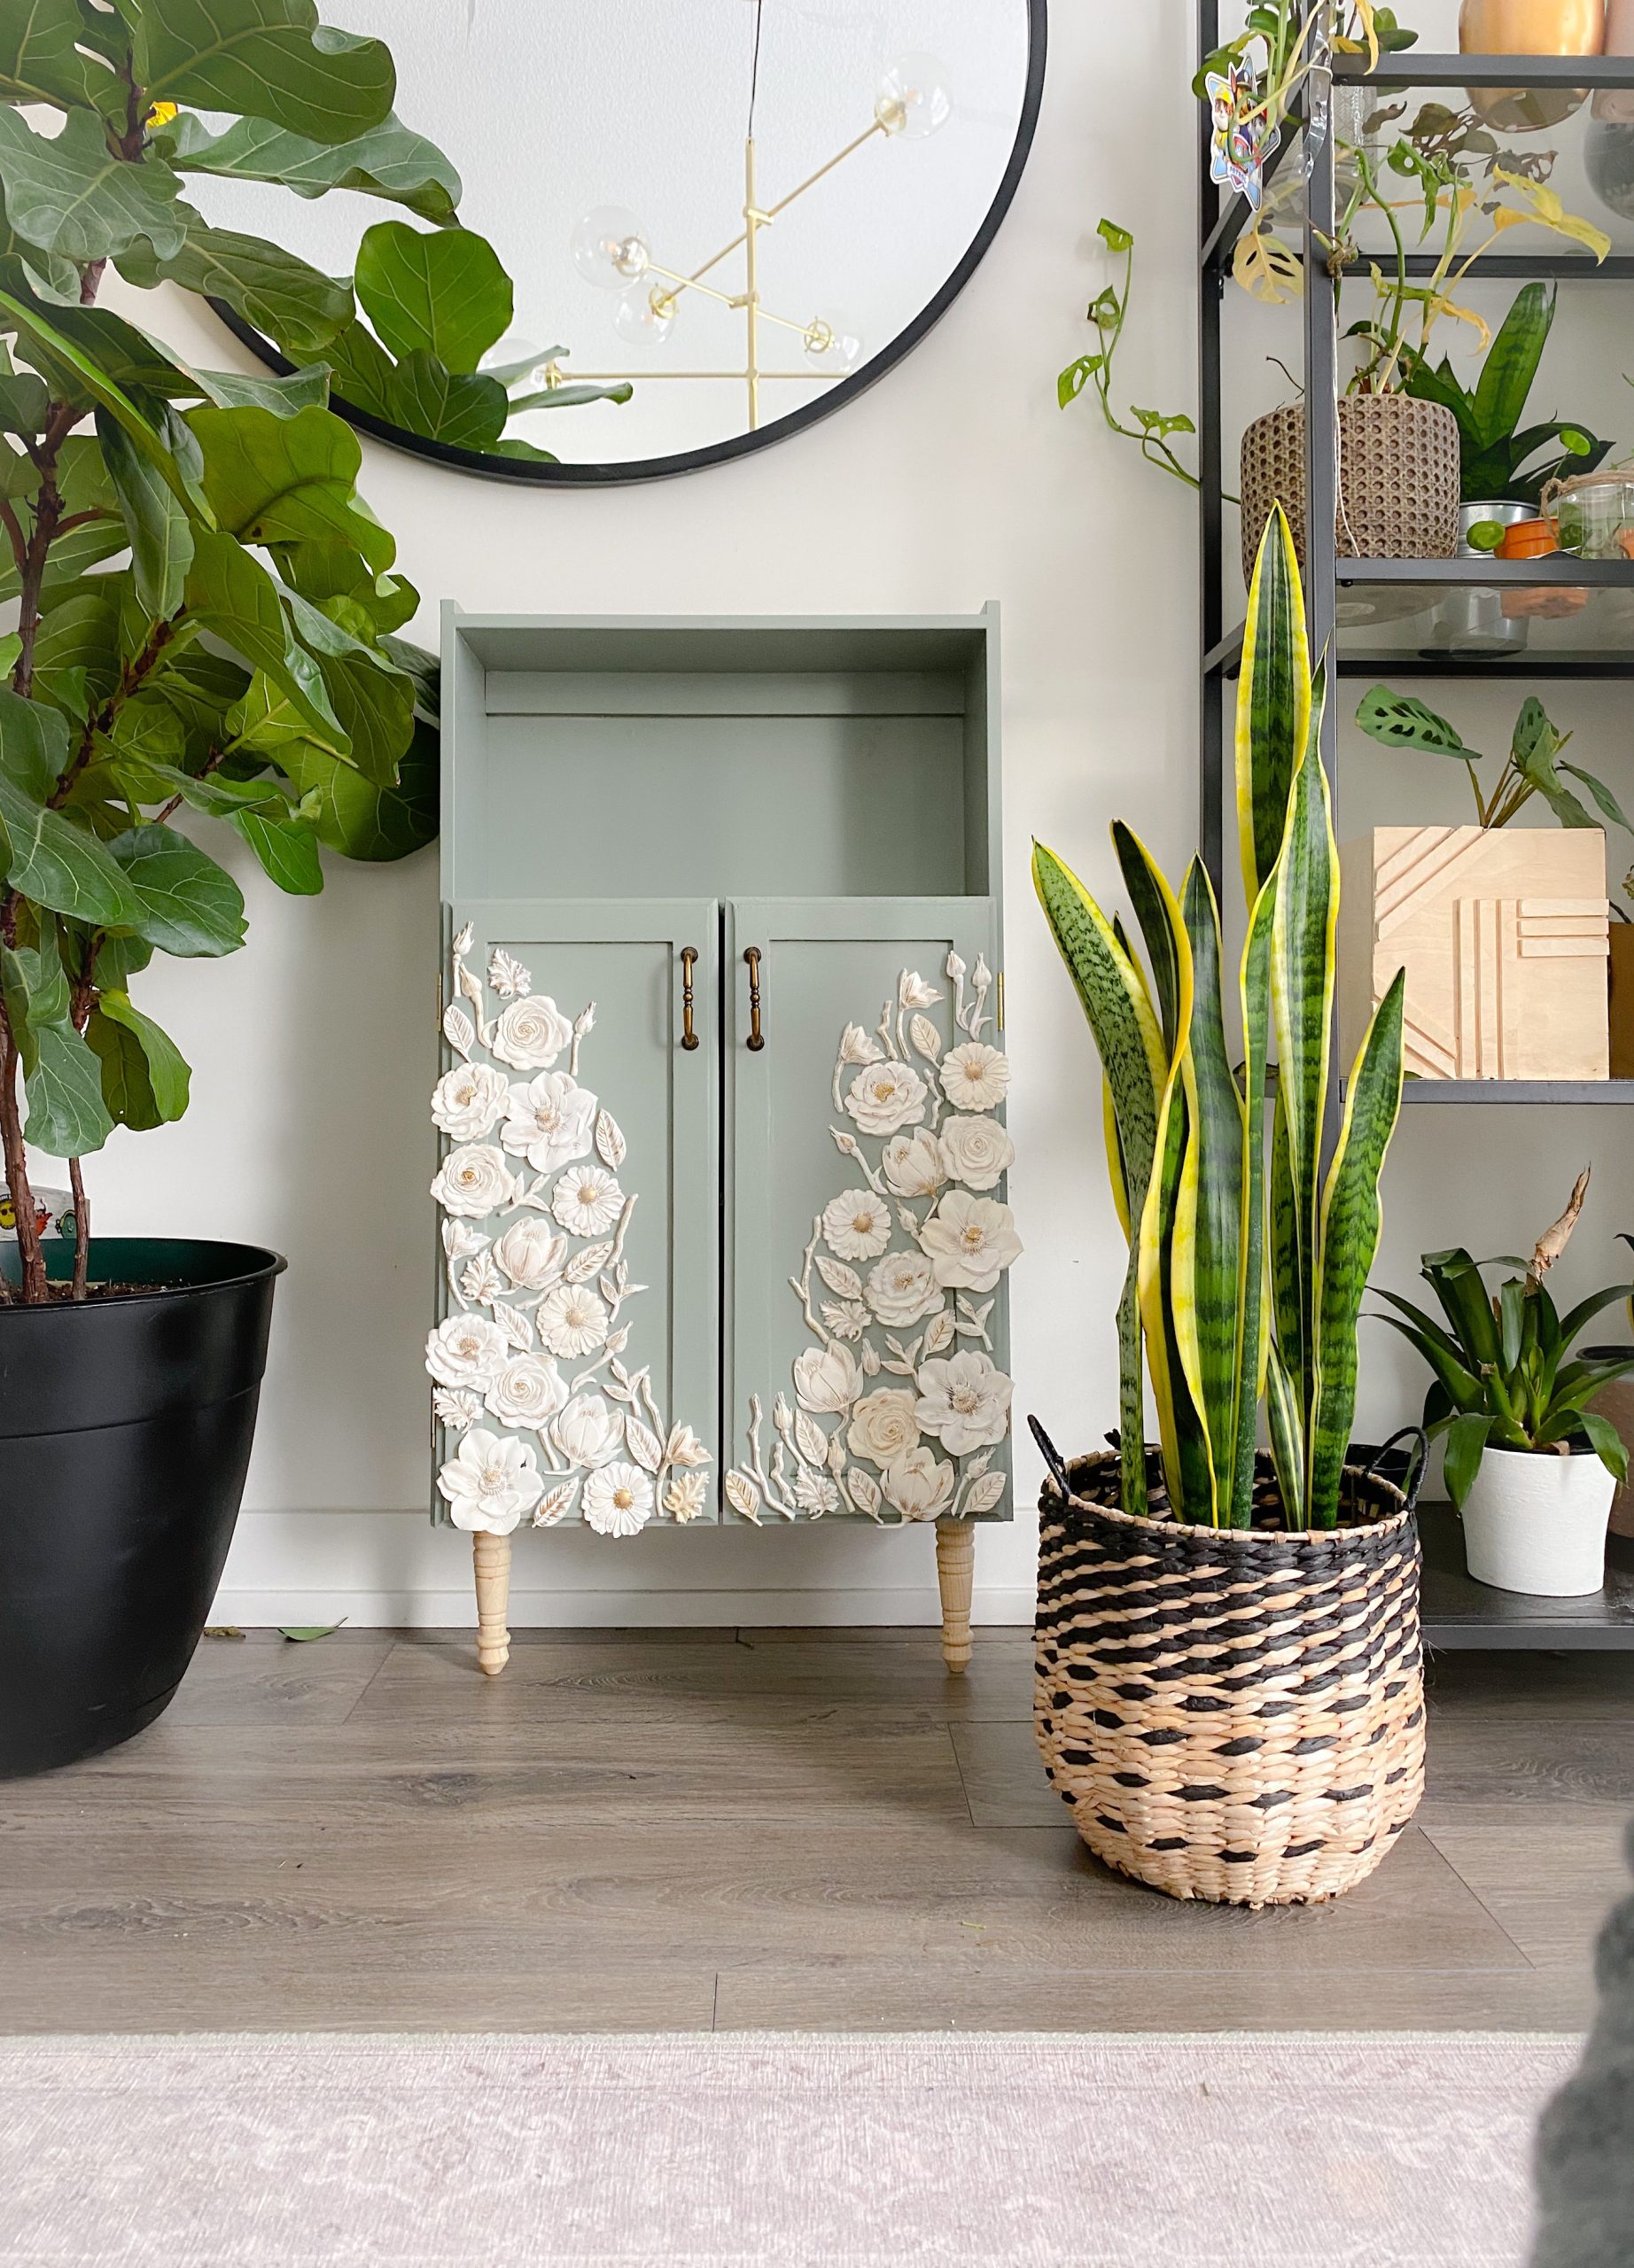
Reveal: DIY Dresser Makeover with Resin flowers
I think this is the prettiest dresser I’ve ever seen. But of course I’m very biased. This will go beautifully in Sabrina’s nursery. Don’t underestimate the power of old furniture with a coat of paint!
I also did a watermelon themed Ikea Hemnes makeover if you’re looking to try something a bit more fun and bold. If you try this project make sure to tag me and let me know on Instagram.

Pingback: Choosing Paint Colors for a Budget Bathroom Makeover - Hana's Happy Home
Pingback: Choosing Paint Colors for a Budget Bathroom MakeoverChoosing Paint Colors for a Budget Bathroom Makeover - Hana's Happy Home
Pingback: How to Paint an Old Nightstand to Make it Look Expensive! - Hana's Happy Home