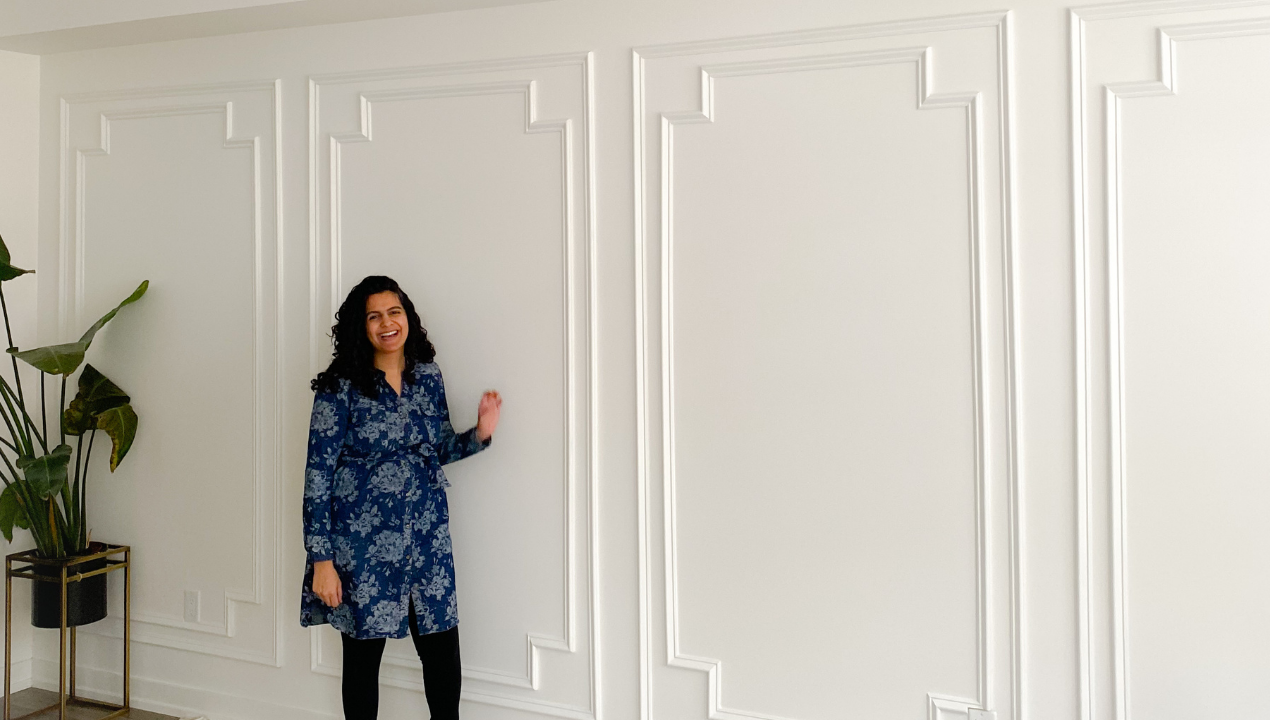
I’m SO SO excited to share this picture frame wainscoting wall with you. I knew I wanted to elevate my living room but had no idea what impact this feature wall would make!!

I started off by making the exterior boxes in phase 1 – living room accent wall tutorial. This picture frame wainscoting DIY project can be done in a weekend. This wall would look fantastic in a dining room or like I did in my bedroom wall treatment.

This blog post is phase 2 – all about how to elevate and add so much character to this accent wall and how to DIY picture frame molding.
Materials to build the picture frame wainscoting
Power Tools
- Mitre saw
- pin nailer
- Pin nails – I used 1” 3/8
- Laser measurer
- Jigsaw
- Multi-tool
Materials
- Picture frame molding (I used 8 pieces for this wall)
- A spacer
- Level
- Ladder
- Paint supplies (paint, brushes, roller)
- Wall spackle
- Putty knife
- P220 sandpaper
- Caulk
- Old rags/ baby wipes
- Clamp
- Scrap wood
Step 1 – Plan Your Wall and Cut list
This cut list is based off the size of my wall and the exterior boxes. I’m giving them as an example. See below for the calculations of how to measure to your wall.

How to calculate the interior trim pieces
Note: To calculate the exterior box molding, see my phase 1 box trim accent wall post.
– Piece A and B are the unknowns.
– Piece C and D 5″ long each (I thought this would look good visually).
– Width & Height of the inside of the box = 41″ W / 78″ H (it is important to measure the width and height of the inside of each box)
– spacers = 1.5″
Length of A
width of the inside of the box – (2 x spacers) – C – D
41- (2×1.5) -5 -5 = 28″ long
Length of B
Height of inside of the box – (2 x spacers) – C – D
78 – (2×1.5) -5 -5 = 65″ long


Step 2 – Let’s cut all our interior trim pieces
1. Set your saw to 45° and chop down one side of each piece of trim. This will make it a lot faster when cutting each down to size. You don’t have to constantly change the angle in your saw.
See image of what the cuts look like. If you’re using a trim that is thicker on one side and thinner on the other, you need to make sure that all your trims are cut the same way


2. Now set up your stop block. Stop block is simply a point that every single piece of wood will butt up against so that you can make your cuts quickly without having to measure each piece. I measure one piece of trim. Mark it and put it on your saw exactly where are you would make the cut. But do not make the cut

3. Use the clamp that comes with a saw to clamp down a piece of wood where your trim would end for the small pieces (C and D). Make sure the clamp is really tight so that when you butt the trim up against it, the wood does not move. This is your stop block.
4. Start making your cuts. Take care not to let your saw move as you handle it
5. Once you are done all the horizontal trim then adjust your stop block for the vertical trim
6. For longer pieces that extend beyond your saw (like the B cut), clamp the stop block to the workbench. Take a few pieces of scrap wood and stack them. Clamp them to the end of where your piece of wood ends. Now every piece of wood that you will cut will butt up against your stop block. I added some extra weight of a full can of paint to ensure that the wood does not budge.
7. Make a few spacers as well if you don’t have a piece of wood that is the same size as the gap between boxes, from your bottom baseboards to trim and ceiling to trim. I used a piece of one by six so I didn’t have to make any spacers. This was leftover scrap from a previous project.
Step 3 – Let’s install the picture frame molding

1. Use your pin nailer to attach all the trim pieces. I also used a spacer to help speed things along but I also used a level on every single piece of trim. I started from the bottom up. I’m sure you could do top down, but this intuitively worked for me.
Note: I frequently get asked about using a brad nailer to attach the trim to the wall. In my experience, this trim is so thin that a brad nailer can split the wood. A pin nailer has much smaller nail that does not split the wood. I also avoid using wood glue to adhere the trim to the wall. If you every want to take the trim down, the glue will rip the drywall off and you will need to do a lot of work to repair the wall.
2. I found the centre point of the bottom of the frame and lined up piece A in the centre.
3. I nailed pieces based off of this and worked upwards. Using the stop block really helped to ensure all my pieces were a perfect cut. I only had to trim 2 pieces to fit.
4. You may have some outlets in the way of your design. Use a multi-tool or jigsaw to cut around those.

5. Next I caulked all the trim edges. It’s a tedious task but you want to caulk where all the trim meets the wall. It’s the small differences that make a huge difference. Run a small bead of caulk and wipe excess off with a damp rag or baby wipe
6. I also used caulk on the seams where the mitre corners met on the wainscoting. I find that the caulk is a lot easier to wipe off than wood filler which is thick and crusty

7. There were some parts of the picture frame trim that were a bit dented, so I filled them with drywall filler and sanded them down to be smooth.
8. Last I painted 2 coats of my wall color on the trim. I love using a pin nailer because I did not have to fill any nail holes!!!!! That’s a tedious task you can skip with a pin nailer!

I love this picture frame wainscoting wall so much. If you try it out, be sure to give me a shoutout on instagram. If you’re looking for a more modern accent wall, try my geometric bathroom accent wall.


Sameera Iqbal
This looks incredible Hana! I’m a newbie diy’er so I’m
Not ready for power tools yet
Instead of the jigsaw I’m going to use one of these plastic bow mitre saw- like this
https://www.homedepot.com/p/Stanley-14-5-in-Deluxe-Clamping-Miter-Box-with-14-in-Saw-20-600D/100034395
What do you recommend for Pin nailer?
Hana’s Happy Home
I’ve never done this, but You can use a hammer and nails but you might be able to see the nail head. The pin nailer ensures the head sits below the trim surface. You can try it out and see how it works. You may also be able to rent a nailer if cost is an issue.
Hana’s Happy Home
That’s a great budget option! How did it go?
DIY living room accent wall under $100! - Hana's Happy Home
[…] 2: the picture frame trim molding box (next […]
Christine
Such talent! Incredible workmanship! 🤩
Hana’s Happy Home
Aw thank you!! It was no easy task!
Dimple
Just one question – in your calculations you mentioned say: width of the inside of the box – (2 x spacers) – C – D
41- (3×1.5) -5 -5 = 28″ long (but where does the 3 come from if your spacers are 1.5″ ?). Is that just a typo? Also trying to get my mind around the thickness of the trim.
Hana’s Happy Home
I’m so sorry! You’re right. It’s supposed to be 2. I’ve updated the post.
For the trim, you can measure the width of the trim.
Long living room ideas for a town house - Hana's Happy Home
[…] Tutorials for this space:– DIY Fireplace tutorial– Accent wall: Phase 1 – Box Trim molding– Accent wall: Phase 2 – Picture frame molding […]