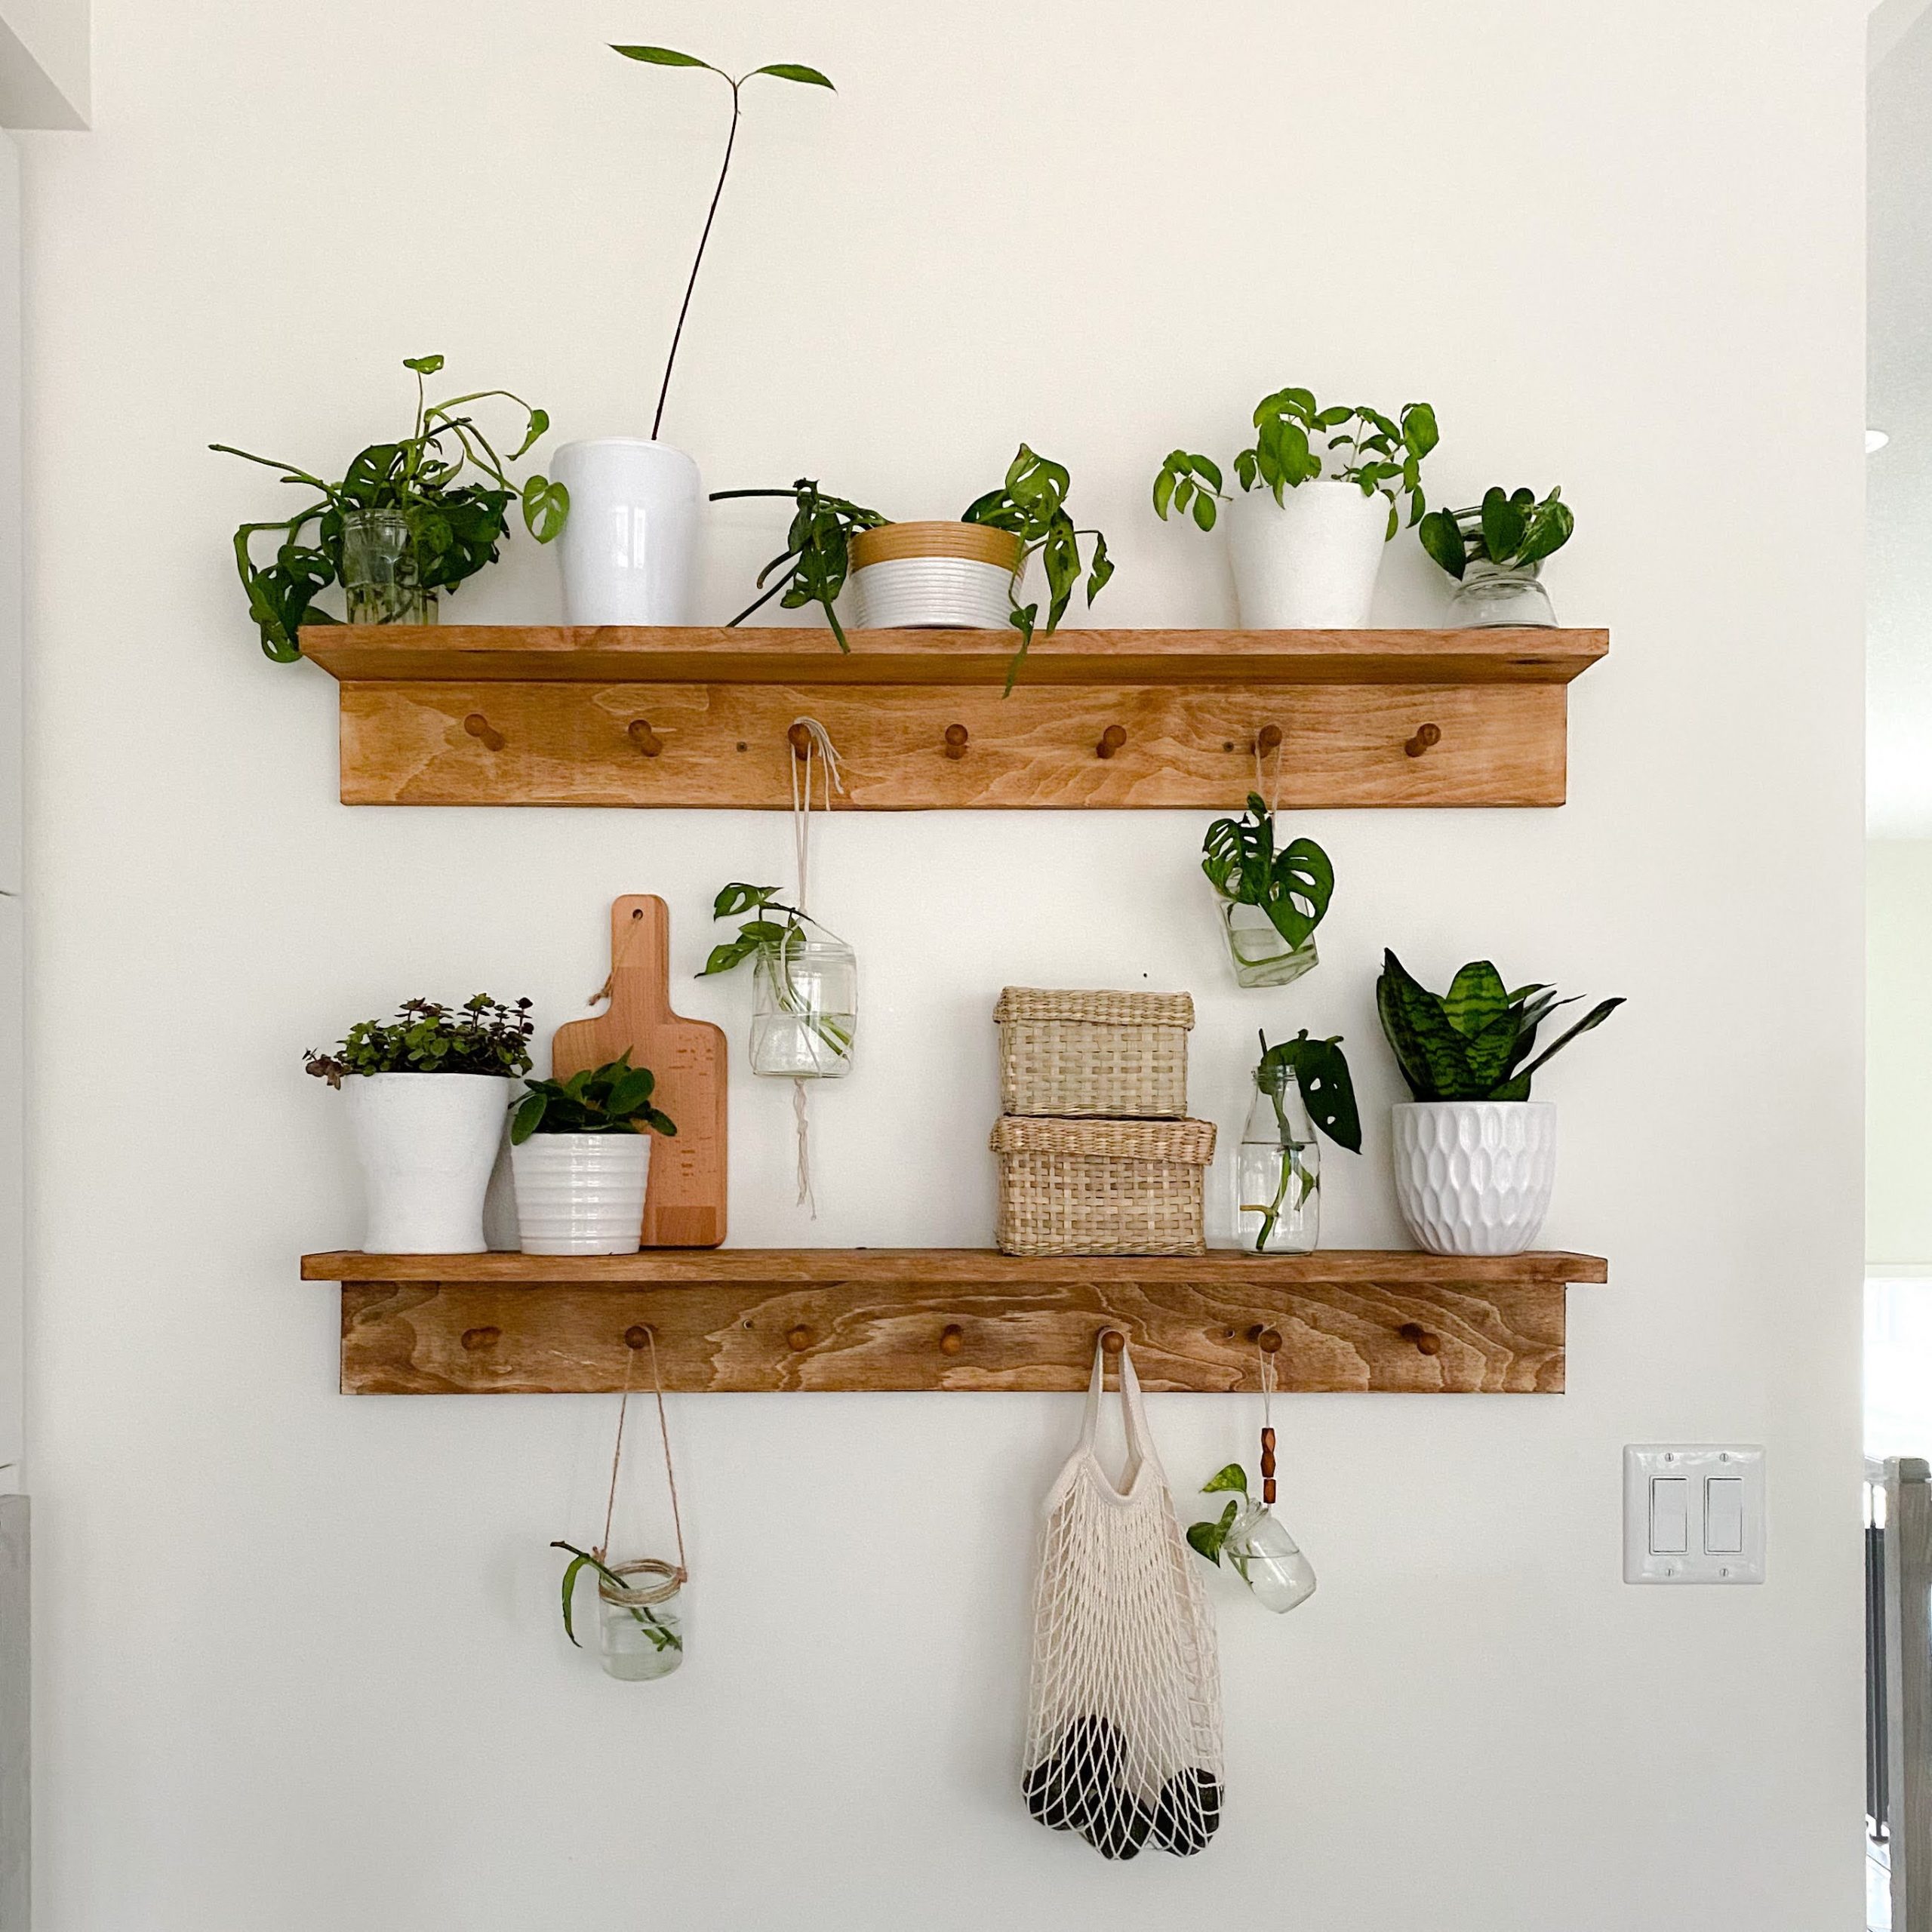
I had the perfect wall in my kitchen that needed some love. I decided to make a plant shelf that could help all my plants because I get a lot of indirect light in my kitchen.
I wanted to add some pegs so I could hang interesting decor items off of it like garlands or planters. You can customize this for any size
What you need
- Pegs. I got these shaker pegs from Michaels and they were so affordable
- 6” pine or ¾” plywood (I used plywood)
- Iron on wood vaneer
- Iron
- Wood conditioner
- Early American stain
- Drill
- 1” drill bit
- ⅛” drill bit
- Orbital sander and P220 sandpaper
- 2.5” wood screws
- 1 ¼” wood screws
- Clamps
- Mitre saw
- Table saw
- Stud finder
- Wood glue
- Level
Let’s get building
PART 1 – Build the peg shelf
- The top shelf for my pegs is 5” and the part attached to the pegs is 4”. I used my table saw to cut them down to size
- Decide on the length of your peg shelf and cut it down to size with your mitre saw
- Use a clamp to hold the pieces together perpendicular
- Drill a pilot hole with a ⅛” drill bit
- Assemble using the 1 ¼” wood screws about every 10” apart
- Sand using p220
- Wipe clean to remove sawdust
- Since I used plywood, I had to iron on the vaneer wood edging
- Use wood conditioner and then stain according to instructions. Always stain in the direction of the wood grain
- Stain the pegs
- Mark and drill holes in your shelf. Mine are 7” apart.
- Tip- test the size of the drill but on scrap wood to ensure the pegs fit snug. You don’t want the pegs to be loose at all
- Another tip- mark on your shelf where the studs are on the wall so you DON’T put a peg on that spot. You want to secure the shelf into a stud if possible
- Apply wood glue around the pegs and insert into holes. Some may need to be tapped in with a mallet /hammer
- Repeat for second shelf
PART 2 – Secure shelves to the wall
- Start with the bottoms shelf. I placed mine at eye level to give enough space vertically for the top shelf. Find the studs and mark them on the wall and the shelf. Use a level!! I always have trouble with my stud finder so I test a pilot hole to ensure a stud is REALLY there
- Drill a pilot hole in your shelf and insert the wood screw so ¼” is sticking through the back of the shelf
- Drill a pilot hole in the wall
- Since the screw is sticking out slightly of the shelf, you should be able to hook the shelf into the wall and then drill the screw the rest of the way through
- Figure out the height of the second shelf after you screw the first one in, but make sure you take into account both shelves when attaching the first shelf. You wanted to be visually pleasing. I placed the bottom shelf right at eye level.
- Repeat to attach the shelf to the wall
- Decorate as you see fit!
If you try this project, I’d love to see it. Follow me on Instagram @hanashappyhome


Pingback: Easy Test Tube Plant Propagation Station - Hana's Happy Home