
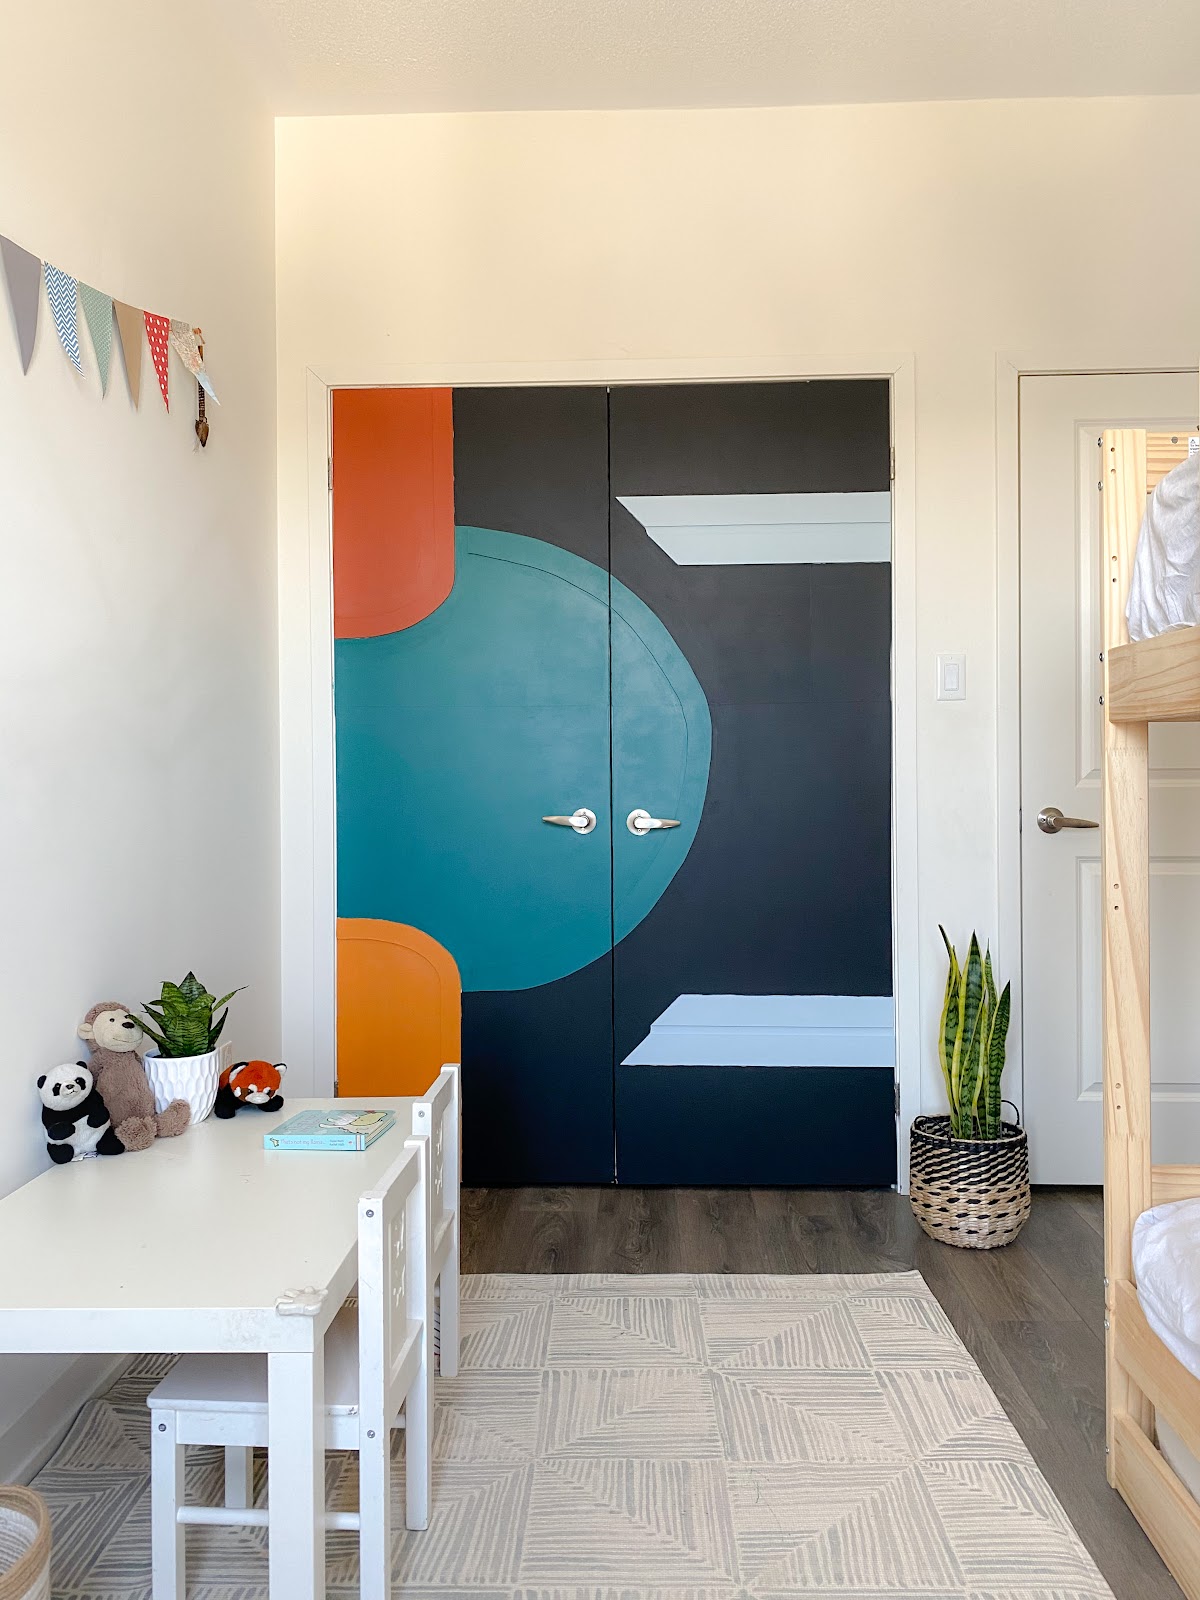
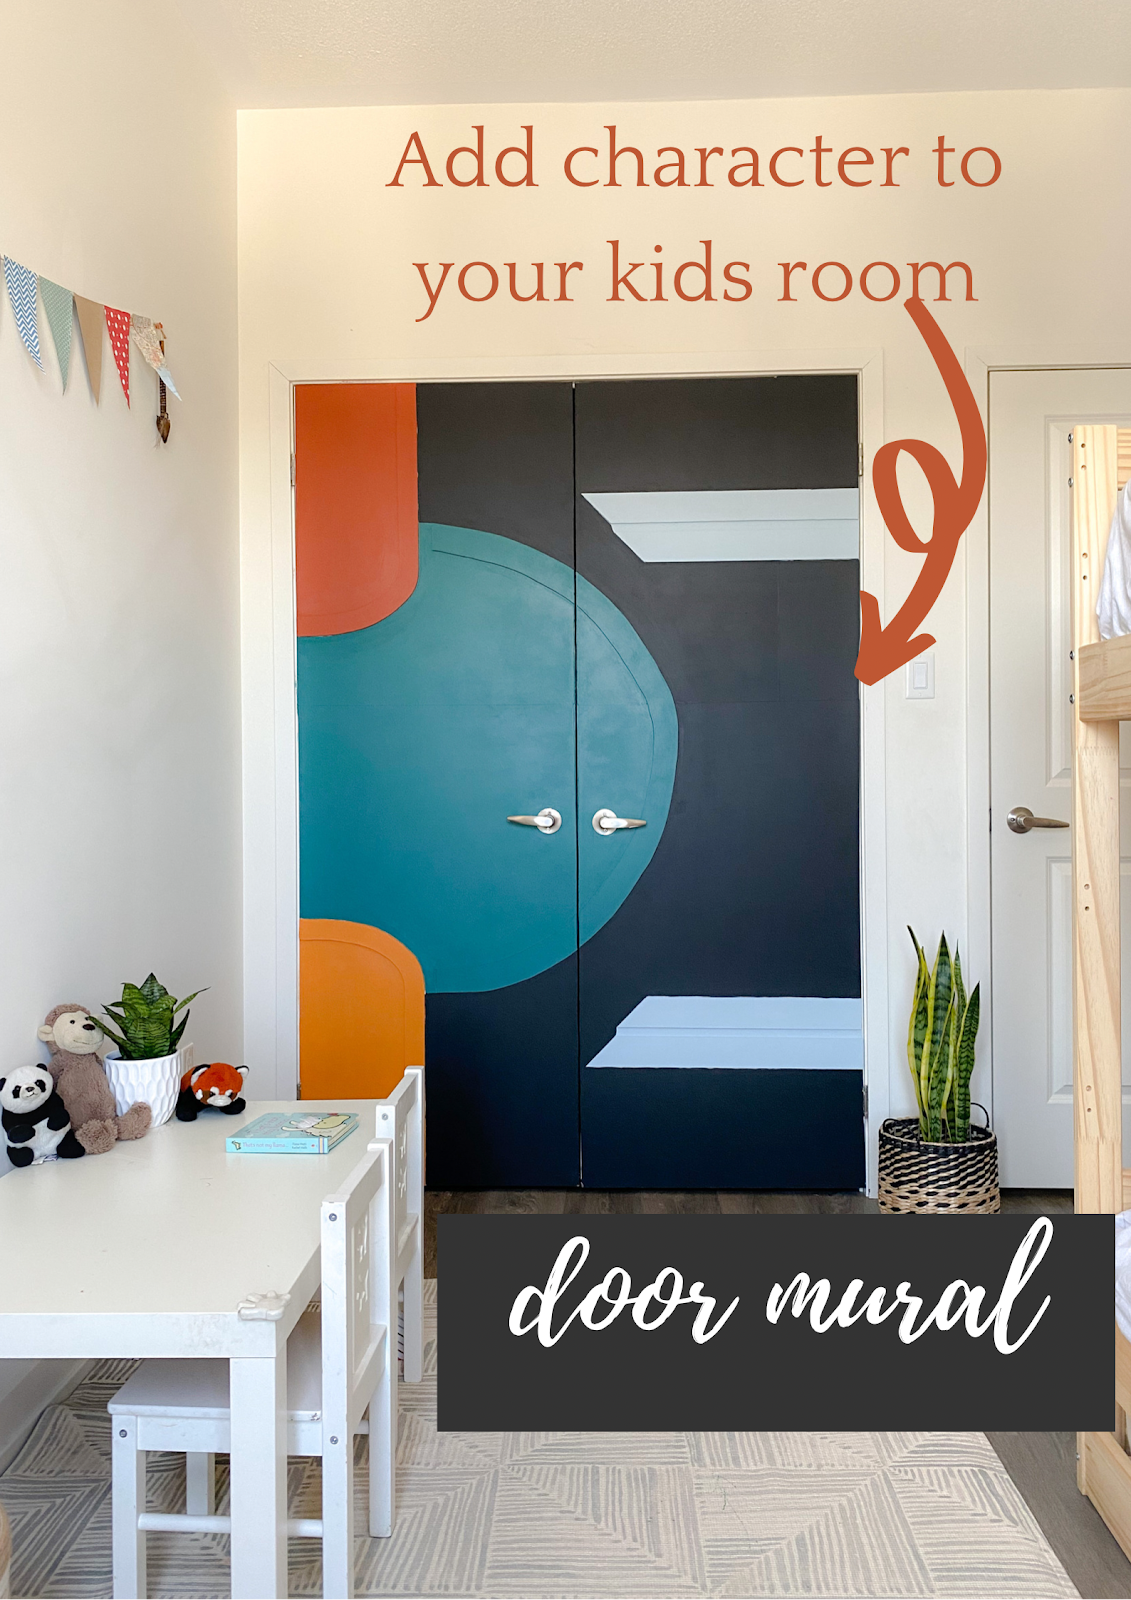
Kids wall mural door is a twist on a regular door. Door design has become SO fun to me. Since I did my last door design, I was on the hunt for another design. This time, I did door + kids wall mural = DIY door mural. I used a lot of the same materials as the geometric door design, but changed up the design and colours. The colours are very similar to the abstract mural in the kids coat closet.
Update: I created a 3rd feature door in my home. Now I have 1 door on every level of my home! This DIY interior door is a more classic style door.
| Level | Time | Cost |
| Medium | 5 hours | $40 + paint |
What you need to make a kids wall mural door
Materials
- 8×4 ¼ hardboard (2 sheets, although I had some scrap leftover from a previous project)
- ¾” pin nails
- Leftover paint. I used all Sherwin Williams including:
- Tricorn Black (black)
- High five (pale blue)
- Merigold (yellowish)
- Spicy hue (deep red)
- Green Bay (rich blue-green)
- Wall spackle
- Putty knife
- P220 sandpaper
- Primer
- Rollers
- Brushes
Tools
- 18 gauge pin nailer
- Jigsaw
- Scroll saw blade for your jigsaw
- Circular saw or table saw
- Drill and drill bits
- Level
- Sander
All the parts for under $35! you can buy different sizes that the length and depth that you need
[wordads]
Let’s get building
- Sketch out your design. It will help you a lot to figure out where you’re heading
- Measure your doors and cut the hardboard down to size to cover your door using the circular saw or table saw. I find the circular saw easier with large pieces of wood
- Remove the handles from the door. You may need to cut a hole for the handle. I didn’t as mine are dummy handles that don’t turn
- Cut a groove for the hinges with the jigsaw. Place the board against the door and draw where the hinges would be placed
- Attach it to the door with the pin nailer. Don’t worry if you have some seams. We will patch them up later. Skip this step if you have a flat panel door
- Screw the handles back onto the doors. Now you have your base door ready
- Now with your leftover hardboard, draw your shapes out.
- Use a jigsaw with a scroll saw blade to cut them out
- Lightly sand the edges with p220 grit
- Now patch up the seams using drywall spackle or wall filler. First, make the gaps as tight as possible by nailing along the edges of the seams.
- Use a putty knife in a cross cross motion and try to get a clean edge. Do not use wood filler as it has a gritty texture and hardboard is very smooth.
- When it’s dry, sand with p220 grit. Repeat patching if required
- Prime the doors. I used Sherwin Williams Wood and Wall primer
- Now there’s 2 ways to do the next steps. I’m going to recommend the easier way which is NOT the way I did it (we all live and learn, right?)
- Either you nail all the pieces first, and then paint which results in having to paint A LOT of books and crannies (my method) OR
- Paint all the pieces FIRST
- Lay them on the door and trace the shapes with a pencil.
- Paint the door. You can be a little sloppy as your edges under the pieces don’t need to be as crisp. This method will save you a lot of time.
- Once you’ve done 2 coats, use your pin nailer to secure the pieces. I love the pin nailer because no filling is required.
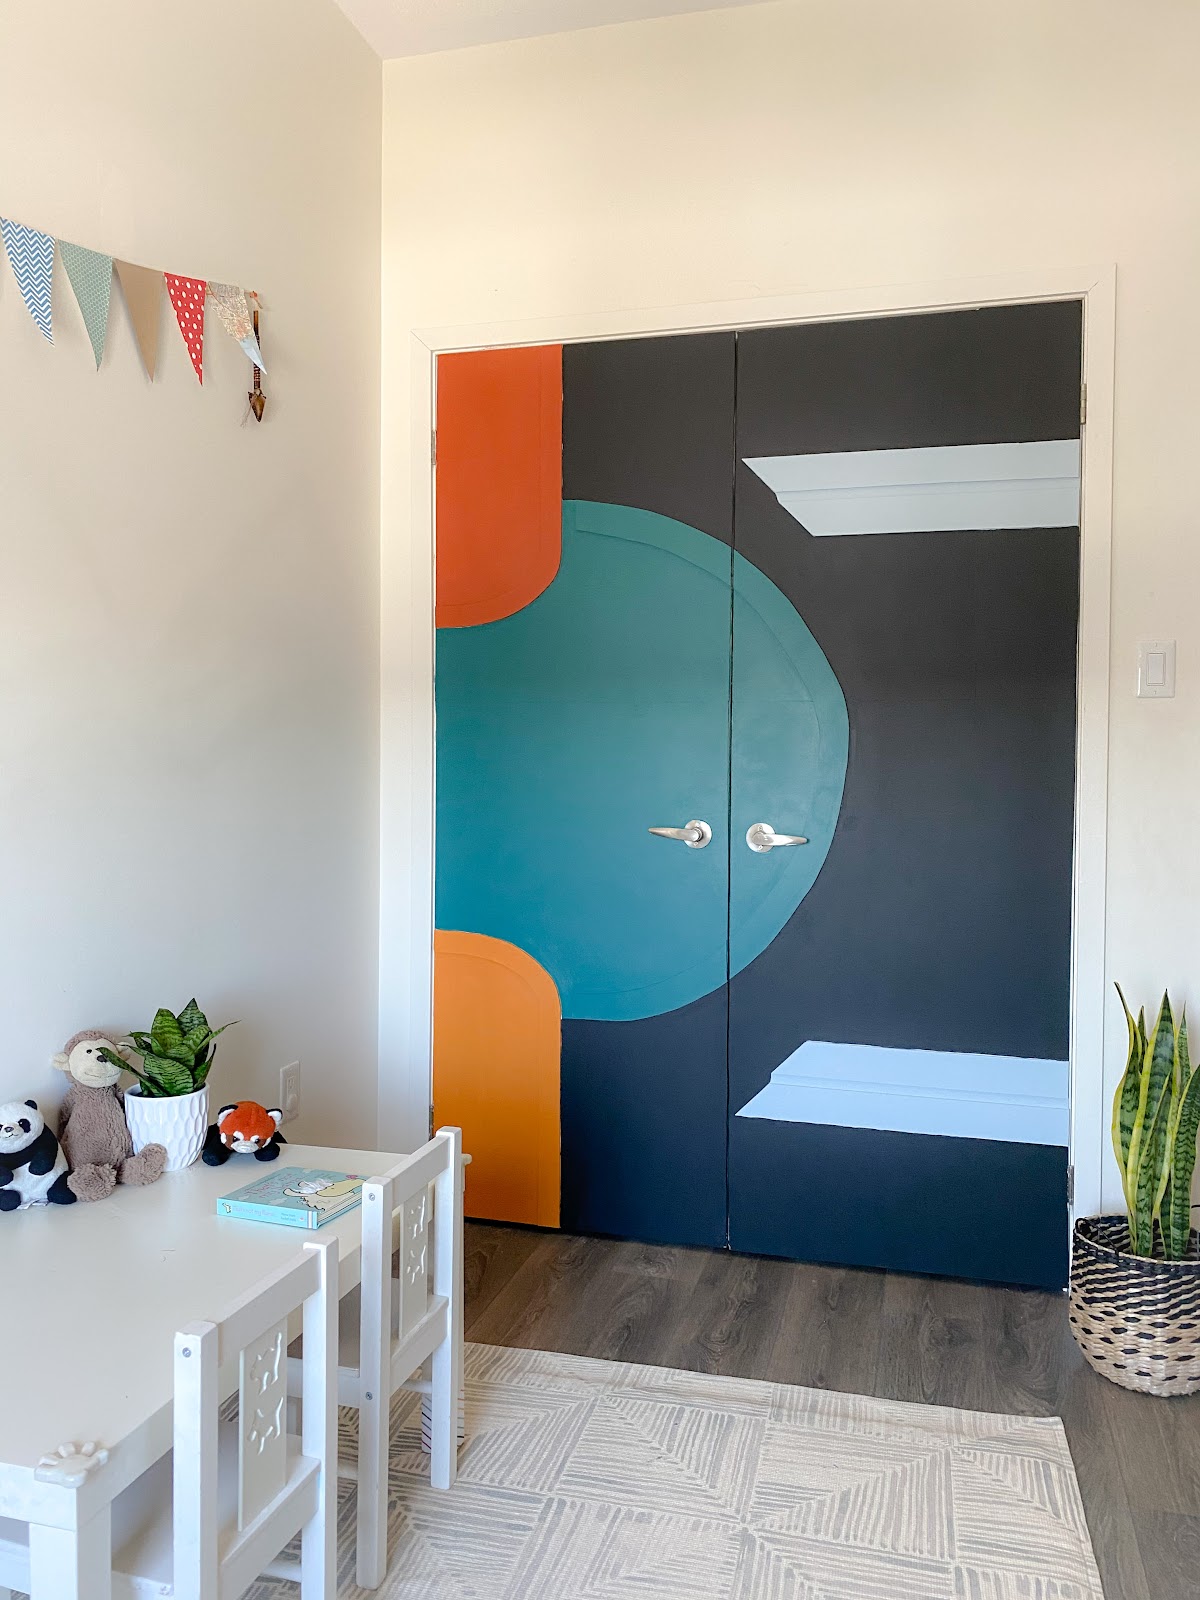
- Look at that! Cute!


I’d love to see your version of this project! Follow me on Instagram for more budget DIYs
Pin this to your Pintrest board so you can recreate it later!
Leave a Reply