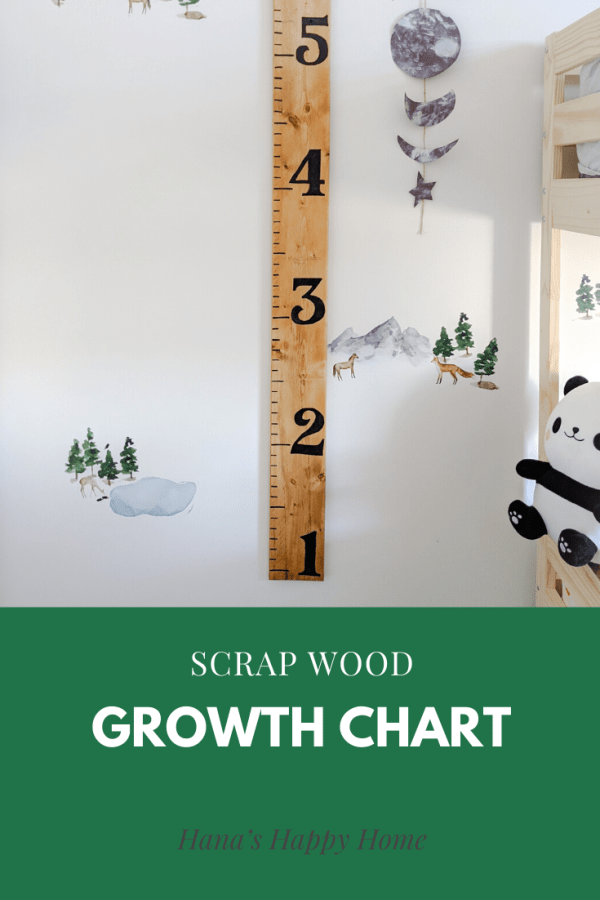
Ever since I had my first son Mikaeel, I wanted to have a growth chart that we could measure how tall he was getting at every milestone – birthdays, Eid, First day of school.
Fast forward 4 years and one more kid – I still hadn’t made one. Once I finally got around to making one, I wish I had done it sooner. I used scrap wood, but this project will cost you under $25!

What you need
- wood (I had scrap pine that was 6 inches wide by ~60 long)
- Wood conditioner
- Stain (I used Minwax Early American)
- Oil based Paint pen
- sander and sandpaper (P220/P240)
- Paper and pencil
Let’s get building
- Sand you’re a piece of wood so it is smooth. Are used P240 sandpaper
- Apply wood conditioner in the direction of the wood grain
- Using a rag apply your wood stain


- Find a font you like and blow it up on your computer. I traced the numbers on a piece of paper through the computer screen. You could alternatively use a stencil
- Using a measuring tape mark your ruler on your wood. I marked every inch. Are used different sizes for my markings. My foot was the largest marking
- Time to transfer your numbers. Cut the numbers and place them on their markings. Use a pencil or a pen and press firmly into the wood. Pine is a soft enough wood that it will make an indent
- Peel back your numbers and colour them in with your oil based sharpie

- when hanging your ruler make sure to measure off the floor. I measured 1 foot off the floor and that’s where my ruler started when hanging your ruler make sure to measure off the floor. I measured 1 foot off the floor and that’s where my ruler started
- I used black drywall screws. I made a pilot hole in the number and screwed directly into the wall (an anchor might be required)
Girls rainbow room inspiration - Hana's Happy Home
[…] I’m doing my first client project for a 2 year old toddler girl. This room is going to be so fun because I don’t have any daughters, but have a lot of creative juices of projects I’ve dreamed of. I’ve added fun elements to my shared boys room like a growth chart. […]