Including painted shiplap accent walls in your design is such a great way to add character to a space. It brings a cozy traditional touch to the space while still keeping things modern. If you’re looking to update your space by adding painted shiplap, you’re in the right place. Keep reading to learn the 3 ways to paint shiplap boards, plus the pros and cons of each method.

I’ve used shiplap in my bathroom and I even added a white shiplap ceiling to my workspace. While it looks amazing, its distinctive grooves can make the painting process challenging and, perhaps to some, intimidating. It doesn’t have to be, though!
Materials
- Shiplap boards (I prefer to use pre-primed boards)
- High-quality paint in your desired color and finish
- Paint brushes (angled brush and small detail brush)
- Drop cloths or plastic sheeting
- Painter’s tape
- Tack cloth or lint-free rags
- Work gloves
- Paint Sprayer
Before we get to the actual steps of painting the shiplap, there are a few things we need to cover: which technique you’ll be using, and which paint.
How to Select Shiplap Boards
You can choose pre-prime shiplap boards, or wood grain shiplap. I prefer to use pre-primed shiplap because it makes the painting process so much easier and faster. Although the wood grain boards may be a little bit cheaper, it’s very hard to get rid of the strong wood grain. Even after 2-3 coats of primers, you may still see the wood grain after painting.
You will also find different width of shiplap boards. A traditional shiplap board is about 5.5 inches wide. I prefer to use this size.
You can also find wider shiplap (10-12″) but I would only recommend that for very large rooms. Skinny shiplap that resembles the look of beadboard can also be an interesting wall feature. I think this looks best in a smaller room like a bathroom or closet.
Making your own Shiplap vs. Buying Shiplap Boards
You can save a lot of money by buying your own shiplap boards. Take a sheet of 8×4 lumber, and cut it down into 5.5″ strips. Then use a spacer like a nickel coin during installation to create the look of a crack between the boards. I followed this process when I made this DIY Door with faux shiplap

However, I would not recommend this method. From a distance it looks okay. However, When you rip down the boards with a table saw, it’s very hard to make sure each board goes smoothly through the table saw. On my door, up close you can see that each board is not the exact same width, and therefore there is variation in the spacing between the boards. For a small project like a door, it’s not a hue issues, but I would not replicate this process for a bedroom or living room.
On the other hand, the pre-made shiplap boards I used are made of MDF. I like using MDF. It’s easy to work with, cut and install. There is no variability in the size. I prefer to use ready made shiplap boards because it looks more high end and professional.
Choosing the right paint for shiplap
As with any project, selecting the appropriate paint will really help you achieve a professional and long-lasting finish. So what type of paint for shiplap is best? Look for a high-quality, water-based latex paint with a semi-gloss or satin finish, like Sherwin-Williams Emerald line. These types of finishes not only provide a subtle sheen that complements the shiplap’s texture but also offer durability and easy cleaning.
In terms of paint color, of course, choose one that suits your overall interior design scheme, whether you’re going for a modern farmhouse look or a coastal-inspired vibe.
How do you paint shiplap?
You can paint shiplap! There are three ways you can approach painting shiplap:
- Pre-painting the shiplap boards and cracks before installation
- Installing shiplap boards first, then painting with a paint sprayer
- Installing the shiplap boards first, then painting with a roller and brush
One of the deciding factors involves when you paint the boards. You can paint shiplap before or after installing it – this will determine your painting options.
Method 1 – Pre-painting the shiplap boards and cracks before installation
Painting all the boards before installation is a great option. While you absolutely can paint the boards after they are installed, you might struggle with getting to those cracks with your brushes. Plus, it will be a lot more time consuming.
Painting the shiplap boards before installation is a smart and strategic approach that can save you time, effort, and ensure an even, flawless finish. This method allows you to coat each individual board, including the grooves, before they are assembled, resulting in a consistent and professional look throughout your shiplap installation.
Step 1: Prepare your boards
Lay out your drop cloth and place your cut shiplap boards on top. Make sure they are not touching or overlapping so you can paint all the sides, and cracks of the shiplap.
Step 2: Apply a first coat of paint to shiplap
Now that we’re adding color, really focus on getting into those grooves. Work in small sections and use an angled brush to get paint coverage into the cracks.

Next, use a paint roller to apply your chosen paint color to the shiplap boards. Use smooth, even strokes. Avoid using. abrush as it will leave a lot of brush stroked behind on your painted shiplap

Allow the first coat to dry completely.
Step 3: Apply a second coat
Once the first coat is dry, apply the second coat of paint to ensure full coverage. Pay extra attention to the grooves again, using the brush to work the paint into any remaining cracks. If you have any drips from the first coat, gently sand those areas.

Step 4: Install the Shiplap, then Finish the Touch-ups

After the second coat has dried, install your shiplap boards with a nail gun. I have a detailed post on how to install shiplap boards. After installation, then you can fill any nail holes, and then paint the entire wall. This will give you the best finish when using a roller.
Method 2 – Installing shiplap boards first, then painting with a paint sprayer
If you’ve chosen to install shiplap before painting, using a paint sprayer might be your best option, especially if you want to get the paint job done more quickly. This tool provides an even and smooth application, effortlessly reaching into the grooves and corners that traditional brushes or rollers often struggle to cover once the shiplap is installed.

Step 1: Prepare your shiplap boards for paint
After installing the shiplap boards, cover all the nail holes with wood filler, and sand the wood filler smooth.
Step 2: Tape off the space
Make sure the surrounding area is properly taped off. This is imperative. Any gaps or small spaces that are not properly taped up will cause paint to leak into unwanted areas. Take yout time to tape. This will take the longest.
Step 3: Prepare to paint your shiplap
Pay attention to the paint requirements; some sprayers require you to thin out the paint.
Practice on a scrap piece of shiplap or a piece of cardboard to get the hang of the technique and to understand how the flow works.
Step 4: Spray your shiplap boards

To ensure an even application you have to use very smooth motions; if you’re spraying side-to-side you’ll need to move your whole body. Same with spraying up-and-down, you’ll get in a good squats workout.
Take a look into the cracks of the shiplap as you’re painting to ensure they are getting covered. You May find it helpful to paint shiplap cracks first, and then the flat surface of the shiplap boards
Work quickly otherwise the paint will get gunky in the nozzle. If this does happen, it’s fine; you’ll just need to pause to clean out the nozzle before you keep going.
Clean all the parts of your sprayer as soon as you’re done so you can use it again without issue in the future.
Method 3 – Installing Shiplap Boards first, then painting with a roller
If you’d prefer to install the shiplap boards first, and paint with a roller – know that this will be time consuming. Painting into the shiplap cracks is difficult. You will need to use a craft brush.
Step 1: Prepare your shiplap boards for paint
After installing the shiplap boards, cover all the nail holes with wood filler, and sand the wood filler smooth.
Step 2: How to Paint Shiplap cracks
Grab a small paint brush and paint the cracks of the shiplap. I have always found it difficult to push the paint into the grooves with a regular paint brush because the bristles are too thick. This may take time, so get comfortable with some tunes and work your way around your room.
Step 3: Paint the Shiplap Boards
Now apply 2-3 Coats of paint with a roller. This should be the easier part of painting it.
Which Method Should is Best to Paint Shiplap?
My preferred method is to pre-paint the boards before installation. However, the choice between pre-painting shiplap and using a paint sprayer depends on your project’s scope, your comfort level with painting techniques, and your desired outcome. In either case, thorough preparation, high-quality materials, and attention to detail are key to ensuring a stunning finish that enhances the beauty of your shiplap installation and complements your interior design vision.
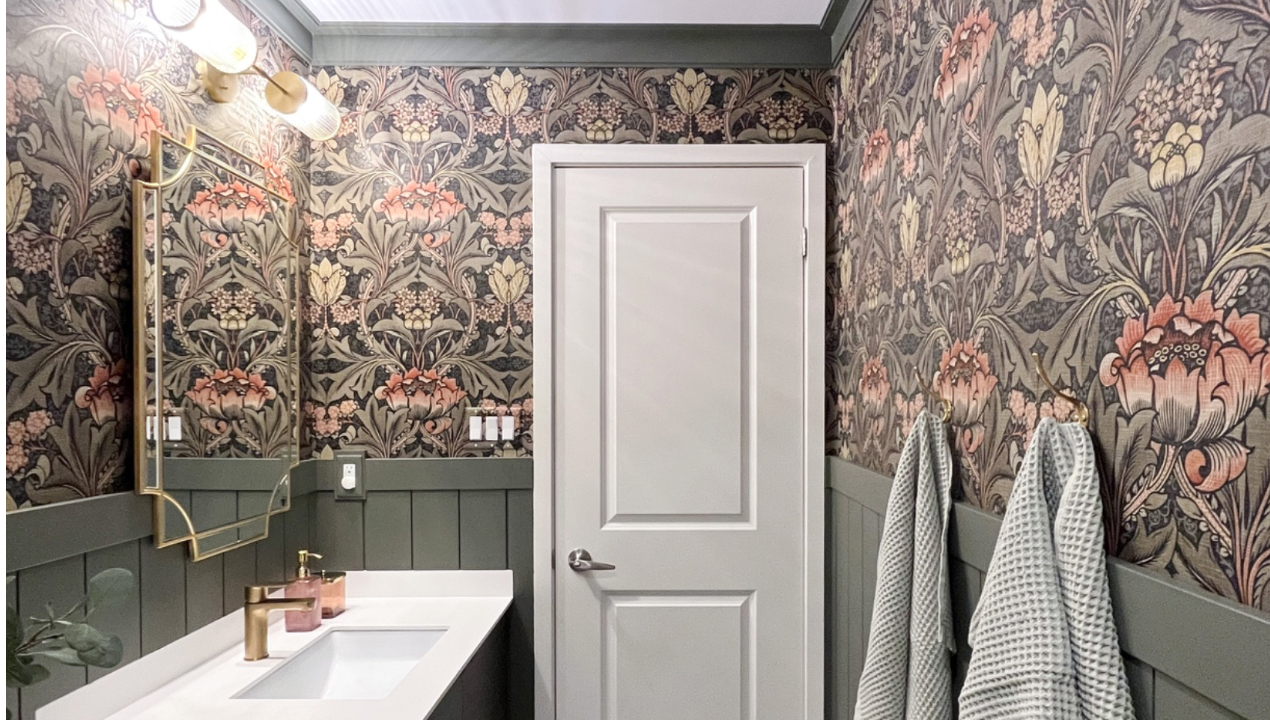
Using a paint sprayer is a great option for room that doesn’t have a lot of obstructions. If you paint shiplap walls in a living room or bedroom, a paint sprayer will make the process much faster. However, spraying a bathroom is really tough because you have to tape off so many parts like the toilet, vanity etc.
I also have 3 kids, so I often to work in small chunks of time. I find it easier to paint with the roller as I can simply wrap up my roller and stick it in the fridge if my kids need me to pause and make them lunch.
By following these steps and techniques, you can achieve a beautifully painted shiplap surface that enhances the look of your space while maintaining its distinctive character. Painting shiplap may come with its challenges, but with the right approach and techniques, you can achieve a flawless finish that enhances the beauty of your space.

Remember, shiplap isn’t just for walls, you can even add shiplap to your ceiling as an easy way to cover popcorn ceilings. Check out my Shiplap Ceiling Tutorial.
Whether you choose to pre-paint the boards, use a paint sprayer, or apply paint manually, the key lies in thorough preparation, high-quality materials, and attention to detail. Also, a good amount of patience probably helps.
Looking for more DIY home projects? I’m always up to something, so follow me on Instagram or Youtube!
Pin this for later, so you can read through all the nitty gritty details when you’re mid project!


Leave a Reply